INSTALLATION INSTRUCTIONS
58
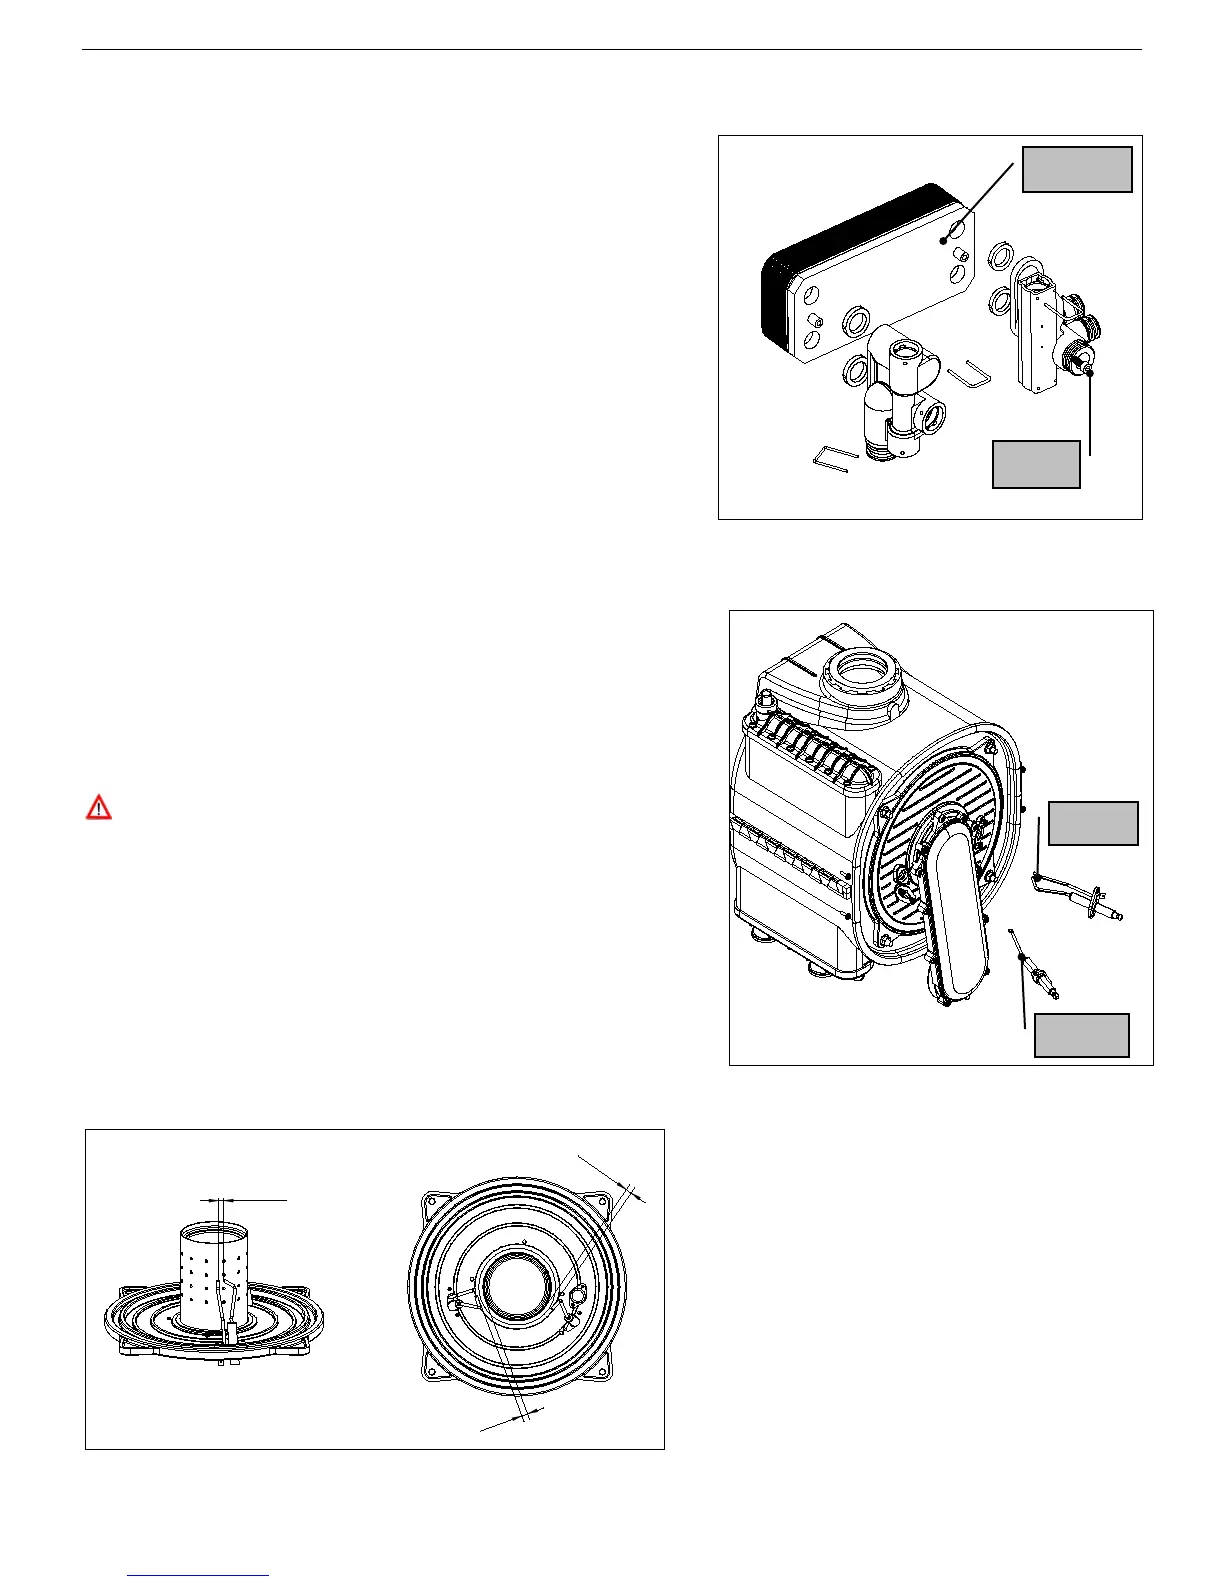
Cleaning the D.H.W heat exchanger
(see fig. 1)
• Close the shut-off valve and drain the domestic hot water circuit
and central heating circuit of the water heater;
• Use a 4 mm Allen key to unscrew the four screws securing the
heat exchanger to the multiplex unit;
• Remove the heat exchanger from the left side of the water heater,
note its orientation;
• De-scale the heat exchanger by chemically washing the plates
• Fit new rubber washer, inserting them in their housings on the
multiplex unit;
• Re-assemble the heat exchanger and components following the
above procedure in reverse order;
• Fill the system with water and check for any leaks from the joints.
Part replacement:
Ignition and/or flame detection electrodes
(see fig. 2)
• Un-Plug the electrode wires;
• Slacken the fixing screws;
• Remove the electrodes. When fitting the new ones, check that the
seals are not damaged. Replace if necessary;
• Reconnect the wires and re-assemble the components following
the above procedure in reverse order;
• Switch on the power supply and restart the appliance;
If the water heater does not restart, check the positions of the
electrodes (especially the ignition electrode). Make sure that
original position and distances between the electrodes and the
burner are respected to avoid a water heater malfunction).
POSITIONING THE IGNITION ELECTRODE AND THE IONISATION ELECTRODE