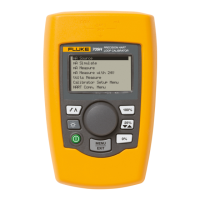
Calibrators
Performance Tests
37
Lower Display mV Source Tests
1. Press M on the UUT until SOURCE appears on the lower display; then press V
until mV appears on the lower display.
2. Set the Fluke 8508A to measure dc voltage in the 200 mV range.
3. Connect the UUT to the Fluke 8508A as shown in Figure 7.
4. Use the arrow keys on the UUT to set the UUT output to the current values in Table
16 and verify that the Fluke 8508A readings are within the limits shown.
5. Press Mon the UUT to disable the sourcing function.
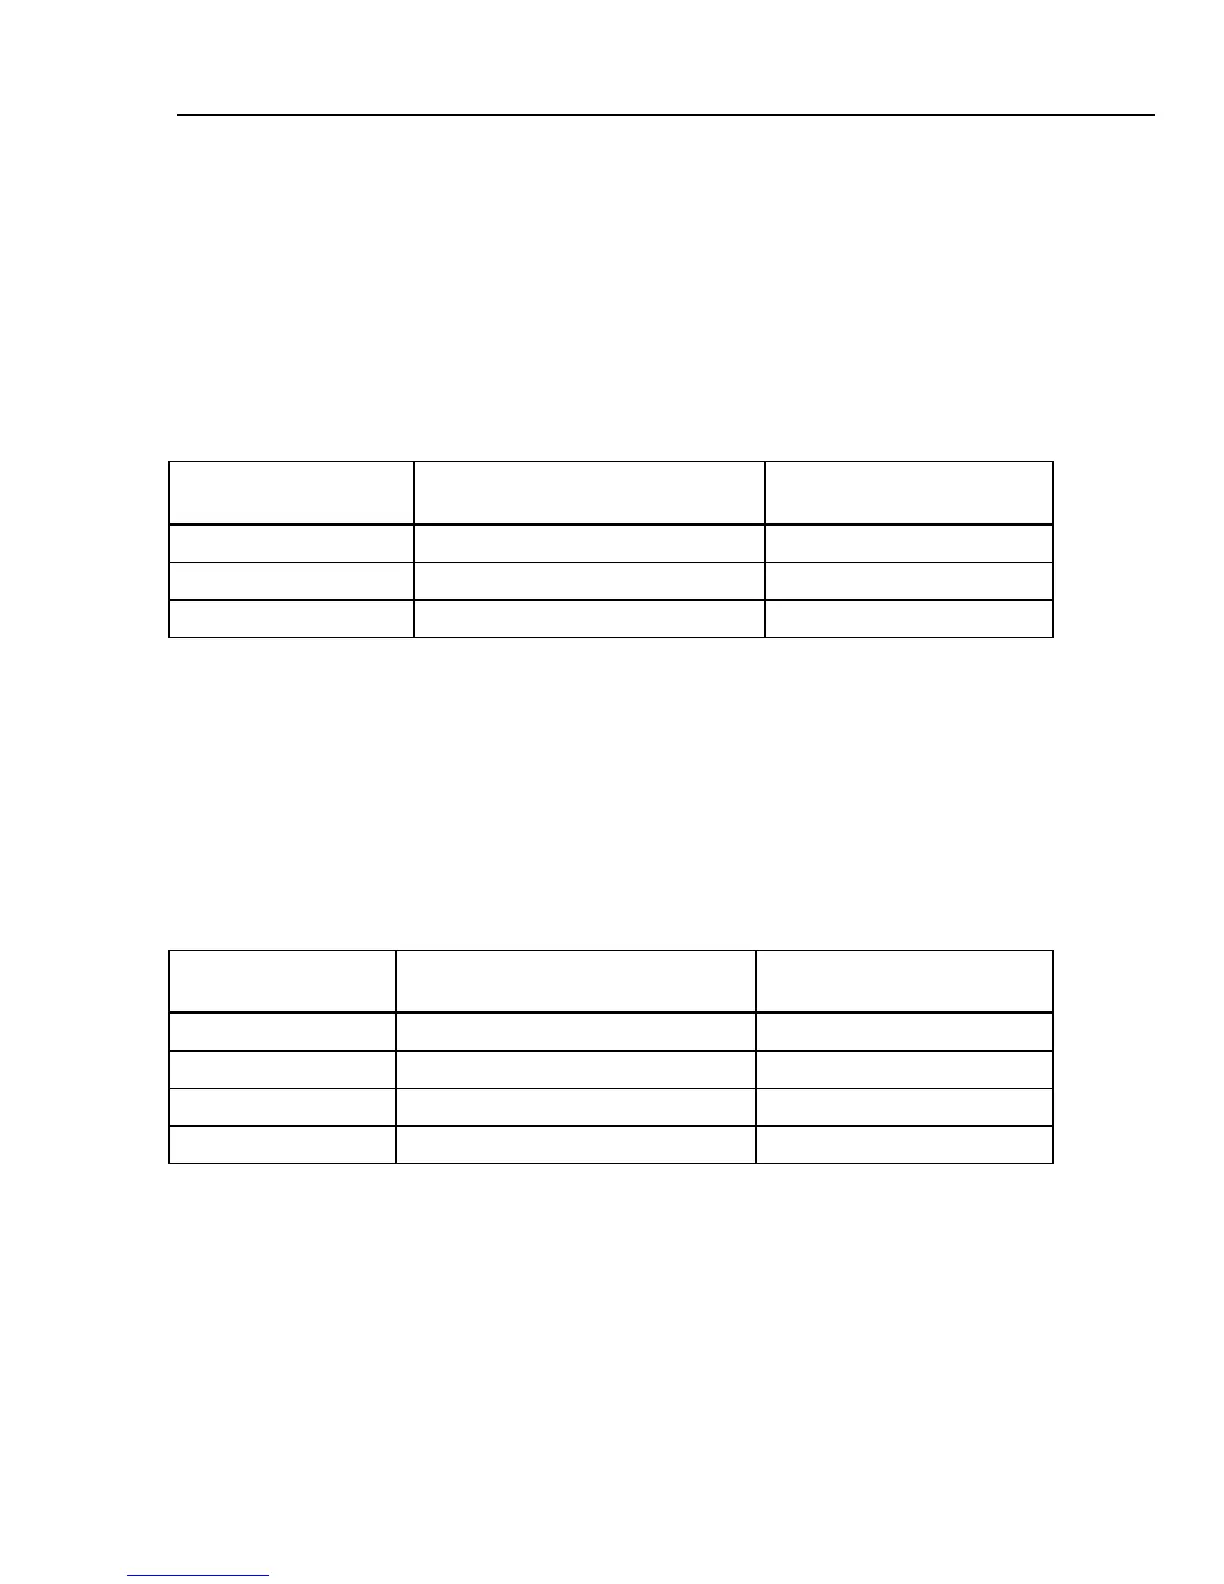
Table 16. Lower Display mV Source Readings
UUT Outputs
724/725
Fluke 8508A Readings
726
Fluke 8508A Readings
0.00 mV -0.020 mV to +0.020 mV -0.010 mV to +0.010 mV
45.00 mV 44.970 mV to 45.030 mV 44.986 mV to 45.014 mV
100.00 mV 99.960 mV to 100.040 mV 99.980 mV to 100.020 mV
Lower Display Voltage Source Tests
1. Press M on the UUT until SOURCE appears on the lower display; then press V
until V appears on the lower display.
2. Set the Fluke 8508A to measure dc voltage in the 20 V range.
3. Connect the UUT to the Fluke 8508A as shown in Figure 7.
4. Use the arrow keys on the UUT to set the UUT outputs to the currents in Table 17
and verify that the Fluke 8508A readings are within the limits shown. You can use a
lower voltage range on the Fluke 8508A to verify the 0 V range.
Table 17. Lower Display Voltage Source Readings
UUT Outputs
724/725
Fluke 8508A Readings
726
Fluke 8508A Readings
0.000 V -0.002 V to +0.002 V -0.002 V to +0.002 V
5.000 V 4.9970 V to 5.0030 V -
10.000 V 9.9960 V to 10.0040 V 9.997 V to 10.003 V
19.000 V - 18.9961 V to 19.0039 V
 Loading...