You cannot delete individual images at this stage. You must decide whether to save the
entire collection or not. Click Save Data to save it. By clicking Cancel, the data is not saved
to the disk.
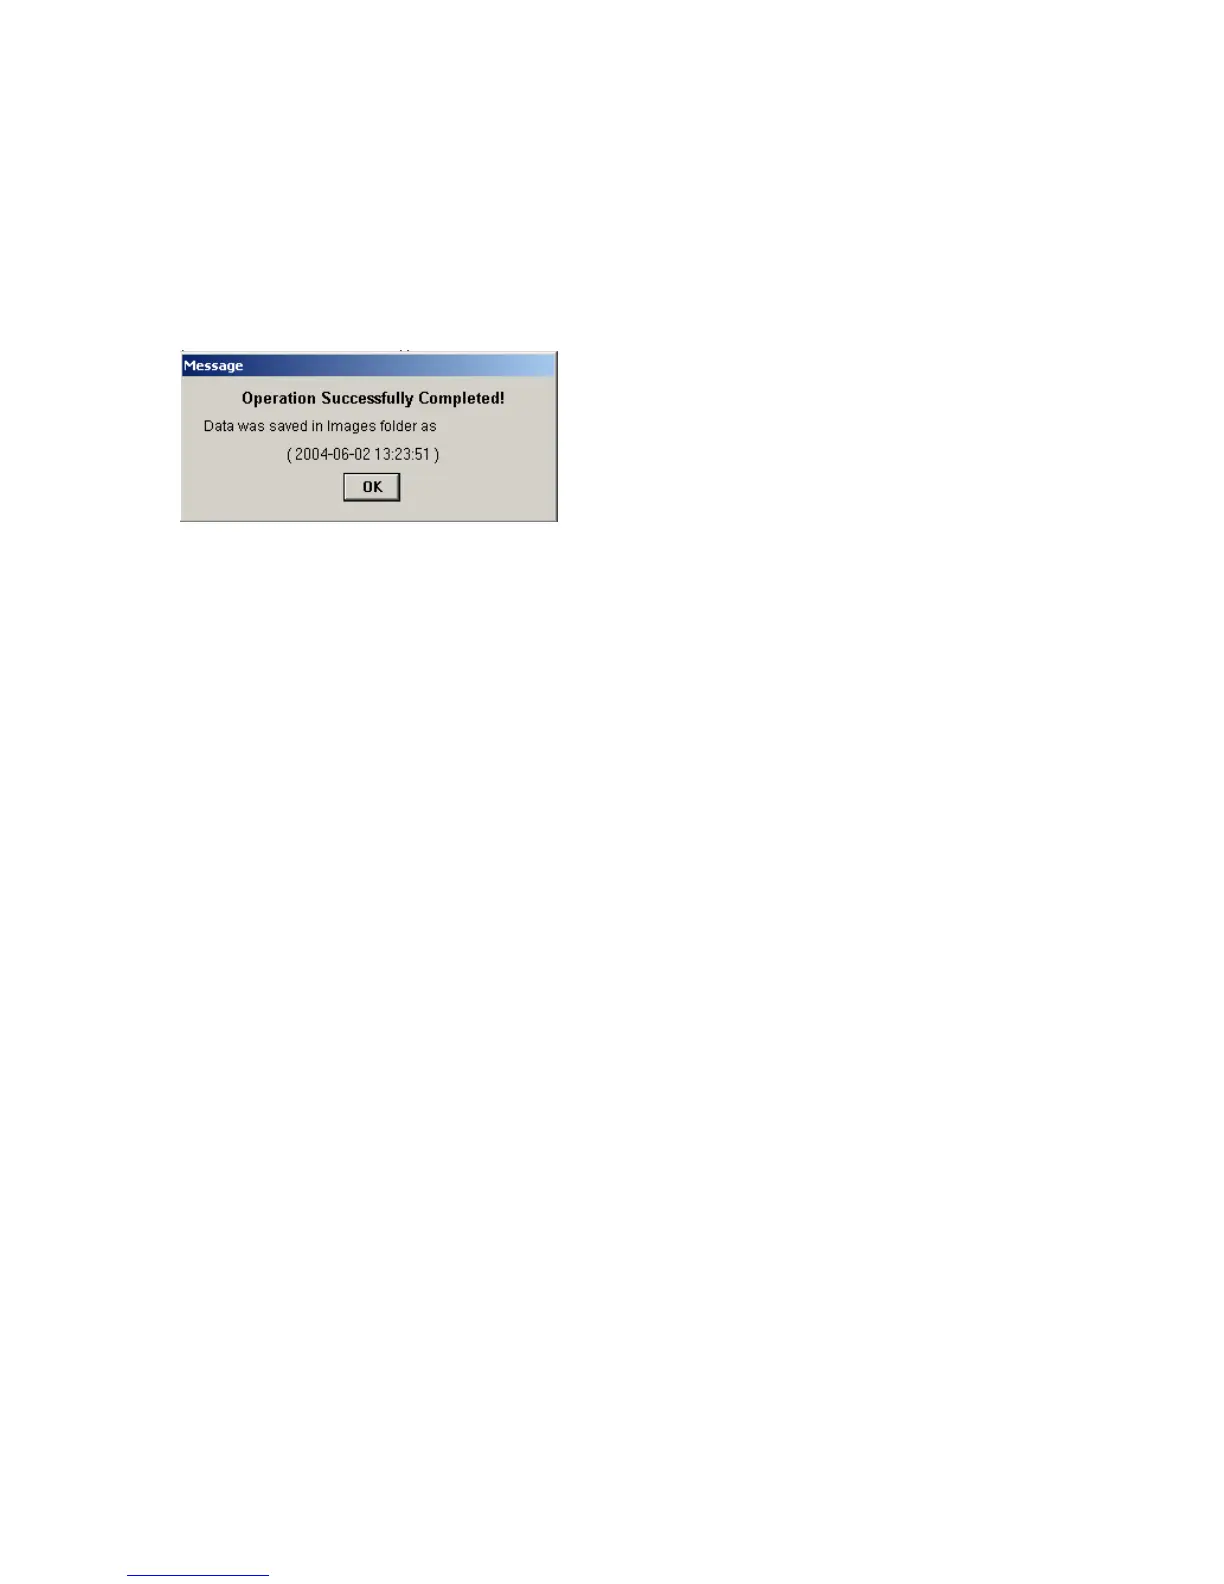
The following window appears when images are saved, signaling a successful operation:
Click on OK.
Saving Images
Following data storage, the application automatically opens the folder called “Images”
showing the newly saved collection of images. (Note: “Images” is the default folder location
for all new sessions downloaded from the Ti30 Imager. Sessions can later be moved to
alternate folders if desired by simply a click and drag procedure.) The collection of images
and their associated data is automatically saved, using the computer’s date / time settings.
You can change the file names by right-clicking on the current name,. It is recommended
you keep the date / time information in the file name so you can keep track of your periodic
inspections.
The screen below shows sample contents of the Images folder, with the newly saved file
highlighted:
Jan 31st, 2005 - 51 -