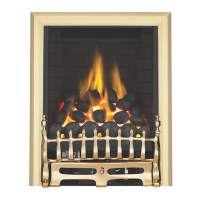
CLEARANCES TTO CCOMBUSTIBLES ((continued)
A non-combustible shelf may be fitted to within 10mm of the top edge of the fireframe.
Combustible materials, such as wood, may be fitted to within 100mm (4in) of either side of the frame of the
appliance, providing the forward projection does not exceed 100mm (4in). Any combustible side walls must be
at least 500mm to the side of the radiant heat source. As with all heating appliances, any decorations, soft fur-
nishings, and wall coverings (i.e. flock, blown vinyl and embossed paper) positioned too close to the appliance
may discolour or scorch.
VENTILATION
IMPORTANT ::
For Republic of Ireland ventilation may be required, see IS 813, ICP3, IS 327, and any other rules
in force.
NV Modelss :: NNo ppurposse pprovided vventilation iiss nnormally rrequired ffor tthiss aappliancce.
The requirements of other
appliances operating in the same space or room, and the results of a spillage test must be taken into considera-
tion when assessing ventilation requirements, this will have been carried out by your CORGI registered installer.
PLUS MModelss :: 115ccm
2
of ppurposse pprovided vventilation iiss rrequired ffor tthiss aappliancce.
This must comply with BS
5871 part 2 and BS 5440 part 2. The requirements of other appliances operating in the same space or room, and
the results of a spillage test must be taken into consideration when assessing ventilation requirements, this will
have been carried out by your CORGI registered installer.
OPERATING TTHE FFIRE
The control knob of the fire is marked as follows ;
The pilot is visible at the rear of the burner. Push in and turn the control knob to the SPARK position, and hold
there for a few seconds.
Continue turning anti-clockwise through the spark click, ensuring the
pilot has lit. If not, return the knob clockwise, and repeat.
When the pilot lights after the spark, keep the knob depressed for
approximately ten seconds. Now release the knob and the pilot
should stay alight. If not, retry ignition. If the pilot is extinguished dur-
ing use, wait three minutes before repeating the ignition procedure.
To achieve the HIGH setting, push the control knob in slightly and
continue turning anti-clockwise to the large flame position. The main
burner should light after a few seconds.
To decrease the setting to LOW, turn the control knob clockwise to
the low flame setting. The flame height may be adjusted as desired
between high and low settings by turning the control knob to the
required position between ‘HIGH’ and ‘LOW’. To turn to the PILOT position from the HIGH or LOW positions,
press the control knob in, and return to the pilot position and release.
To turn the fire OFF, keep the knob pressed in, return to the off position and release.
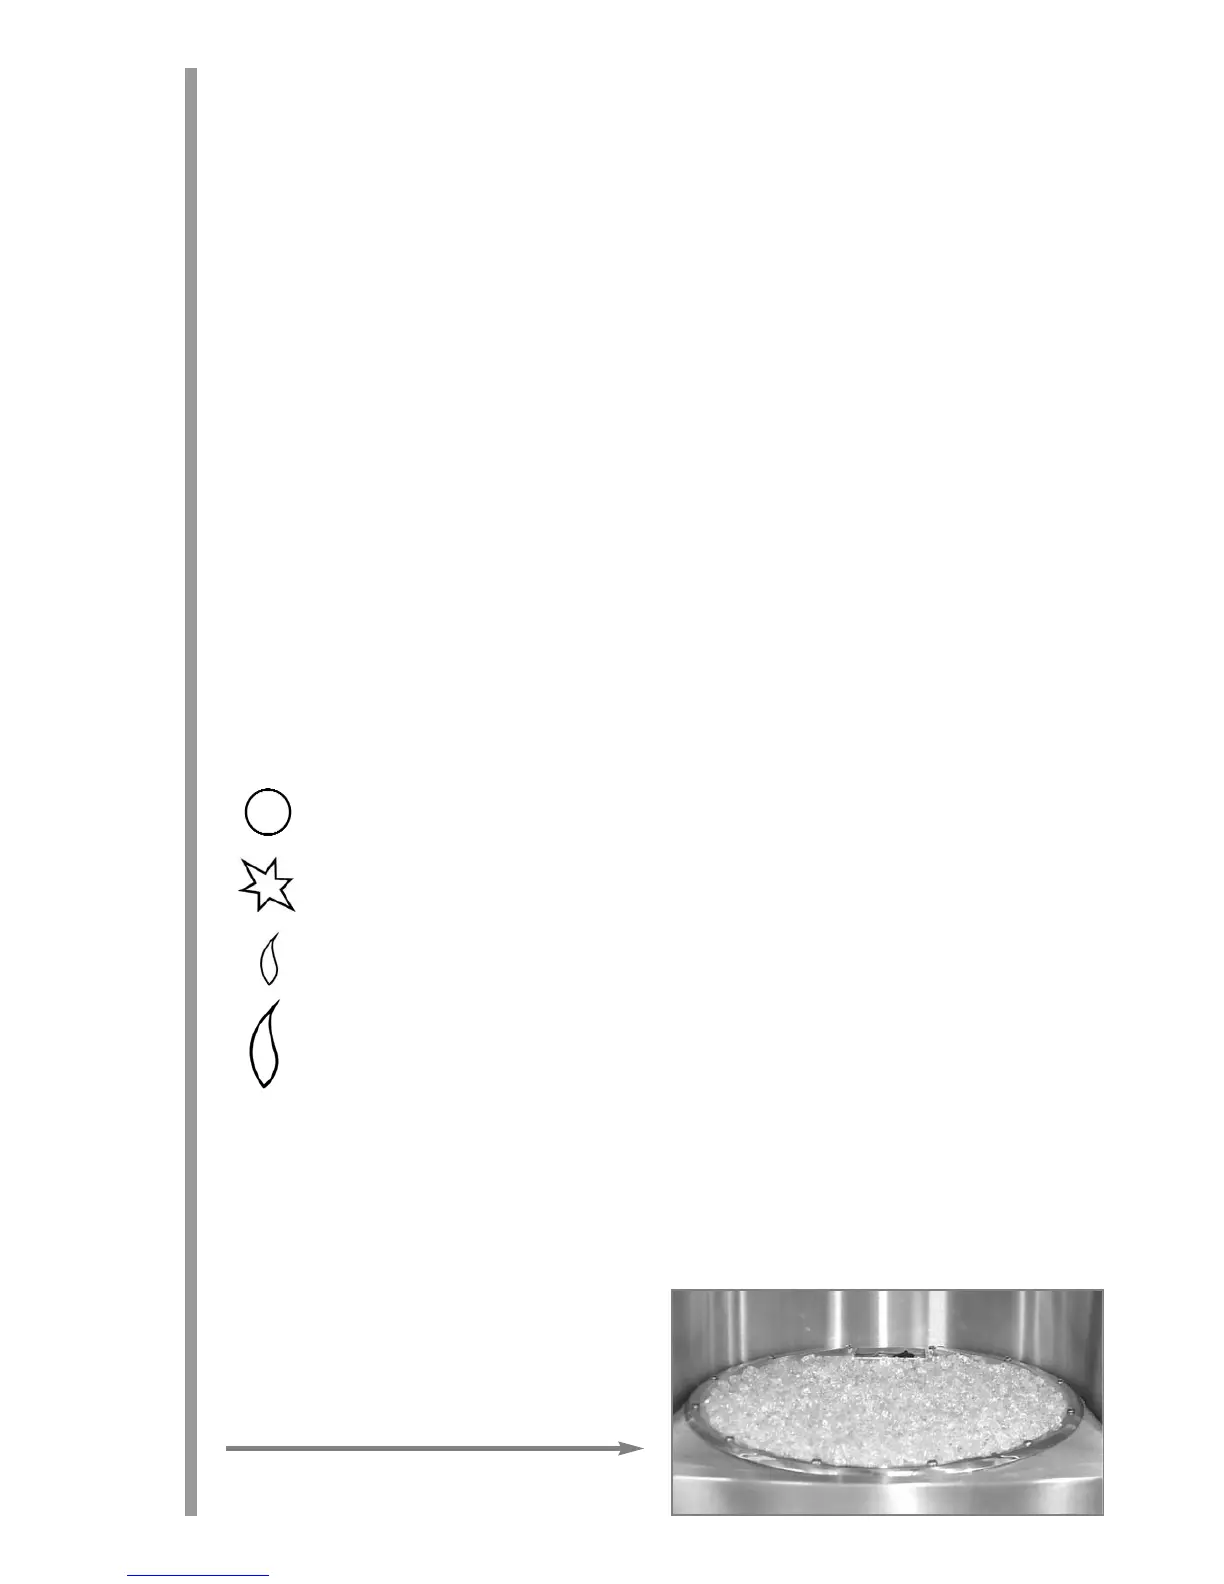
FUEL BED LAYOUT ((Glass/pebble mmodels)
Important :: WWear pprotective ggloves wwhen hhandling tthe
glass ccrystals.
1. Fill the burner with glass crystals as shown. The crys-
tals should be spread evenly and level up to the same
level as the edge of the burner.
2
‘OFF’ position
‘SPARK’ position
‘LOW’ position
‘HIGH’ position
2.0
3.0
4.0
5.0