18
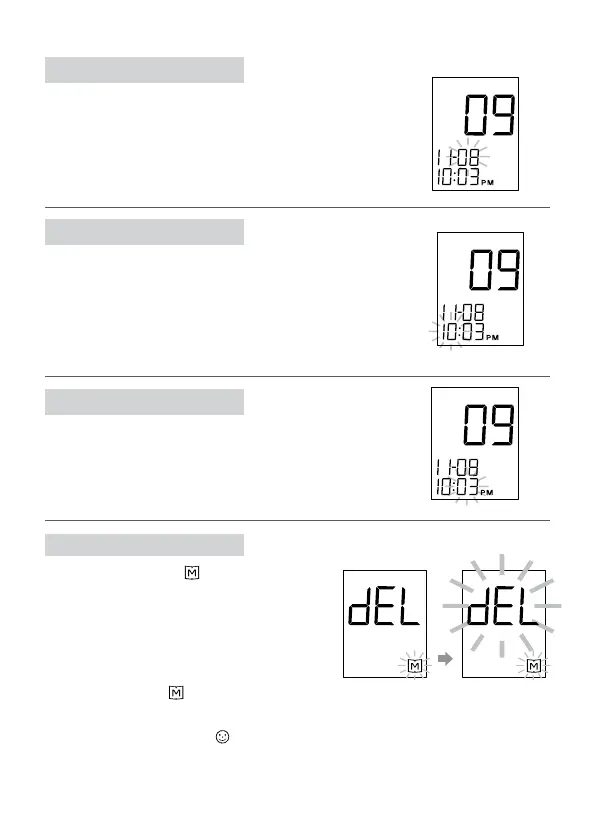
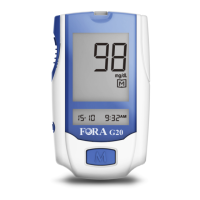
STEP 3 Set the Date
Press and release the M button until the correct
date appears. To move faster, hold the M button
down. With the correct date on the display, press
the set button and the time will appear on the
display with the hour ashing.
STEP 4 Set the Hour
Press and release the M button to advance one
hour. To move faster, hold the M button down.
With the correct hour on the display press the
set button and the minute will start ashing.
STEP 5 Set the Minutes
Press and release the M button to advance one
minute. To move faster, hold the M button down.
With the correct minute on the display, press the set
button and the memory deletion will start ashing.
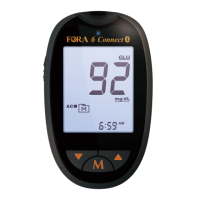
STEP 6 Delete Memory
“dEL” and ashing “
” symbol appear
on the display. If you didn't want to de-
lete memory, press the set button again
to skip this step. If you’d like to
delete ALL memory, press M button.
Both “dEL” and “
” will ash. Press
the M button again to delete all memory.
The meter then displays "
", which means
that the memory has been deleted.