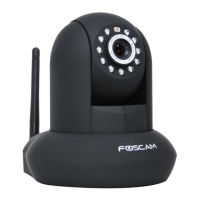
Now, you could use your camera in LAN.
Note:
64-bit browser is not supported.
2.2.2 WPS (WI-FI Protected Set-up)
Before using WPS wireless connection, you need to:
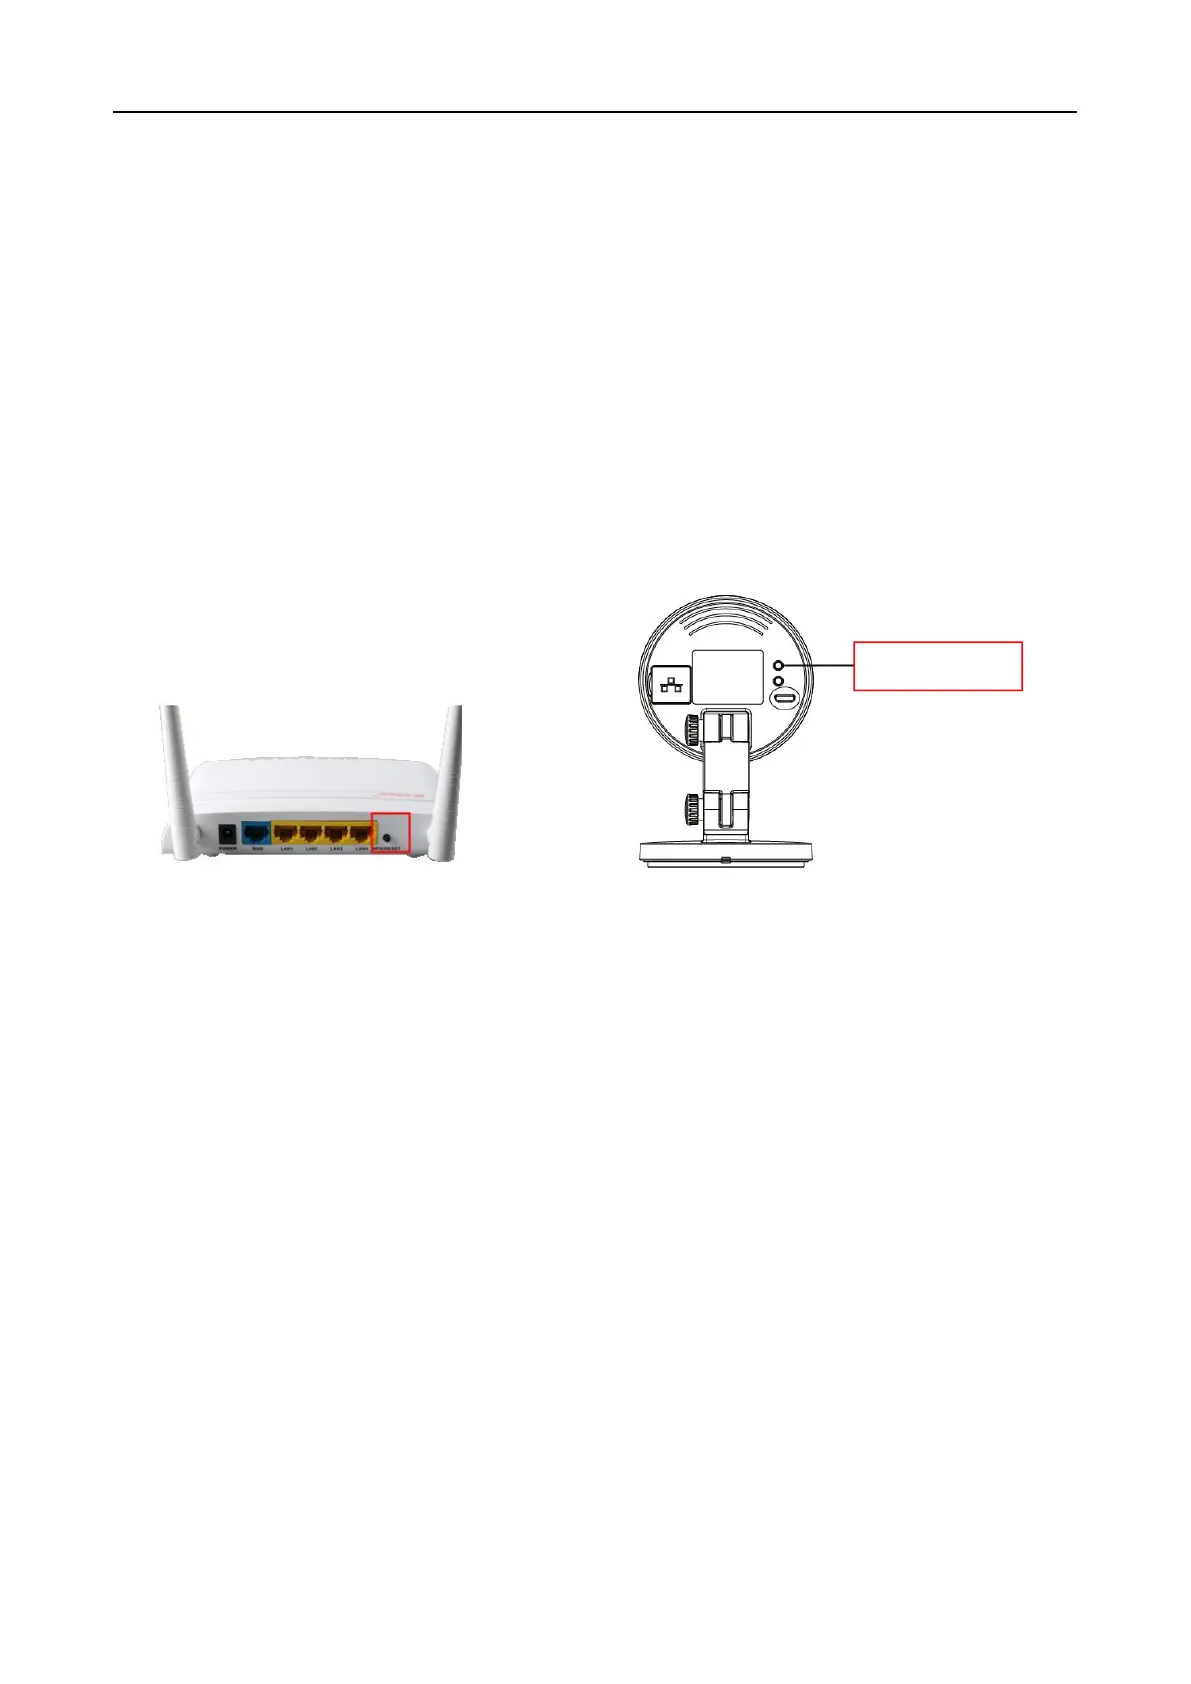
Make sure that your wireless router has the WPS function, and has been properly connected to the
WPS button on the wireless router is typically located on the front panel or rear panel.TP-LINK
router's WPS button is called QSS (Quick Security Setup).
Make sure that the ethernet cable and the camera is disconnected.
(1) Press and hold the WPS button for three seconds. The Network light of the camera begins to twinkle
at high frequency. (every 0.4 seconds)
(2) Press and hold the WPS button for three seconds on your wireless router within 60 seconds. Then
the camera will automatically create a secure wireless connection to your router in about 60
seconds.
(3) The Equipment Search Tool will search the camera’s LAN IP. Make sure the PC and the camera
share the same subnet.
NOTE :
The security mode of router cannot be WEP, or else the WPS settings may be failed.
2.3 Access the Camera in WAN
2.3.1 Static IP Addresses
Users with static IP addresses do not need to set DDNS service settings for remote access. After you
have finished connecting the camera using the LAN IP address and port forwarding, you can access the
camera directly from Internet using the WAN IP address and port number.