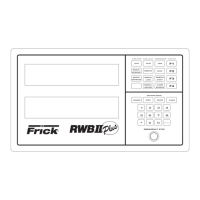
RWB II PLUS MICROPROCESSOR CONTROL
MAINTENANCE
S70-200 OM
Page 21
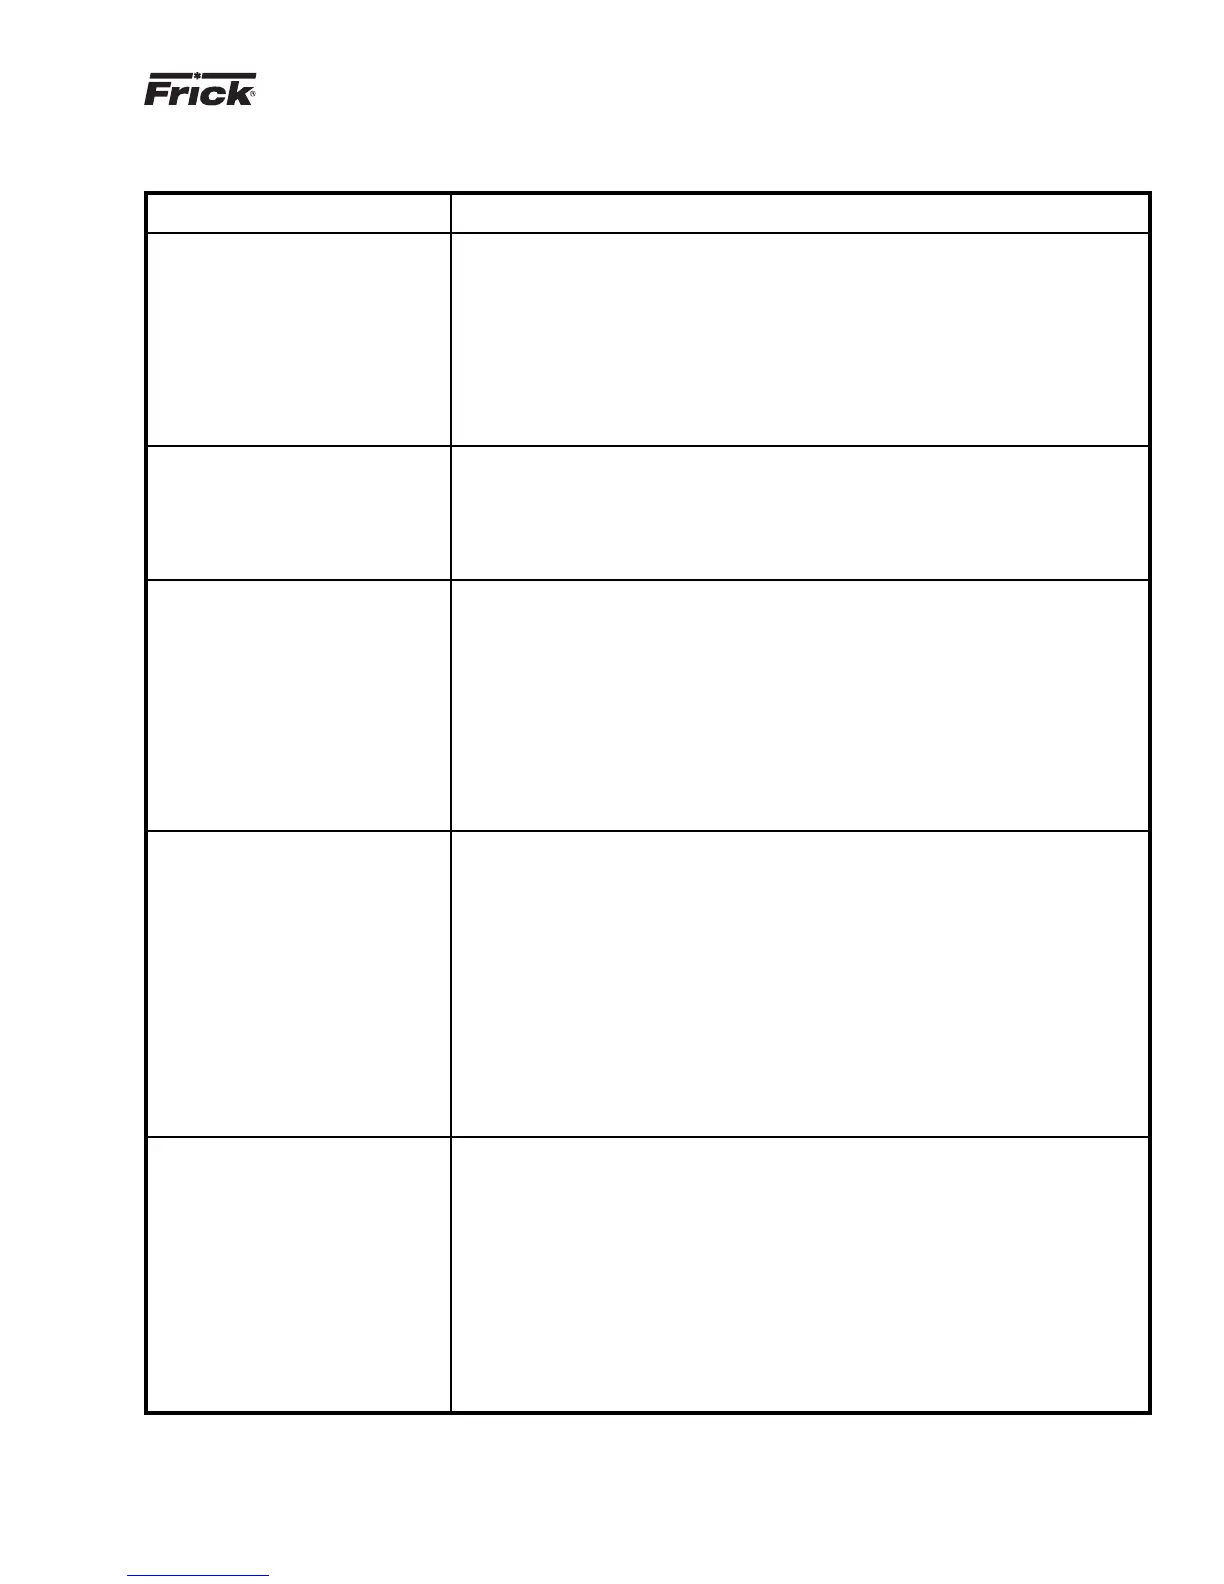
TROUBLESHOOTING FRICK SBC MICROPROCESSOR SYSTEM (Continued)
SYMPTOM PROBABLE CAUSES and CORRECTIONS
OIL PUMP IS RUNNING BUT THE The (HAND-OFF-AUTO) Oil Pump Selector Switch (1SS) controls oil pump operation
COMPRESSOR DOES NOT START and must be in the AUTO position before the compressor can be started.
Verify that the Slide Valve has unloaded to 5% or less. If the Slide Valve
has not unloaded, troubleshoot the hydraulic system. Compressor will not
start until the Slide Valve is unloaded.
Output 1 controls the motor starter. Check between terminals 38 and 2 for
120VAC. If 120VAC is not found when the LED for Output 1 is on, check
the 1.5 amp fuse (FU1).
COMPRESSOR AUXILIARY Output 1 controls the Compressor Start Relay (2CR). If the compressor does
SHUTDOWN not start and the LED for Output 1 is on, check the fuse (FU1). If the
problem persists, check the interposing relay (2CR).
The Compressor Starter Auxiliary Contacts turn on Input 5 when they are
closed. These contacts are located on the Compressor Starter.
OIL HEATERS DO NOT OPERATE The oil heaters should operate only when the compressor is NOT running and
the oil in the separator sump is cold.
If the oil heaters do not work check fuse 1FU (15 amp). If the fuse is not
blown, check between Wires 25 and 2 and between Wires 26 and 2 for 120VAC.
If 120VAC is not found, check between wires 25 and 26. If 120VAC is found
between wires 25 and 26, the Oil Heater Relay is defective. Next, check
the voltage between Wires 9 and 2. If 120 VAC is present, the Oil Heater
Relay is defective.
If you do not read 120VAC between Wires 9 and 2 when the LED for output 10
is on, check the fuse (FU10).
SLIDE VALVE DOES NOT LOAD Verify that the Slide Valve is in the AUTO mode and that capacity control
and/or UNLOAD is calling for loading or unloading (AUTO L or AUTO U will appear on the Operating display).
Output 2 controls the Slide Valve Load Solenoid. If 120VAC is found across
Wires 17 and 2, the Slide Valve Load Solenoid should be energized. If not,
the solenoid is defective. If 120VAC is not found when the LED for Output 2
is on, check the fuse (FU2).
Output 3 controls the Slide Valve Unload Solenoid. If 120VAC is found
across Wires 16 and 2, the Slide Valve Unload Solenoid should be energized.
If not, the solenoid is defective. If 120VAC is not found across Wires 16
and 2 when the LED for Output 3 is on, check the fuse (FU3).
NOTE: Verify that the proper setpoint has been programmed into C.C.
(Capacity Control) on the Adjustable Setpoints display.
SLIDE STOP DOES NOT INCREASE Verify that the Slide Stop is in the AUTO mode and that the Vi Ratio is
and/or DECREASE calling for a Vi increase or a Vi decrease (AUTO I or AUTO D will appear
on the Operating display).
Output 4 controls the Slide Stop Increase Solenoid. If 120VAC is found
across Wires 15 and 2, the Slide Stop Increase Solenoid should be
energized. If not, the solenoid is defective. If 120VAC is not found across
Wires 15 and 2 when the LED for Output 4 is on, check the fuse (FU4).
Output 5 controls the Slide Stop Decrease Solenoid. If 120VAC is found
across Wires 14 and 2, the Slide Stop Decrease Solenoid should be
energized. If not, the solenoid is defective. If 120VAC is not found across
Wires 14 and 2 when the LED for Output 5 is on, check the fuse (FU5).
 Loading...