48
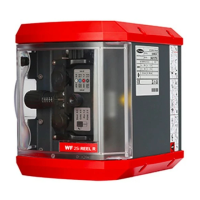
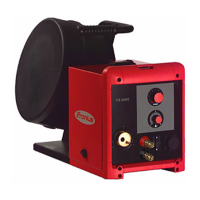
Threading the wire electrode
General
Preparations
1 2
Threading the
wire electrode
NOTE! If there is no wire threading button on the wire-feed unit, use the wire
threading button of another of the manufacturer's system components to thread
the wire, for example the power source wire threading button. The wire threading
button functions in the same way for all system components from the manufactur-
er.
NOTE! Further details on the function of the wire threading button can be found
in its description ("Optional control panels" section, "OPT/i WF gas test & wire
threading" sub-section).
CAUTION! Risk of injury and material damage from the welding current and ac-
cidental ignition of an arc. Before starting work, disconnect the ground earth con-
nection between the welding system and the workpiece.
CAUTION! Risk of damage to the welding torch from sharp end of wire electrode.
Deburr the end of the wire electrode well before feeding in.
CAUTION! Risk of injury from springiness of spooled wire electrode. When insert-
ing the wire electrode into the 4-roller drive, hold the end of the wire electrode
firmly to avoid injuries caused by the wire springing back.
1
1
2
2
CAUTION! Risk of injury and material damage from the welding current and ac-
cidental ignition of an arc. Before starting work, disconnect the ground earth con-
nection between the welding system and the workpiece.
CAUTION! Risk of injury and damage from wire electrode emerging. While work-
ing:
- hold the welding torch with the point directed away from the face and body
- wear suitable protective goggles
- do not point the welding torch at people
- make sure that the wire electrode does not touch any conductive or earthed
parts, such as the housing, etc.