© 2021 Flanders Scientic, Inc.
31
Return to Table of Contents
GPI Menu
Main Menu GPI
Function GPI 1 Red Tally
Scopes & Audio Meters GPI 2 Green Tally
Video GPI 3 SDI 1 Input
Audio GPI 4 SDI 2 Input
Marker GPI 5 Component Input
Alarm GPI 6 CVBS Input
OSD GPI 7 DVI Input
GPI
Color Management
System
System Status
Support
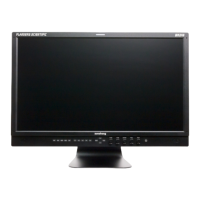
This menu allows you to set 7 assignable functions for remote control via the GPI interface on the back of the monitor (RJ-
45 connector labeled GPI). Simply select one of the GPI slots, 1 through 7, and press ENTER to generate a list of available
functions that can be toggled using the GPI interface.
87654321
When looking at the GPI RJ-45 Connector located on the back of the monitor the pins are arranged 1 through 8 from right to
left. This GPI interface is a contact closure based system and PIN 5 is always the ground. The GPI numbering on the GPI
menu corresponds to the physical Pin assignments as follows:
Menu RJ-45 Pin
GPI 1 Pin 1
GPI 2 Pin 2
GPI 3 Pin 3
GPI 4 Pin 4
GPI 5 Pin 6
GPI 6 Pin 7
GPI 7 Pin 8
Menu Locking and Keyboard Locking are features exclusive to the GPI menu. These features allow you to lock just menu
access (menu locking), which will still allow functions and rotary knobs to work or to fully lock access by disabling the
keypad entirely (keyboard locking). To unlock simply disable the GPI toggle remotely or if using the FSI GPI Keypad Lock,
sold separately, simply unplug it from the GPI port.
If using FSI’s GPI Keypad Lock to lockout the monitor’s keypad or menu the corresponding Keyboard Locking or
Menu Locking function must be set to GPI 1.
NOTE: As of rmware version
9.53-1907 or later you must set
the UDisk Mode (System Menu)
to OFF in order to use the GPI
Contact Closure port for remote
control.