App.3-2
Appendix 3-3-2 Functions
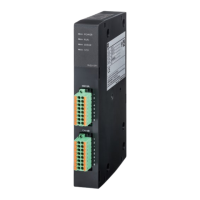
1) Status indication LED
Here explains difference for NP1L-RS3.
lobmyS roloC noitpircseD
MLA1HCdeR .lamronbasi1HCaivatadnoitacinummocehtnehwnosnruT
DXR1HCneerG.atadgniviecersi1HCehtnehwnosnruT
DXT1HCneerG.1HCmorftnesgniebsiatadnehwnosnruT
MLA2HCdeR .lamronbasi2HCaivatadnoitacinummocehtnehwnosnruT
DXR2HCneerG.atadgniviecersi2HCehtnehwnosnruT
DXT2HCneerG.2HCmorftnesgniebsiatadnehwnosnruT
2) Mode selection switch
Switch
No.
Mode
Remarks
CH1 CH2
0 General purpose device General purpose device
1 Programming loader General purpose device
2 General purpose device Programming loader
3 Programming loader Programming loader
4
Not used
5 Not used
6
Modem-loader
19200 bps
General purpose device
7 Self-diagnosis mode 1 (diagnoses internal memory and LED)
8 Self-diagnosis mode 2 (diagnoses CH1, CH2 turning back)
9
Modem-loader
19200 bps
Programming loader
A
Modem-loader
9600 bps
General purpose device
B
Modem-loader
9600 bps
Programming loader
C
Modem-loader
38400 bps
General purpose device
D
Modem-loader
38400 bps
Programming loader
E
Modem-loader
76800 bps
General purpose device
F
Modem-loader
115200 bps
Modem-loader
115200 bps
* In case of switch No. F, use either CH1 or CH2 (Can’t be used simultaneously).
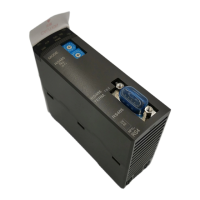
3) RS-232C port
Same type connector and pin assignment as NP1L-RS2.
In case of NP1L-RS3, SG (Pin No. 5) and FG (M2.6 Screw) are internally connected. Generally, connect shield wire of RS-
232C cable to FG of NP1L-RS3. However, if communication failed because of noise, connect shield wire of RS-232C cable
to both FG of NP1L-RS3 and FG of external device (Ground on both device).
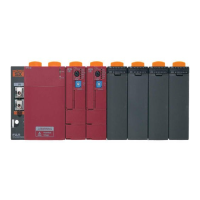
Appendix 3 Additional Explanation
for NP1L-RS3
 Loading...