Scanning
258
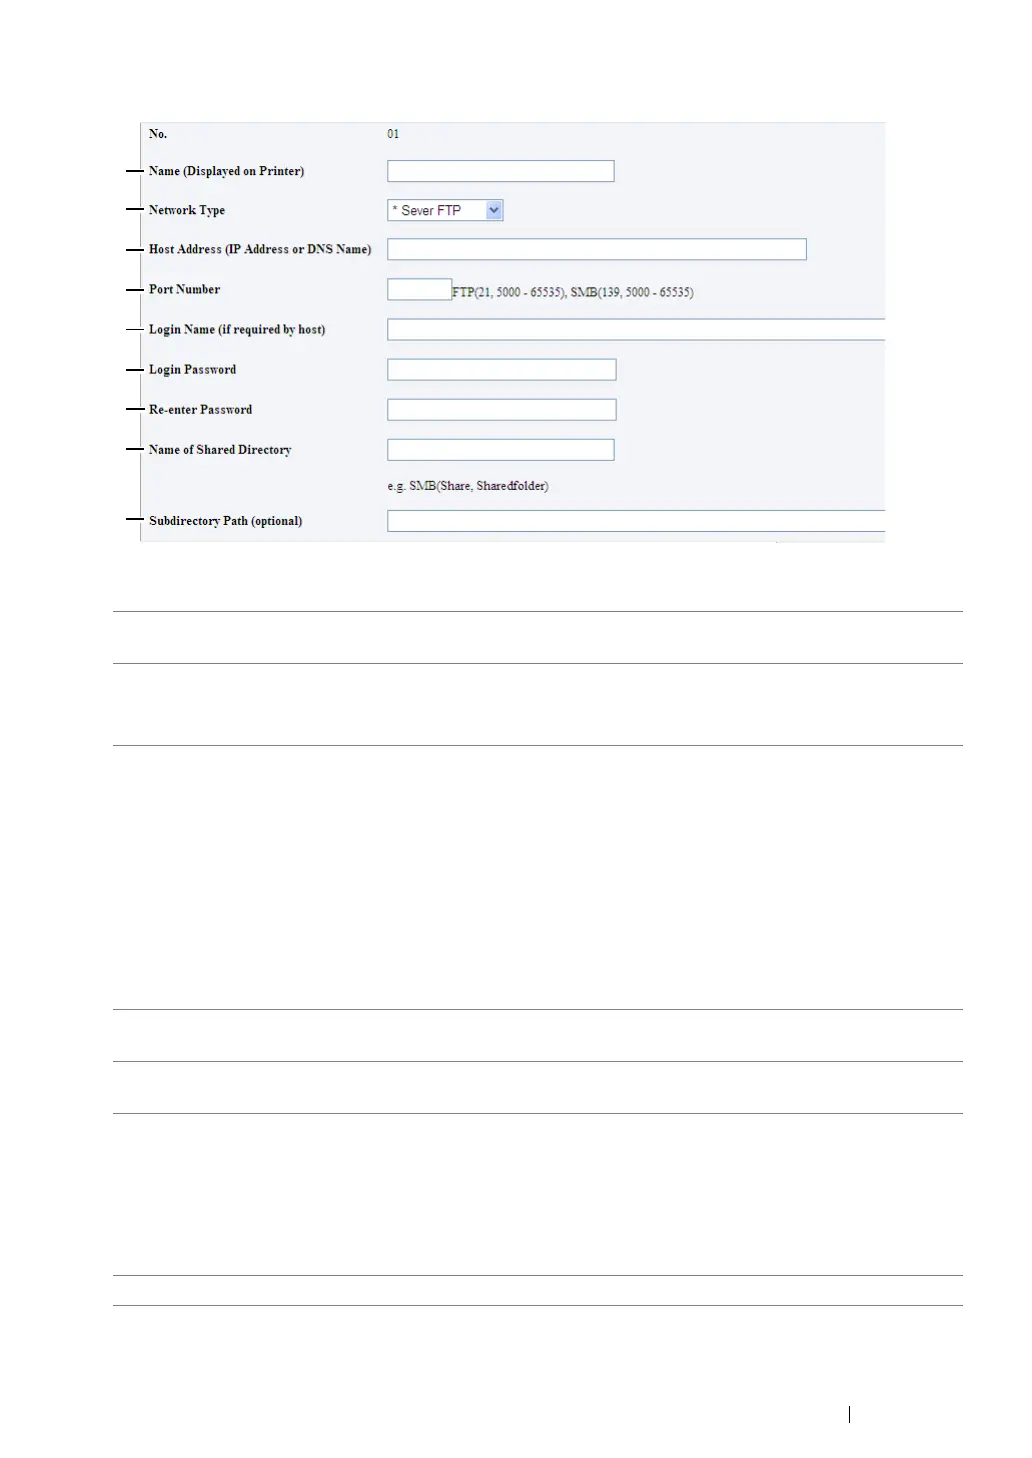
The Add Network Scan Address page appears.
To fill in the fields, enter the information as follows:
1
Name (Displayed on
Printer)
Enter a friendly name that you want it to appear on the Address Book.
2
Network Type
Select
Server FTP
if you use a FTP server.
Select
Computer SMB
if you store the document in a shared folder of
your computer.
3
Host Address (IP
Address or DNS Name)
Enter a server name or IP address of your computer or the FTP
server that you have shared out.
The following are examples:
• For
Server FTP
:
Server name: myhost.example.com
(myhost: host name, example.com: domain name)
IP address: 192.168.1.100
• For
Computer SMB
:
Server name: myhost
IP address: 192.168.1.100
4
Port Number
Enter the server port number. If you are unsure, you can enter the
default value of 21 for FTP and 139 for SMB.
5
Login Name (if required
by host)
Enter the user account name that has access to the shared folder on
your computer or FTP server.
6
Login Password
Enter the password corresponding to the above login name.
NOTE:
• Empty password is not valid in the Scan to Computer feature.
Ensure that you have a valid password for the user login account.
(See "Confirming a Login name and Password" on page 237 for
details on how to add a password in your user login account.)
7
Re-enter Password
Re-enter your password.
 Loading...