En-3
CAUTION
• Ifchildrenunder10yearsoldmayapproachtheunit,takepreventivemeasuresso
that they cannot reach the unit.
• Decide the mounting position with the customer as follows:
(1) Installtheindoorunitinalocationhavingsufcientstrengthtosupporttheweightof
the indoor unit.
(2) Theinletandoutletportsshouldnotbeobstructed;theairshouldbeabletoblowall
over the room.
(3) Leavethespacerequiredtoservicetheairconditioner.
(4) Locatewheretheaircanbedistributedevenlythroughouttheroombytheunit.
(5) Installtheunitwhereconnectiontotheoutdoorunitiseasy.
(6) Installtheunitwheretheconnectionpipecanbeeasilyinstalled.
(7) Installtheunitwherethedrainpipecanbeeasilyinstalled.
(8) Installtheunitwherenoiseandvibrationisnotamplied.
(9) Takeservicing,etc.,intoconsiderationandleavethespaces.Alsoinstalltheunit
wheretheltercanberemoved.
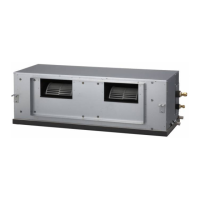
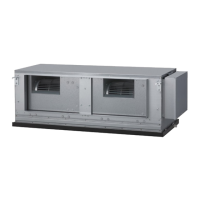
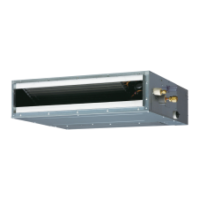
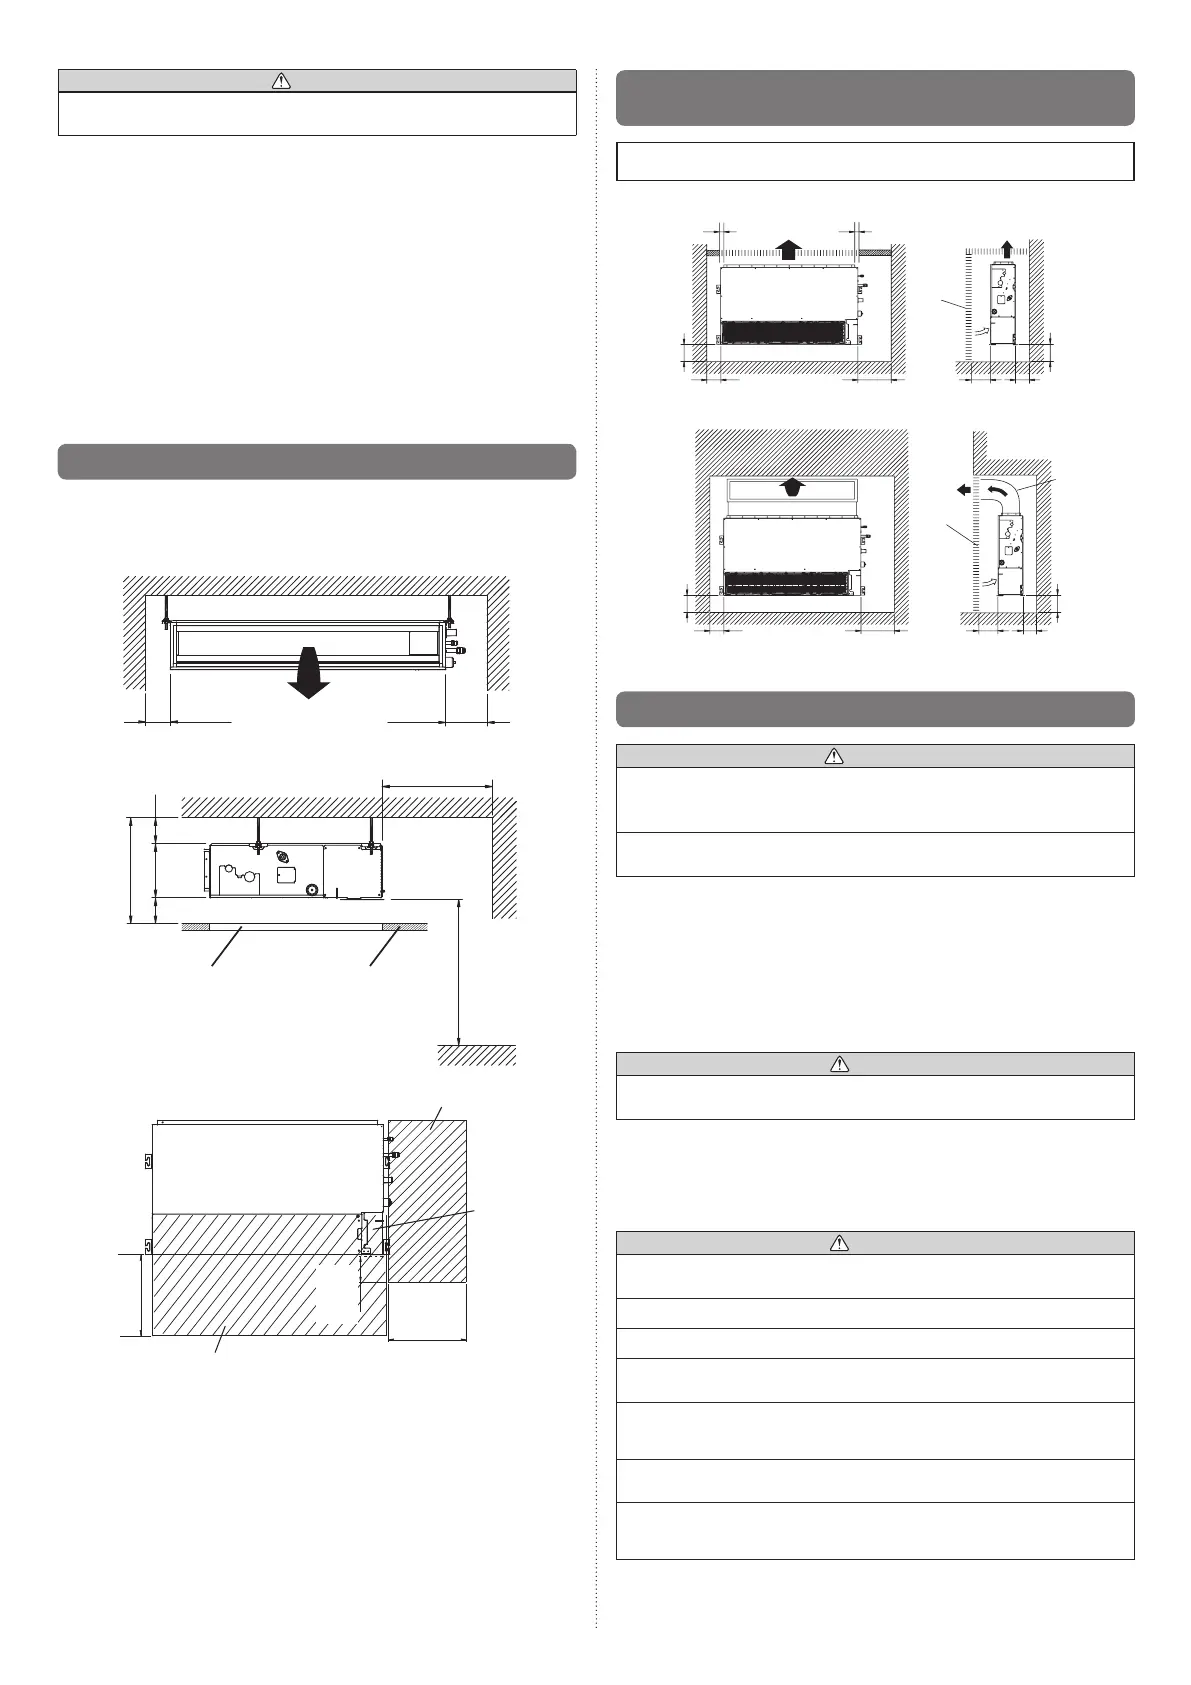
3.2A. Installation dimensions (Ceiling concealed type)
ProvideaServiceaccessforinspectionpurposes.
Do not place any wiring or illumination in the service space, as they will impede service.
Installation Dimensions
Left
side
Stronganddurableceiling
Indoor unit
Right
side
150mm
or more
400mm
or more
Serviceaccess Ceiling
2500mmormore
(Whennoceiling)
Floor
240mmormore
20mmormore
20mmormore
300mmormore
Adjust the wind direction in the room depending on the shape of blow out opening.
Serviceaccess
Unit
Control
box
400mm
or more
100mm
or more
300mm
or more
Servicespace
3.2B.
Installation dimensions (Wall mounted type/Floor
standing concealed type)
Thewallmountedtype/oorstandingconcealedtyperequiresatemperature
correctionsetting.Performthisin“7.3.Functionsetting”.
Strongand
durableoor
10mm
or less
Leftside
Leftside
150mm
or more
150mm
or more
150mm
or more
150mm
or more
150mm
or more
150mm
or more
20mm
or more
20mm
or more
20mm
or more
20mm
or more
400mm
or more
400mm
or more
Inlet air
Inlet air
Strongand
durableoor
Strongand
durableoor
10mm
or less
Right side
(PIPEside)
Right side
(PIPEside)
Grille
Duct
Grille
Strongand
durableoor
3.3A. Installation the unit (Ceiling concealed type)
WARNING
• Install the air conditioner in a location which can withstanda load do at least 5
times the weight of the main unit and which will not amplify sound or vibration. If the
installation location is not strong enough, the indoor unit may fall and cause injuries.
• If the job is done with thepanel frame only,there is a risk that theunit will come
loose.Pleasetakecare.
3.3A.1. UNIT INSTALLATION EXAMPLE (CEILING CONCEALED
TYPE)
Connectthelocallypurchasedduct.
(1)Inletside
• Connecttheducttothelocallypurchasedinletange.
• Connecttheangetothebodywiththelocallypurchasedtappingscrews.
• Windtheinletangeconnectingtotheductwiththealuminumtapeetc.toavoidthe
air discharge.
CAUTION
• Whentheductisconnectedtoinletside,removecontainedlterandsurelyattach
locallypurchasedlteratinletopening.
(2)Outletside
• Connecttheductwithadjustinginsideofoutletange.
• Windtheoutletangeconnectingtotheductwiththealuminumtapeetc.toavoidthe
air discharge.
• Insulatetheducttoavoidthedewcondensation.
CAUTION
• Check that duct work doesnot exceed the rangeof externalstaticpressure of
equipment.
• Makesuretoinsulateductstoavoidthedewcondensation.
• Makesuretoinsulatebetweenductsandwallsifmetalductsareused.
• Pleaseexplainhandlingandwashingmethodsoflocallypurchasedmaterialstothe
customer.
• Topreventpeoplefromtouchingthepartsinsidetheunit,besuretoinstallgrilleson
the inlet and outlet ports. The grilles must be designed in such a way that cannot be
removed without tools.
• Whenconnectingtheducttotheoutletportoftheindoorunit,besuretoinsulatethe
outlet port and the installation screws to prevent water from leaking around the port.
AR07/09/12/14/18Model
• Setthestatic pressure outside the unit to 90 Pa or less (the allowable range is
between0and90Pa).
9374815173-04_IM.indb 3 9/21/2011 1:45:07 PM

 Loading...