Chapter 4 Connection and Settings
4.5 Connecting to the ETERNUS DX/AF
FUJITSU Storage ETERNUS DX, ETERNUS AF Configuration Guide (Power Synchronized Unit)
Copyright 2017 FUJITSU LIMITED P3AM-8012-10ENZ0
62
■ Procedure for RS232C cable connection
The procedure for connecting an RS232C cable is described below.
1 Connect the RS232C cable to the power synchronized unit.
Connect the RS232C cable connector to the PWC port on the power synchronized unit.
2 Connect the connector at the other end to the ETERNUS DX/AF.
Connect the connector at the other end of the RS232C cable to the PWC port on the ETERNUS DX/AF.
Connect the RS232C cable to the PWC port on the controller that was selected in the Setup Power
Management screen.
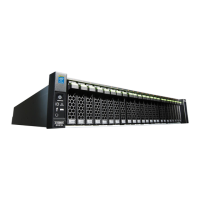
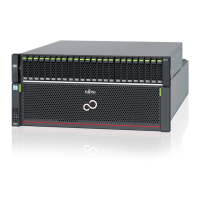
The locations of the PWC ports for various models of ETERNUS DX/AF storage systems are shown below.
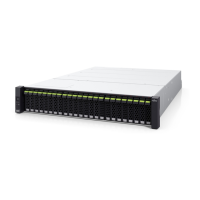
• ETERNUS DX60 S4/DX60 S3
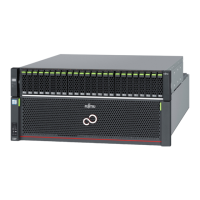
• Connecting the power synchronized unit to the ETERNUS DX8100 S3/DX8700 S3/DX8900 S3 must be
performed by your maintenance engineer. Do not attempt to connect the power synchronized unit by
yourself.
• When connecting the RS232C cable, check the connector orientation and then firmly push it all the way
in.
When disconnecting the RS232C cable, hold the tab of the connector while pulling it out.
The direction of the connector that is connected to the PWC port on the ETERNUS DX/AF is upside down
to the connector that is connected to the PWC port on the power synchronized unit.
Controller 0 (CM#0) Controller 1 (CM#1)
 Loading...