RX100 S3 Service Supplement 19
Replacement routines Replacing the power supply unit
Ê Fasten the LED board with the two screws.
Ê Plug the cable.
Ê Close the server and connect all power plugs (for a detailed description see
the Options Guide).
V CAUTION!
After installing the new LED board, it is necessary to program the
ChassisID prom with the help of the "ChassisIDProm Tool" to enable
ServerView and ServerStart to identify the system.
You will find the tool on the ServerSupport CD and/or it can be
downloaded from the Fujitsu Siemens Computers Service and
Support page (URL:
http://extranet.fujitsu-siemens.com/service/information/intelservers/tools).
4.3 Replacing the power supply unit
Ê Open the server as described in the section “Preparation” on page 17.
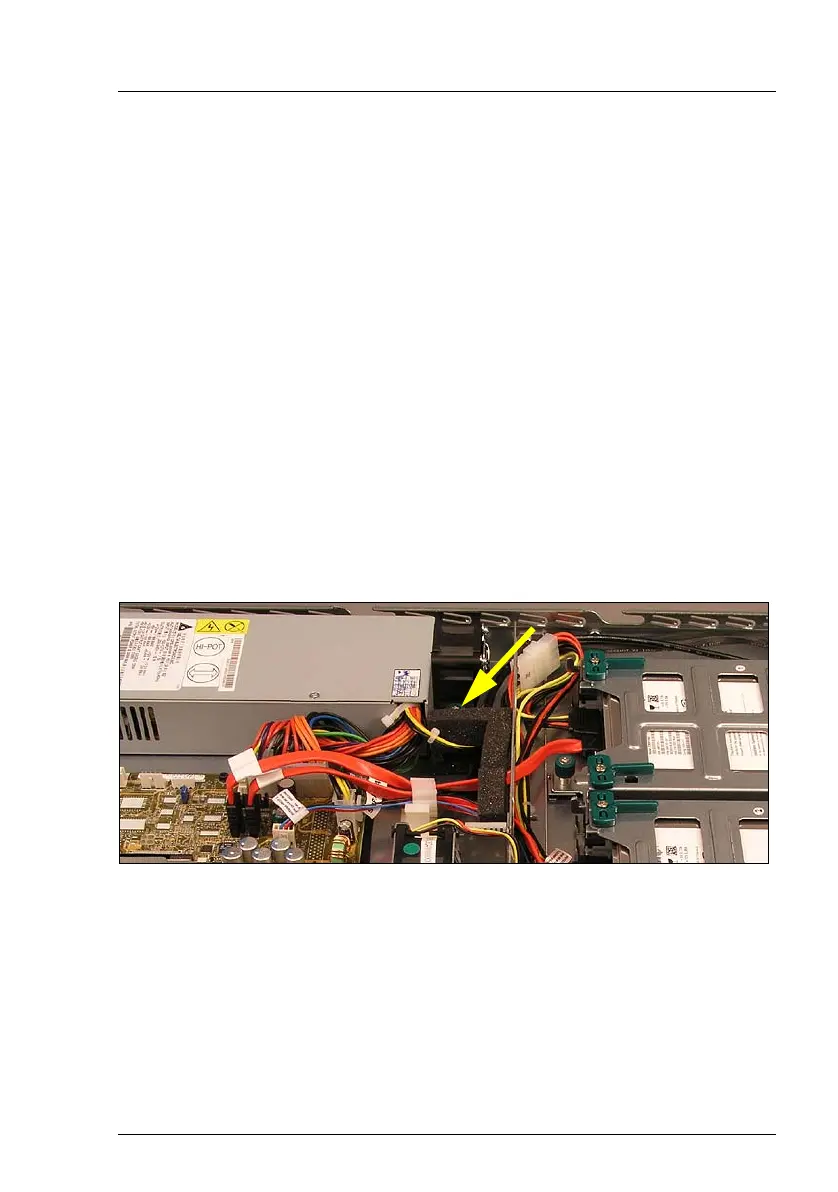
Figure 3: Loosening the screw
Ê Loosen the knurled screw at the rear side of the power supply unit (see
arrow).
Ê Disconnect all power supply cables from the system board and the drives
(see cabling in the appendix).

 Loading...