p.39
Maintenance for Your Drive
7. Click the Apply button in the lower-right cor-
ner of the window. A dialog box will appear
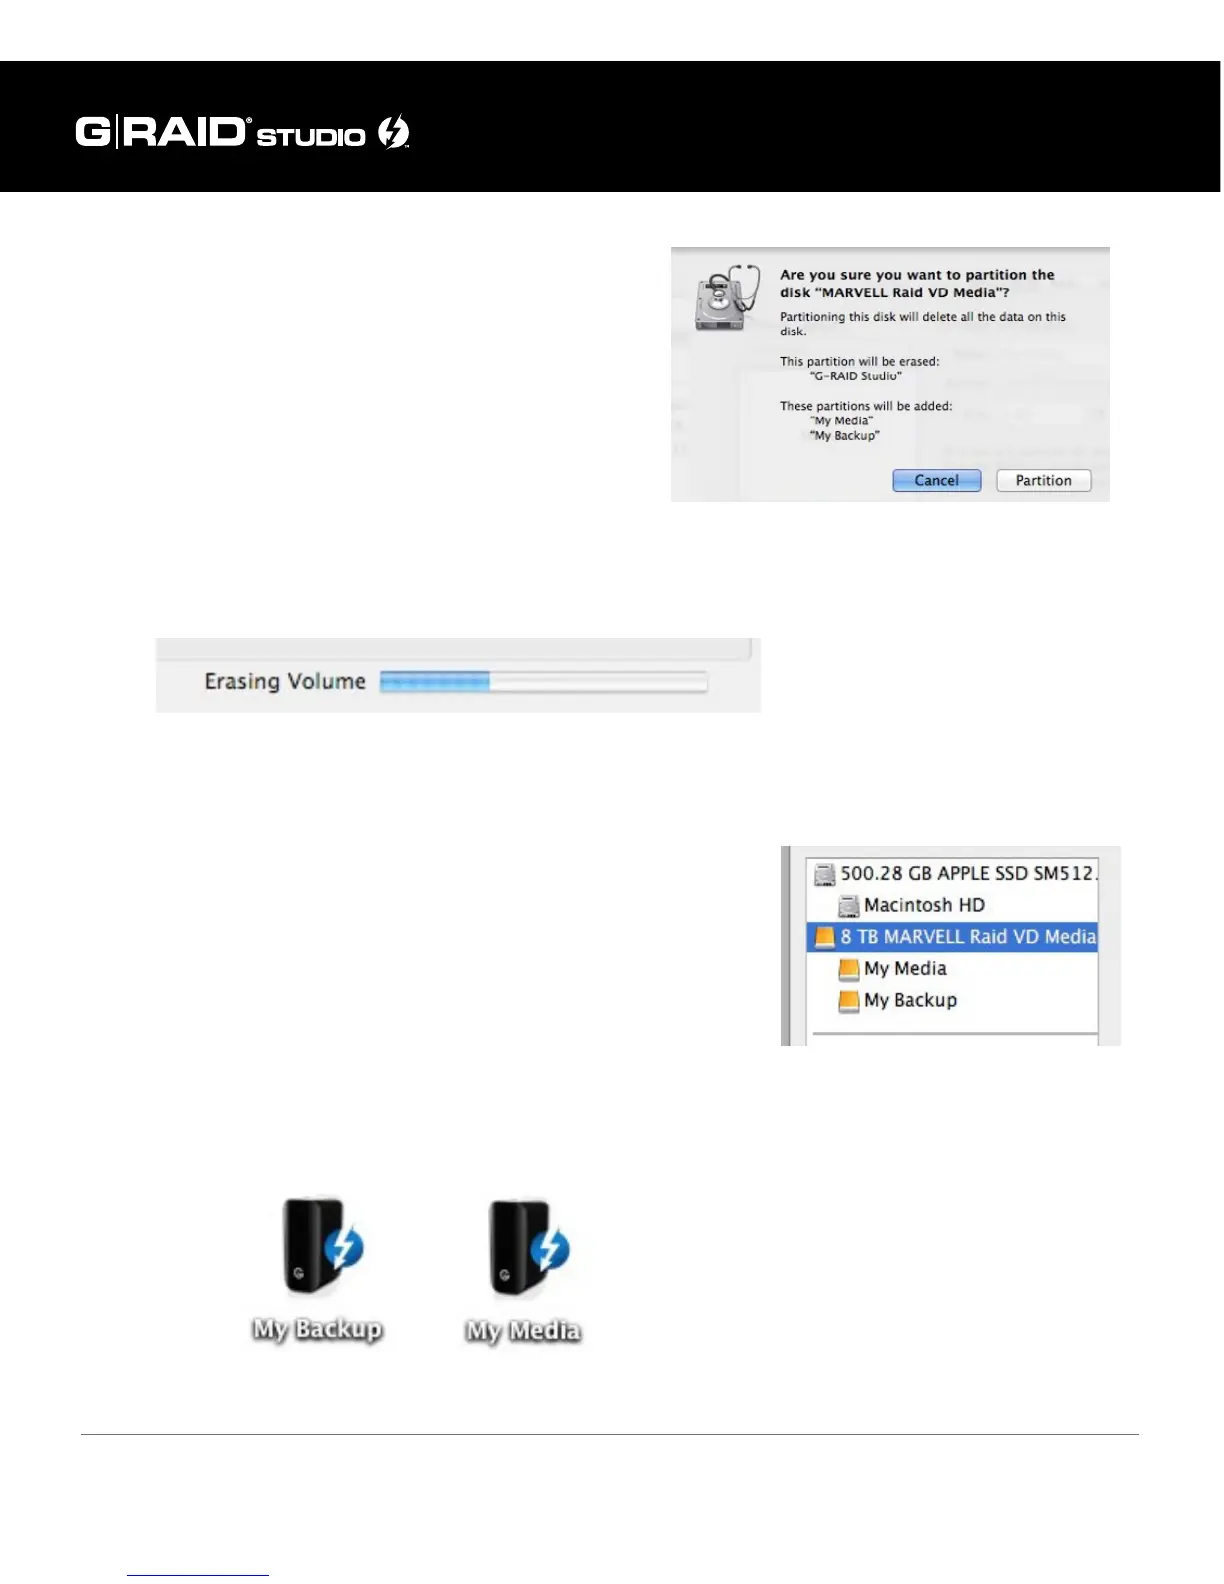
asking if you want to erase the G-Technology
drive partition. WARNING: THIS NEXT STEP
WILL ERASE ALL DATA ON YOUR DRIVE.
8. Click on the Partition button to continue. A progress bar in the lower-right corner of
the window will show you the disk’s reformatting progress.
9. When partitioning is complete, the multiple partitions will be displayed in Disk Util-
ity’s left panel.
10. Quit the Disk Utility program. After reinitializing the
drive, the icon for the G-Technology drive will have
been erased. You can optionally restore this icon to
each partition with the steps in this manual’s Restore
the Drive Icon section.
11. The G-RAID Studio’s multiple partitions will be displayed on the desktop. Your drive
is now set up with two or more partitions and is ready for use.
 Loading...