Using RAID Modes
p.29
RAID 1 Rebuild for Windows
If your G-RAID Studio is in RAID 1 conguration and either a single drive failure occurs or
if a member of the RAID 1 set is removed, then the active drive will operate in degraded
mode.
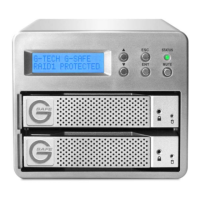
1. In the case of a degraded mode, if the G-RAID Conguration Utility is launched, then
the RAID status will show as degraded in the information window as shown in the
image below.
2. The Rebuild button will become ENABLED at this point so that you have the option
to rebuild the RAID 1 set.
3. To rebuild the RAID 1 set, please insert a new drive in place of the failed or removed
drive. Note: While replacing the failed drive make sure the G-RAID Studio is powered
o. If this new drive is not formatted then the Disk Utility function will automatically
launch, allowing you to format the drive. If this replacement drive is formatted then
you are ready to rebuild the RAID set.
4. Once you click on the Rebuild button two back to back warning windows will ap-
pear, letting you know that the rebuild process will delete the data in the newly
inserted disk. Click the YES button in both the windows to continue. Note: While the
rebuild is in process please keep the G-RAID Studio connected to the host.
5. A window will appear telling you that the rebuild process is successful.
6. Your RAID 1 is now running in protected mode again.