3. RFID Calibration
1)Auto Calibration
Method One:
In standby state, long press the FEED button (About 4s) until the printer
automatically removes paper, then release, and the printer automatically carries out
paper detection calibration. When the paper is stopped and the blue light is on, the
paper detection calibration is completed.
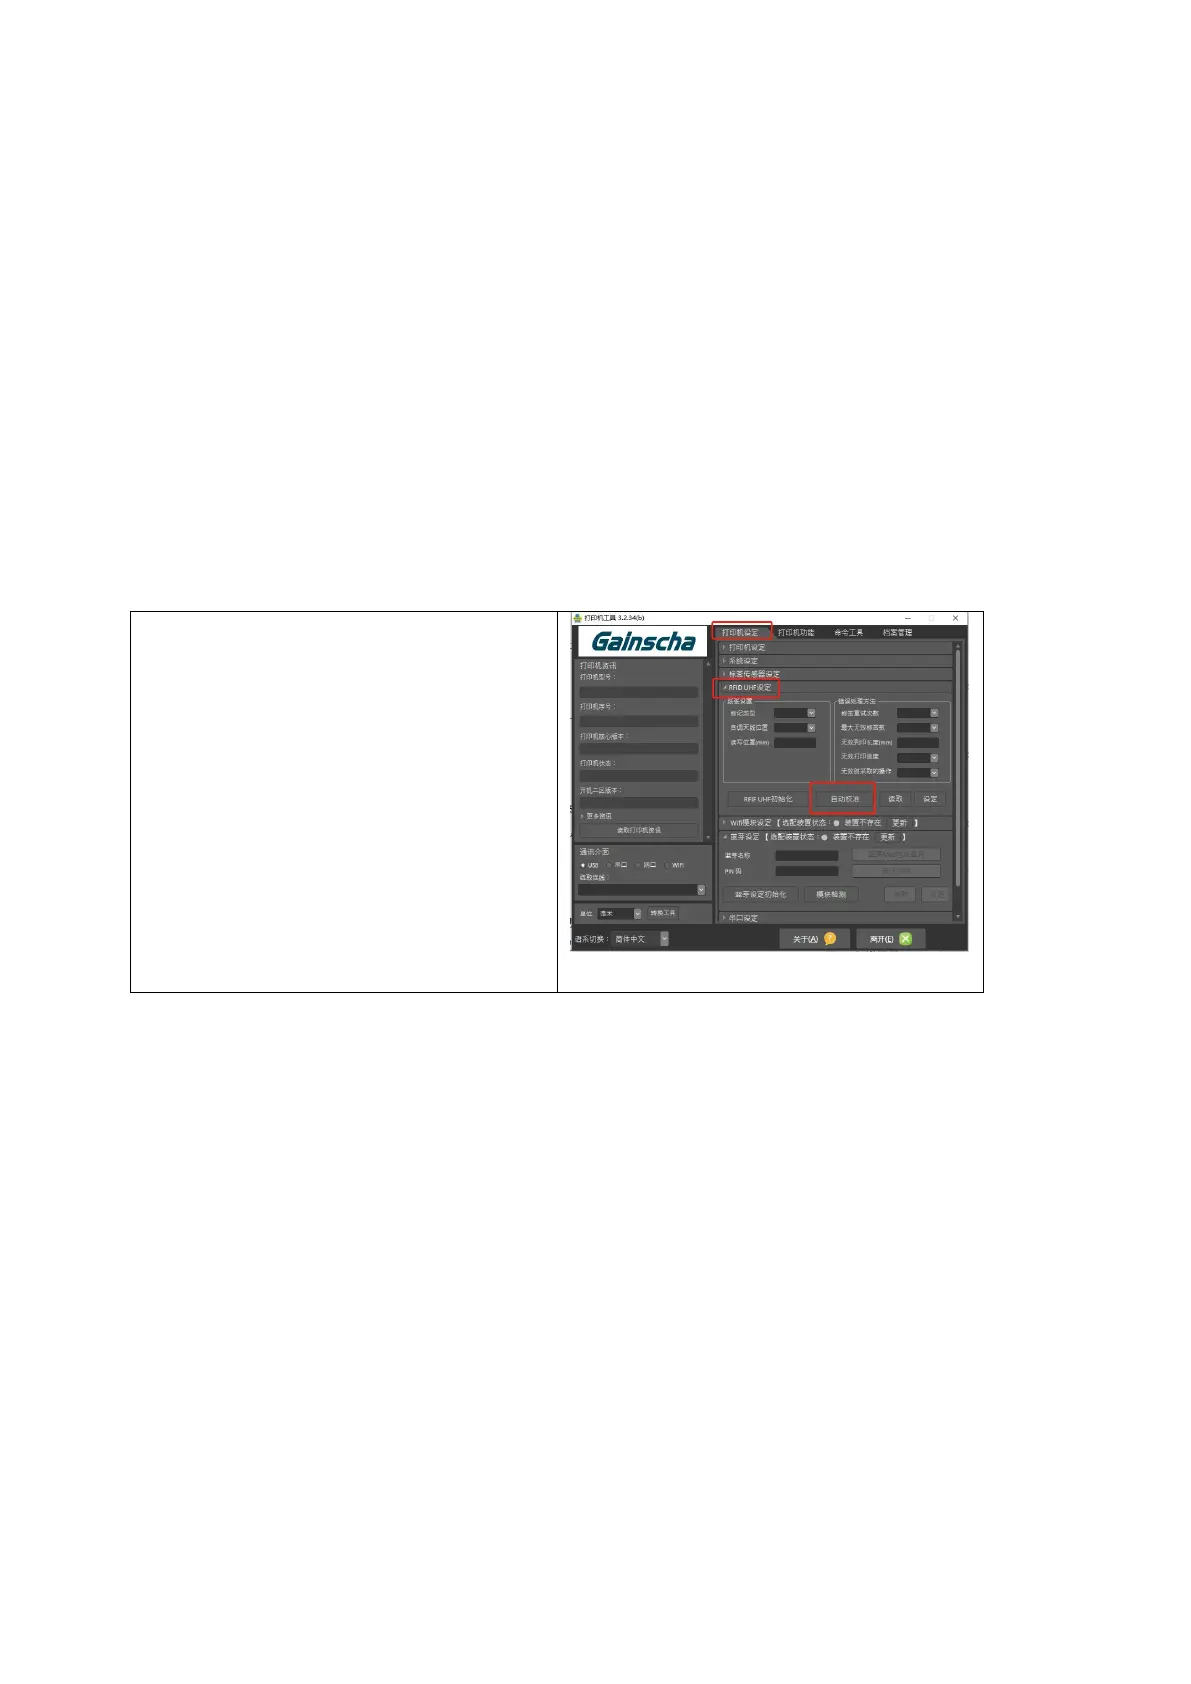
Method Two:
Open Printer Utility, click “RFID UHF
Setup” in the “Printer Configuration”,
then click “Auto Calibration”, and the
printer can automatically conduct
paper detection calibration. After
stopping and the blue light is constant,
it means that the paper detection
calibration is completed.
Usage Scenarios:
After the first installation or the replacement of different specifications of paper,
please carry out paper detection correction, so that the printer can accurately detect the
best writing position of paper.
Cancel correction:
Method 1: Press the FEED button twice
Method 2: Open PrinterUtility and find the “Gap Sensor Setup” in the Printer
Configuration, and then click the “Gap Sensor Default”.
 Loading...