37-1-615 Page 42
14. Using the correct installation tool, press the seal down into the bore. Verify that the seal face is
below the bearing spacer face. Repeat for other shaft.
15. With micrometer, FIGURE 7-14, measure the thickness of shaft shim sets (22, 23) established
in Step 5 thru 8. Be sure shims are clean of dirt and oil for true measurement.
16. Check the end of the bearing spacer for dirt and burrs. Be sure the bearing spacer is solid
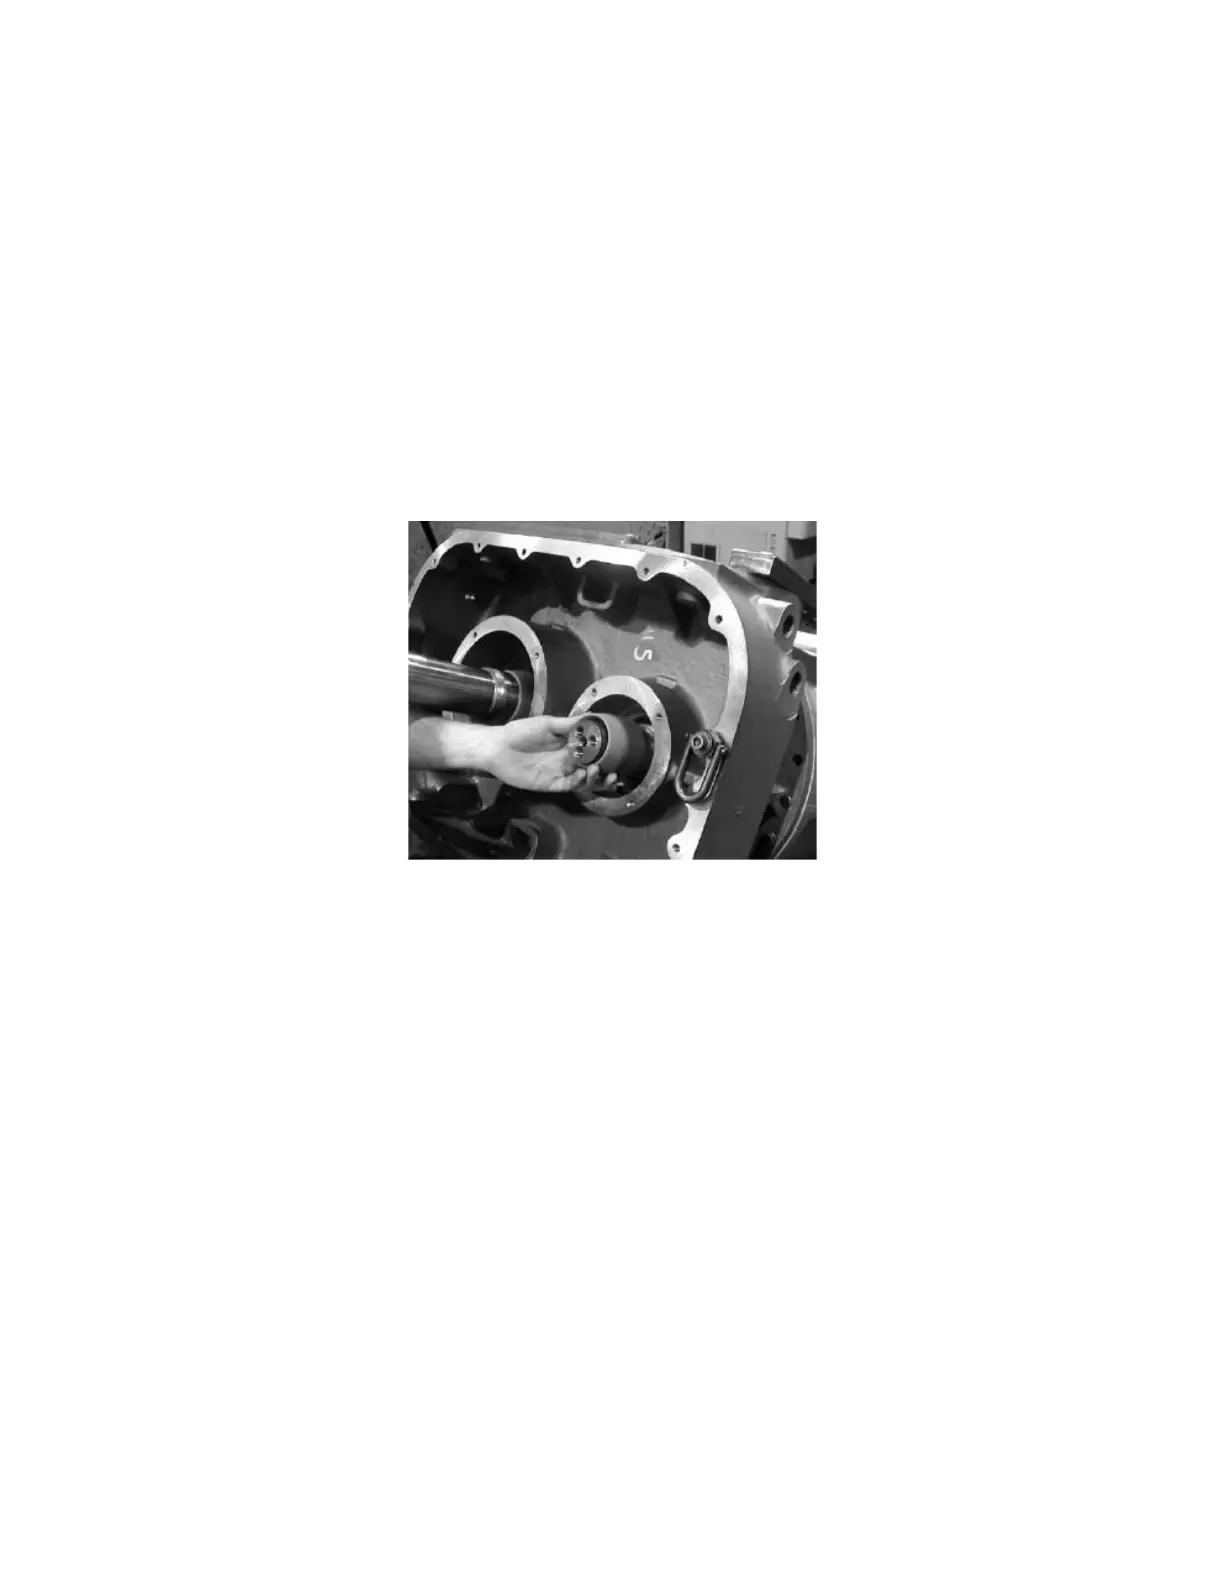
against the rotor. Slide shim set (22, 23) over the shaft extension, FIGURE 7-15, up against
the end of the bearing spacer.
17. Lightly coat the shaft extension and bearing bore with oil. Assemble bearings, as shown in
FIGURE 7- 5, on the shaft. Assemble the press plates (refer to FIGURE 6-1 and
FIGURE 6-2 in Disassembly Section, page 36), on the bearing and install the jack screws,
FIGURE 7-16. Progressively tightening nuts on the jack screws presses bearings in place. To
prevent possible damage to threads on the shaft, press one bearing over the shaft into the bore
at a time, rather than with both bearings stacked together. When the first bearing is flush with
the top face of the bore, the second bearing may be started. Tighten nuts on the jack screws
evenly to prevent cocking of the bearings on the shaft and in the bore.
FIGURE 7-13
 Loading...