Garmin G950 Pilot’s Guide for the Pilatus PC-6
190-00870-02 Rev. A
300
HAZARD AVOIDANCE
SYSTEM
OVERVIEW
FLIGHT
INSTRUMENTS
EIS
AUDIO PANEL
& CNS
FLIGHT
MANAGEMENT
HAZARD
AVOIDANCE
AFCS
ADDITIONAL
FEATURES
APPENDICESINDEX
Displaying weather on the Weather Radar Page:
1) Select the Weather Radar Page in the Map Page Group with the
FMS
Knob.
2) Press the MODE Softkey.
3) While on the ground, press the STANDBY Softkey. For the GWX 68 only, a one-minute warm-up period is
initiated (countdown is displayed on the screen). After the warm-up is complete, the radar enters the Standby
Mode. This warm-up period is not applicable to the GWX 70.
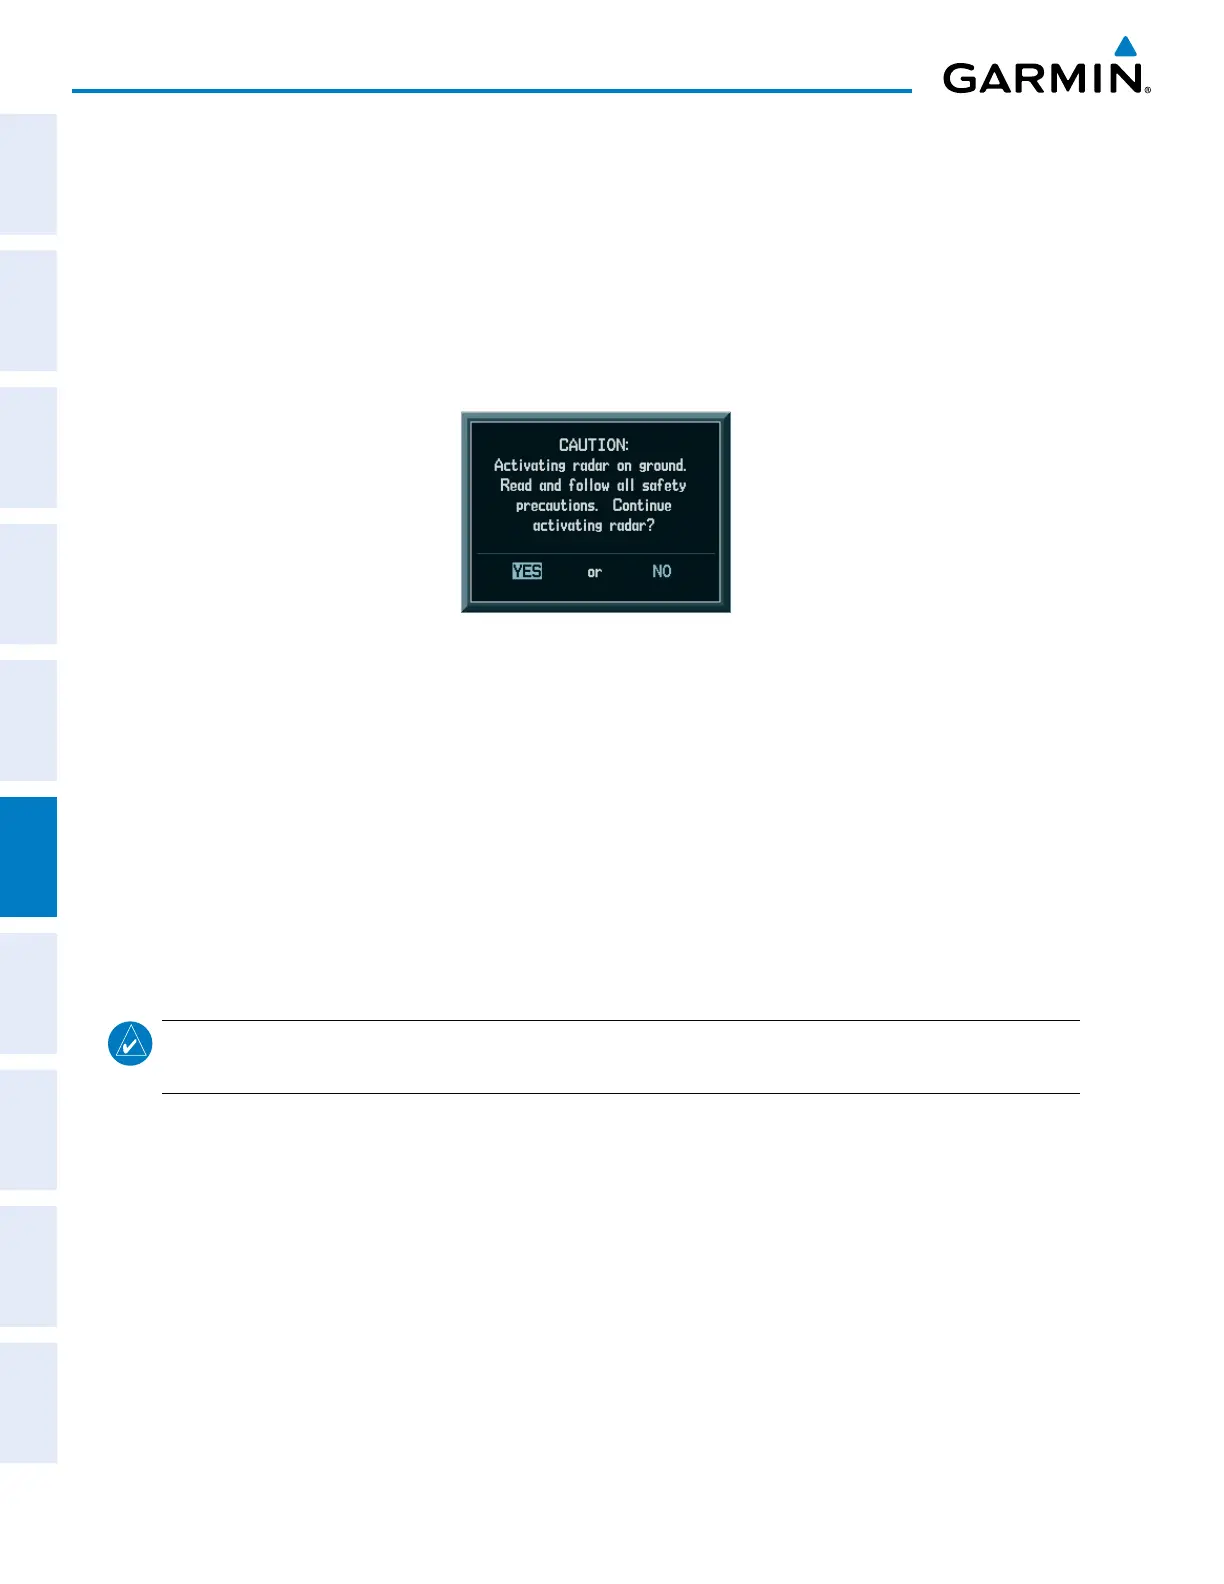
a) Press the WEATHER Softkey. A confirmation window is displayed.
Figure 6-11 Confirming Activating Radar
b) Turn the small FMS Knob to highlight YES and press the ENT Key to continue radar activation.
Or:
If the aircraft is airborne, press the WEATHER Softkey. For the GWX 68 only, a one-minute warm-up period is
initiated (countdown is displayed on the screen). After the warm-up is complete, the radar begins transmitting.
4) Turn the Joystick to select the desired map range.
5) The horizontal scan is initially displayed (Figure 6-10). If desired, press the VERTICAL Softkey to change to
vertical scanning.
Vertically scanning a storm cell:
NOTE: Vertical scanning of a storm cell should be done with the aircraft wings level to avoid constant
adjustment of the Bearing Line.
1) While in the Horizontal Scan view, press the BRG Softkey. This places the cursor in the BEARING field and
displays the Bearing Line.
If the Bearing Line is not displayed, press the MENU Key and turn the large
FMS Knob to select Show Bearing
Line. Press the ENT Key.
2) Press the ENT Key.
3) Turn the small
FMS Knob to place the Bearing Line on the desired storm cell or other area to be vertically
scanned.