INSTALLATION
REV7 /REV7 OI 250 (EN) 33 / 146
6.6 Mounting the Connecting Brackets
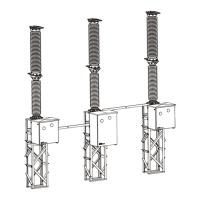
Lattice supports are connected with one another by connecting
brackets. Note the positions of the oblong hole and the guide hole
in the connecting brackets (views X, Y and Z).
• Position the connecting bracket (1) between poles A and B on the
horizontal strut (views T and U).
• Fasten the bracket to pole B via the guide hole (view Y) using the
bolt (2), washer (4) and nut (5) (view U).
• Fasten the bracket to pole A via the oblong hole (view X) using
the bolt (2), washer (4) and nut (5) (view T). Tighten to a torque of
202 Nm.
• Position the connecting bracket (1) between poles B and C on the
mounting flange for the pole columns (views V and W).
• Fasten the bracket to pole C via the guide hole (view Z) using the
bolt (3), washer (4) and nut (5) (view W).
• Fasten the bracket to pole B via the oblong hole (view Y) using
the bolt (3), washer (4) and nut (5) (view V). Tighten to a torque of
202 Nm.
The correct center-to-center distance between poles is achieved
when the connecting brakkets are mounted as shown in views X, Y
and Z.
 Loading...
