– 33 –
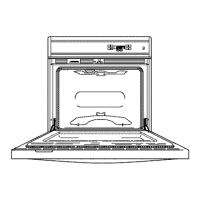
Rear Access Panels
To remove rear access panels:
1. Remove three ¼-in. hex-head screws and rear
bake element terminal covers from oven.
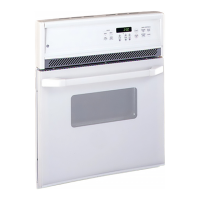
Side Access Panel
Single Wall Oven (left side)
2. Remove the ¼-in. hex-head screws that hold
each rear panel in place. The single wall oven
has 2 panels and 8 hex-head screws. The double
wall oven has 3 panels and 11 hex-head screws.
Rear Access Panel
Bake Element
Terminal Cover
Double Wall Oven
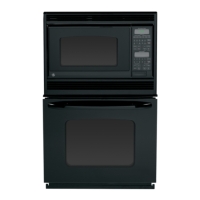
Oven Separation (JKP90 Only)
Oven separation is only necessary on the JKP90
Micromod Wall Oven.
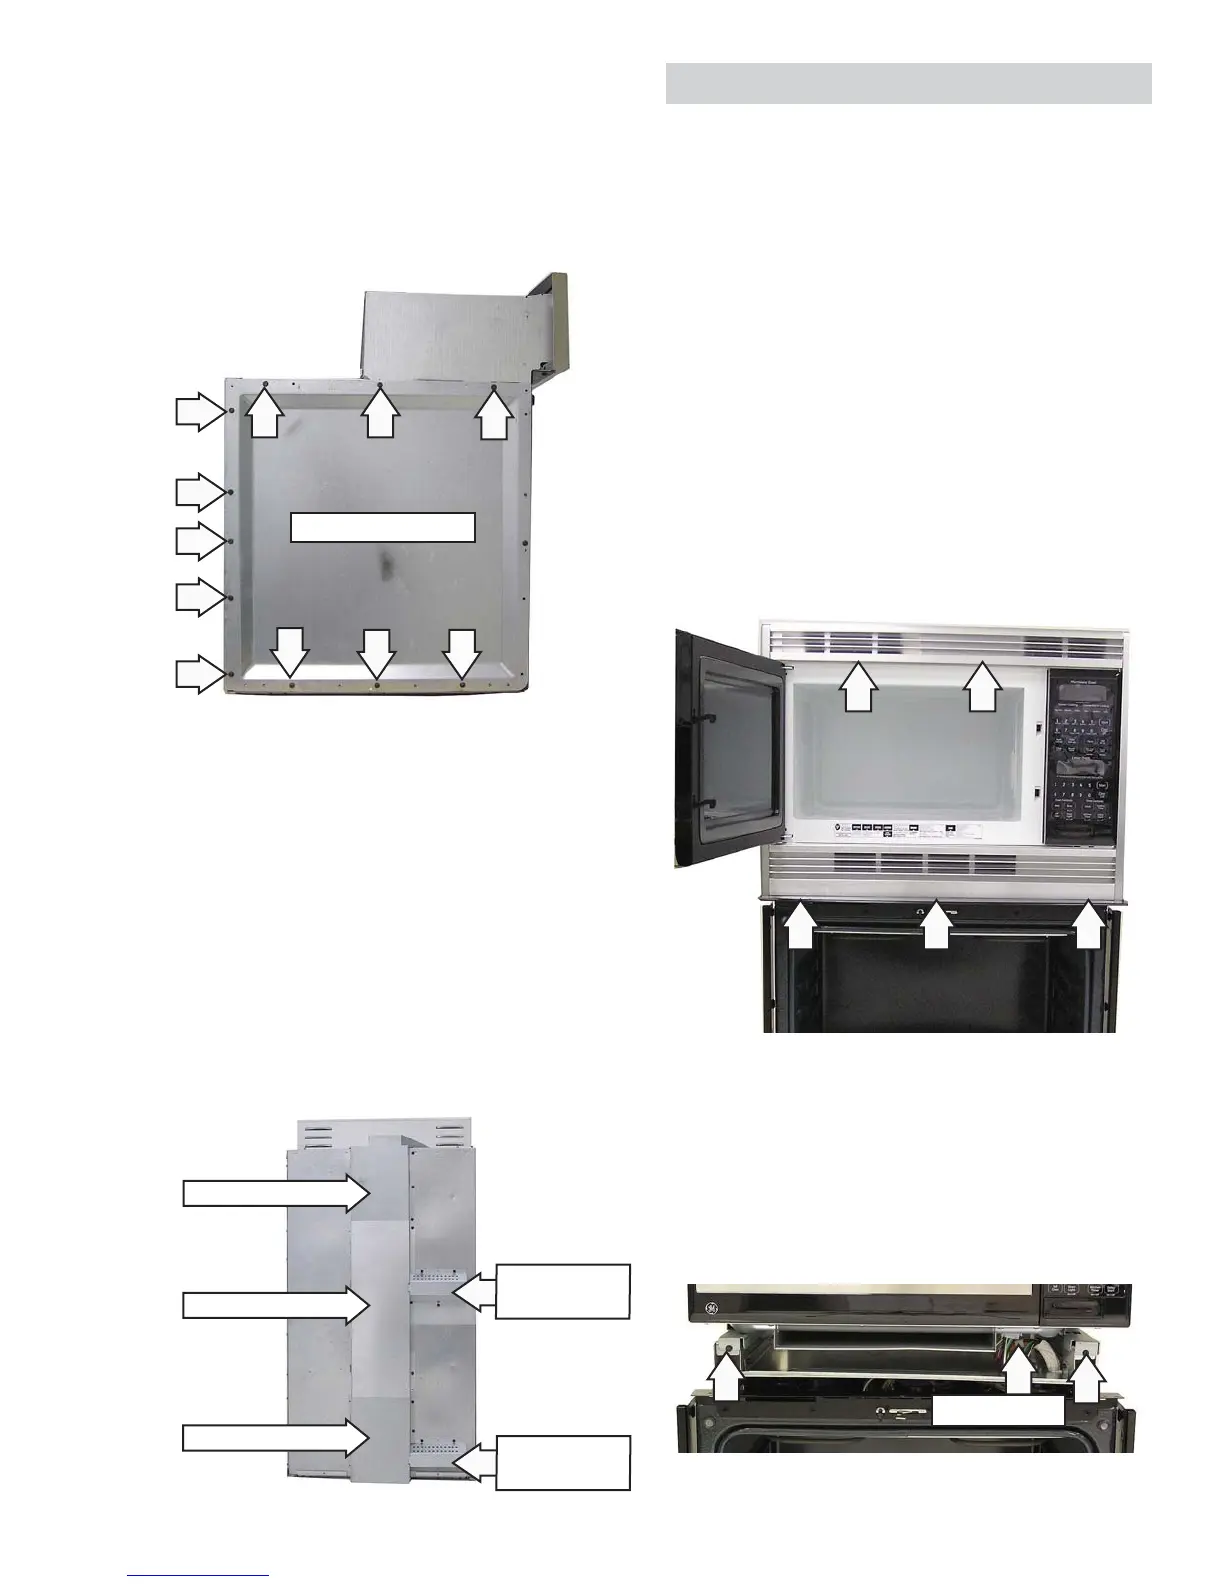
To separate the oven from the microwave:
1. Open the oven door.
2. Remove three ¼-in. hex-head screws and
the black metal trim from the bottom of the
microwave trim.
3. Open the microwave door.
4. Remove two T-15 Torx screws and the
microwave trim from the oven.
5. Close the microwave door.
6. Remove the oven from the installation (See Oven
Removal.)
10. Remove the microwave by sliding it out.
7. Remove two ¼-in. hex-head screws from the
microwave support rails.
8. Lift up slightly on the bottom of the microwave
and pull it forward about 4 inches.
9. Disconnect 2 harness connectors from the
bottom of the microwave.
Disconnect
3. Remove the ¼-in. hex-head screws that hold the
side access panel to the oven. The double wall
oven has 17 hex-head screws on the top side
panel and 14 hex-head screws on the bottom
side panel. The single wall oven has 11 hex-head
screws.
Bake Element
Terminal Cover
Rear Access Panel
Rear Access Panel
 Loading...