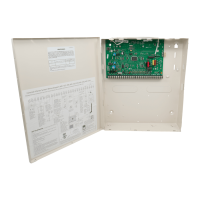
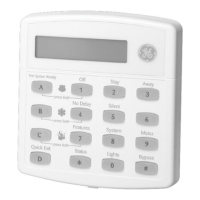
Security Pro 500
8
¾ Arming to Level 2 or 3 with No Delay:
1. Close all perimeter doors and windows.
2. Exit the premises if arming to Level 3—AWAY.
3. Enter:
2 + Code or 3 + Code.
The system sounds two or three short beeps.
4. Immediately after hearing the beeps, press
4 for No Delay.
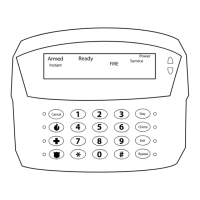
Touchpads display an arming message, such as “Armed to STAY No Delay” or “ARMED TO
AWAY NO DELAY,” for example. The ARMED indicator light on fixed display touchpads
will light.
Changing the arming level will restore delay doors to their normal Exit and Entry Delay times.
Auto STAY Arming Feature
The Auto STAY Arming feature helps cut down on false alarms in the event that you arm the sys-
tem to 3—AWAY, but fail to leave during the exit delay time. Here’s how it works:
Your dealer can turn this feature on or off for you. See the “Arming Information” section of
Appendix A to find out if this feature is currently enabled in your system.
Arming While a
Door or Window
is Open
It is possible to arm your system while leaving a door or window open. This is useful if, for
example, you like to sleep at night with the window open.
If the door or window has a sensor installed on it, the system must be told to ignore, or bypass,
that sensor when it’s open. All other sensors will remain active.
There are two methods for bypassing a sensor:
• Directly — After arming the system, bypass door/window sensors before you open them.
You must know the sensor number of the door or window you wish to bypass. To bypass
directly, the user code must have been given the Direct Bypassing attribute. See “Assigning
the Direct Bypassing Attribute” for more information.
• Indirectly — As you are arming, bypass sensors on already-open doors and window. This
method should not be used in UL-listed installations.
Note
When a sensor is bypassed,
you are allowing that door or
window to be unprotected.
Bypassing a Sensor Directly
Use this method if the system is armed and you would like to open a window without disarming.
Refer to the Appendix A User Sheets to determine what the sensor number is for the sensor you
wish to bypass.
¾
To bypass sensors directly:
1. Close all doors and windows.
2. Arm your system to the desired level.
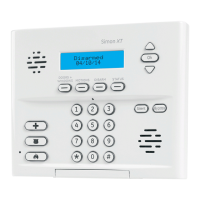
3. At any touchpad, press
ƒ (labeled Bypass) + Code + sensor number.
4. Touchpads display, “Bypassed Zones 01,” or “SENSOR 01 BYPASSED,” for example.
If the touchpad displays “INVALID,” or if the touchpad sounds one long beep, make sure that
you entered a valid access code and a valid sensor number. Gas, heat, and smoke sensors can-
not be bypassed.
5. Bypass other sensors, if necessary, by repeating Step 3.
If you arm the system to Level 3—AWAY, and do not leave the premises within the exit
delay time—
If feature turned on The system can tell that no one opened and closed a delay door within
the delay time. It assumes that someone is still inside and the panel will
arm to 2—STAY to avoid a false alarm.
If feature turned off The system arms to Level 3—AWAY regardless of whether or not a delay
door has been opened and closed.
Your movement inside the premises could activate a motion detector,
causing an alarm.

 Loading...
