44-00-0297 SHERLOCK102/202 REV. 4.1 05-02-15
33
SETPOINT MENU
(THE SETBACK ENTRIES WILL NOT BE SHOWN IF
SENSOR SETBACK OPTION WAS NOT INSTALLED.)
When the Control is in SETBACK MODE, the Setback Set-
point and Delay is used as the alarming critera. The Setback
Setpoint and Delay are usually set to a higher value. This
prevents fault alarming in some applications. One example is
CMOS sensor reaidng goes higher when propane floor buffer
machine is in use. (See Page 45 for more on Setpoints)
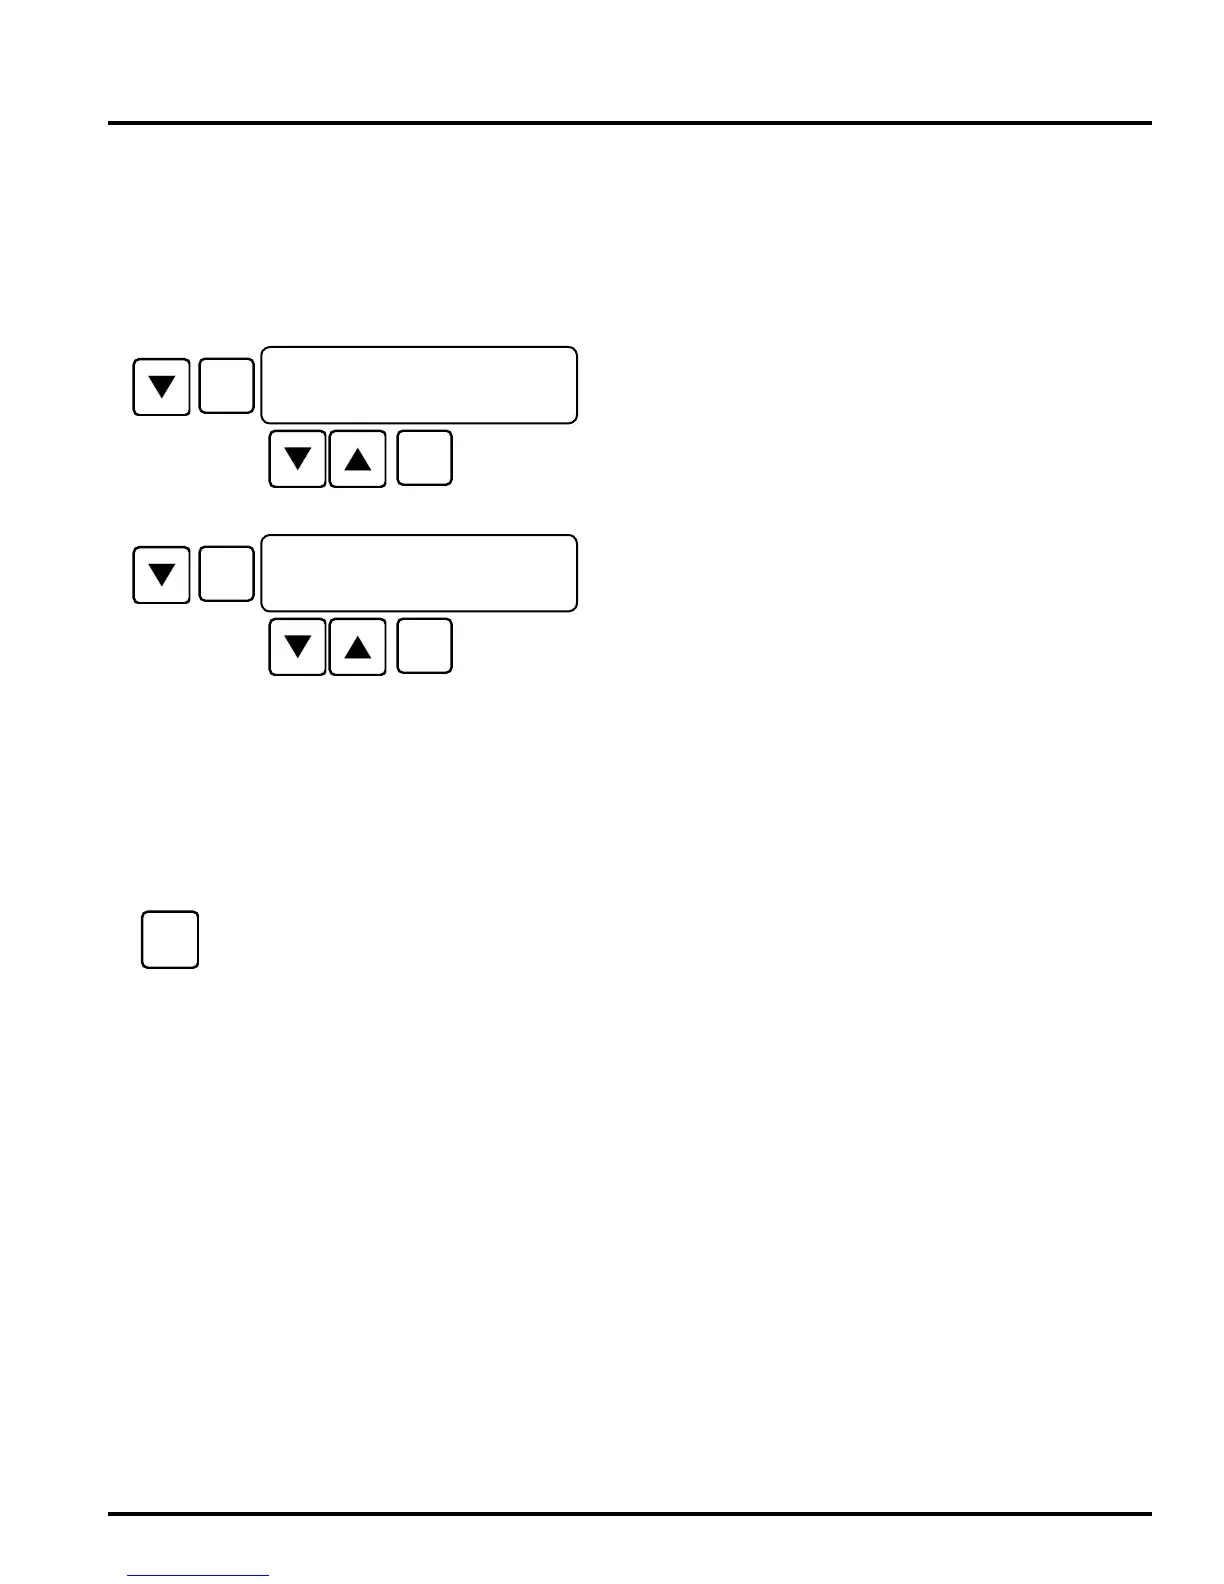
SENSOR 1 LEVEL 1 SETBACK ALARM SETPOINT
(20-999)
SENSOR 1 LEVEL 2 SETBACK ALARM SETPOINT
(20-999)
Each sensor can have two levels of Alarming. The level 2
alarm of a particular sensor can be disabled. If enabled, the
level 2 setpoint and delay can be modified. The two entries
for the particular sensor will not be shown and level 2 alarm is
disabled if level 1 alarm is not enabled.
Exit this MENU and return to DEFAULT SCREEN or down
arrow to wrap around to the beginning of the menu.
<S>SNR A SETBACK
L1 ALM,PPM: 150
<S>SNR A SETBACK
L2 ALM,PPM: 250
REPEAT FOR SENSOR B IF APPLICABLE