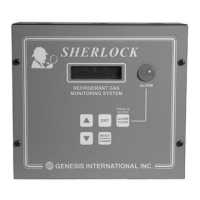
44-00-0297 SHERLOCK102/202 REV. 4.1 05-02-15
39
TEST MENU
This menu is provided to facilitate wiring checks for each
output. When entering into this menu. the relays retain their
operating states. The relays can be turned ON (Energized) or
OFF (De-Energized) by the user. The N.O. or N.C. settings on
alarm relays have no effect on the test. When exiting from this
menu, the preset states for all settings prior to entering this menu
will be resumed. Refer to the input/output diagram on page 20.
TEST RELAY K1
This feature is used to test each dry contact relay. One at a time.
Press SELECT button to toggle between "ON" and "OFF".
Down arrow to move to the next screen.
Follow the same procedure for LVL1 SIL-ALM, LVL2
ALARM, LVL2 SIL-ALM, and also optional zone isolation
relays ZONE A ALM, ZONE A SIL, and ZONE B ALM,
ZONE B SIL, if installed.
TEST HORN/STROBE AND STROBE LIGHT INPUT
HORN/STROBE and STROBE LIGHT can be used to direct
connect a 12 VDC Strobe or Horn/Strobe so as not to use any
relays. This screen can be used to test the wiring for each.
Press SELECT button to toggle between "ON" and "OFF" to
activate the alarm device connected to HORN/STROBE. Do
the same for STROBE LIGHT.
TEST 4-20 MILLIAMP OUTPUT
This feature tests the optional 4-20mA This output located on
the input/output board.
Press the SELECT button. The reading for the Sensor A PPM
level will begin to blink. Press the UP or DOWN arrow. The
blinking number will go up or down between 0 ppm and 1500
ppm. Press the SELECT button to save this entry and to read the
current output. Do the same for Sensor B if applicable.
RESTART
This function is only necessary if for some reason the control
will not operate properly. Doing restart will not clear any previ-
ous settings already input. This is equivalent to powering down
and powering back up.
Press the SELECT button. The "NO" ("YES") will begin to
blink indicating that the controller is in the Change mode. Press
UP/DOWN arrow buttons to change to "YES" ("NO"), press
SELECT button to save this entry.
The control will then ask for a confirmation. Press the SELECT
button. The "NO" ("YES") will begin to blink indicating that
the controller is in the Change mode. Press UP/DOWN arrow
buttons to change to "YES" ("NO"), press SELECT button to
save this entry.
RE-START will automatically begin.
Exit this menu and return to DEFAULT SCREEN. All relay
outputs will return to their operating states prior to entering test
menu.
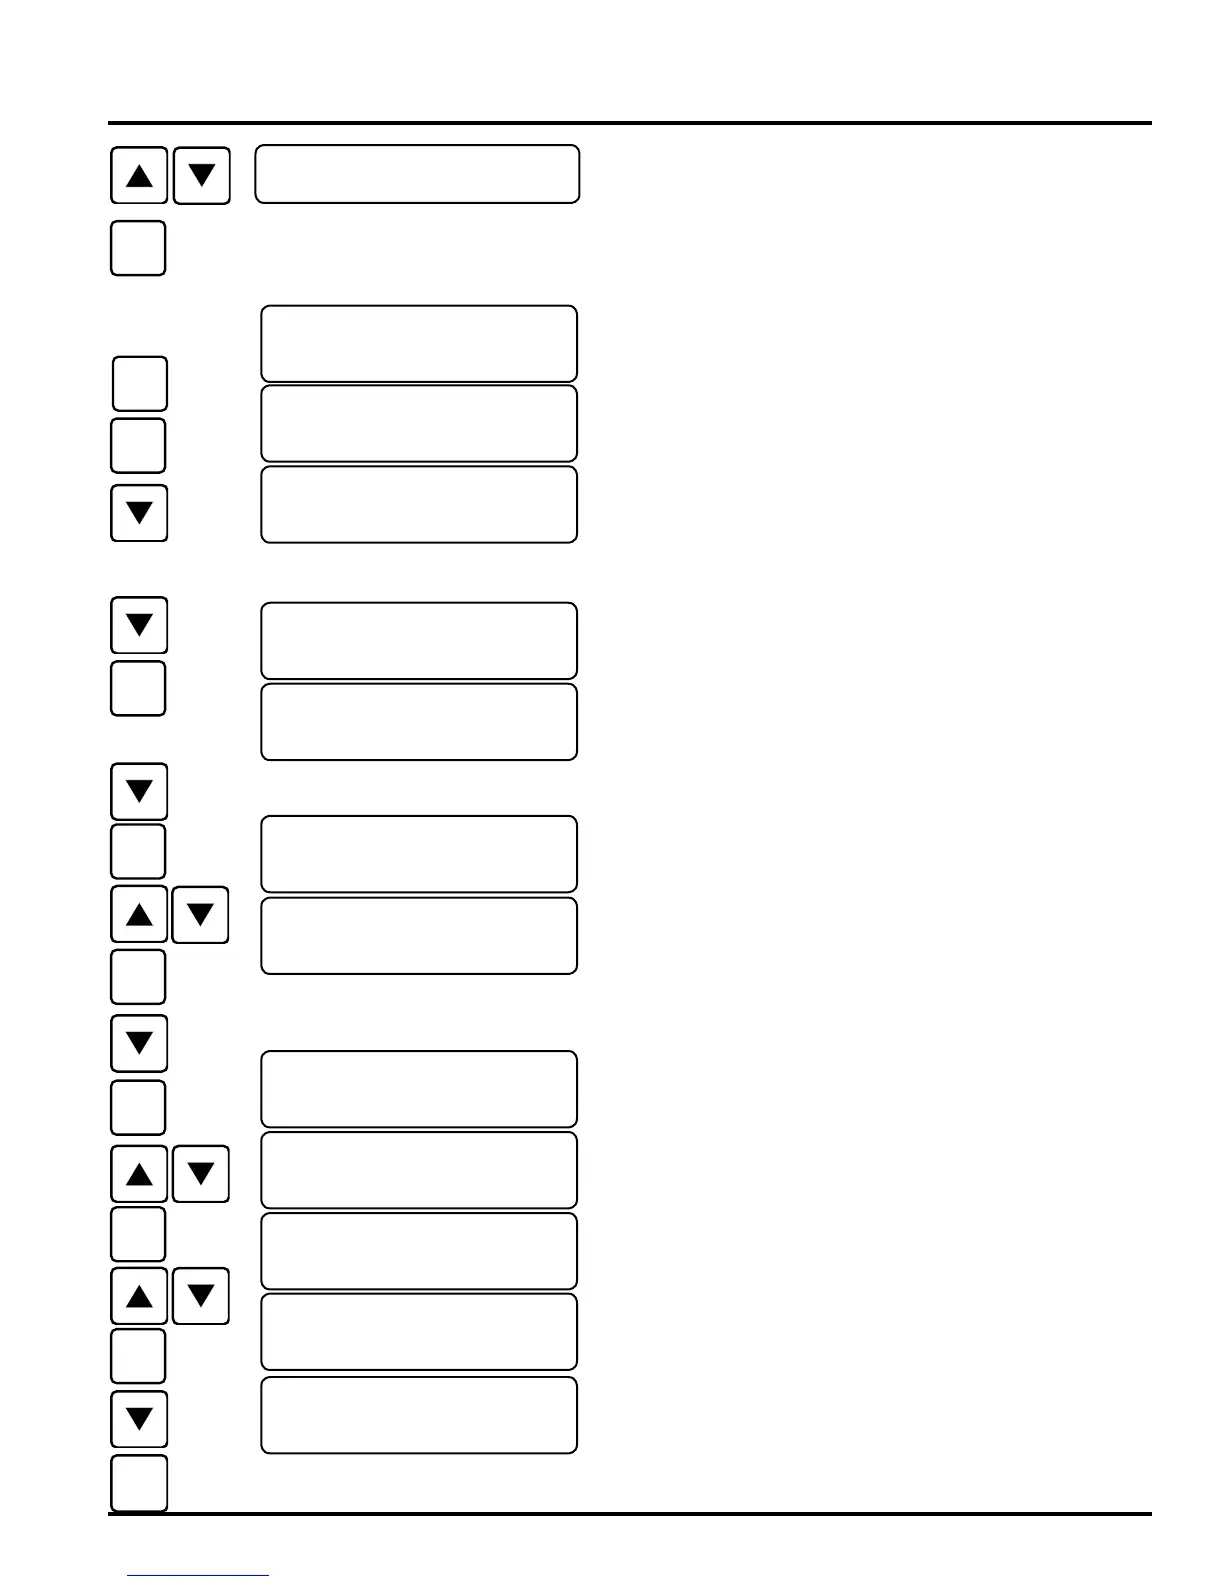
<TEST MENU>
<T> TOGGLE RELAY
LVL1 ALARM:
<T> TOGGLE RELAY
LVL1 ALARM: OFF
<T> TOGGLE RELAY
LVL1 ALARM: ON
REPEAT FOR UP TO 8 RELAYS
<TESTING>TOGGLE
AUX1 STROBE : ON
<TESTING>TOGGLE
HORN/STROBE: OFF
<TST>TEST 4-20MA
WHEN SNR A= XX
<TST>TEST 4-20MA
WHEN SNR A= XX
<TST> RE-START
CONFIRM: NO
<TST> RE-START
THIS CONTROL : NO
<TST> RE-START
THIS CONTROL : YES
<TST> RE-START
CONFIRM: YES
<TST> RE-START
IN 2 SECONDS ...