44-00-0297 SHERLOCK102/202 REV. 4.1 05-02-1536
Press the DOWN arrow button to move to next entry.
To set the Setback begin time, press SELECT button. The time
will begin to blink. Press the UP/DOWN arrow buttons to the
desired time. Press SELECT button to save this entry
Press the DOWN arrow button to move to next entry.
To set the end time, press SELECT button. The time will
begin to blink. Press UP/DOWN arrow buttons to the desired
time. Press SELECT button to save this entry
Press the DOWN arrow button to move to next entry. Use
this screen if you have the zone Isolation alarm relays factory
installed. They would be relays 5 through 8 on the main input
/ output boad.
To set this entry to ON. Press SELECT button, and "NO"
("YES") will begin to blink. Press DOWN arrow button.
The blinking "NO" ("YES") will change to a blinking "YES"
("NO"). Press SELECT button to save this entry
Press the DOWN arrow button to move to the next option. Set
the zone isolation alarm relay trigger level (The zone isolation
alarm relays are optional and must be installed at the factory).
Press SELECT button, "2" ("1&2") will begin to blink. Press
DOWN arrow button. The blinking "2" ("1&2") will change
to a blinking "1&2" ("2"). Press SELECT button to save this
entry The zone isolation relays will activate on either level 1
&2 or level 2 alone.
Press DOWN arrow button to move to the next entry. Set
zone isolation alarm relays silenceable by the front panel silent
button . The selection applies to all the zone isolation relays.
Press SELECT button, and "NO" ("YES") will begin to blink.
Press DOWN arrow button. The blinking "NO" ("YES") will
change to a blinking "YES" ("NO"). Press SELECT button to
save this entry
Press DOWN arrow button to move to the next option. Set the
Active Mode for the level 1 relays K1/K2. The alarm relays
can be set to "N.O." (Normally Open) or "N.C." (Normally
Closed) modes. To change Active Mode, press SELECT
button. The "YES" ("NO") will begin to blink. Press DOWN
arrow button to change the blinking "YES" ("NO") to a blink-
ing "NO" ("YES"). Press SELECT button to save this entry.
The active mode can be verified by looking at the relays. In
N.O. Mode, the LED is off. In N.C. Mode, the LED is on.
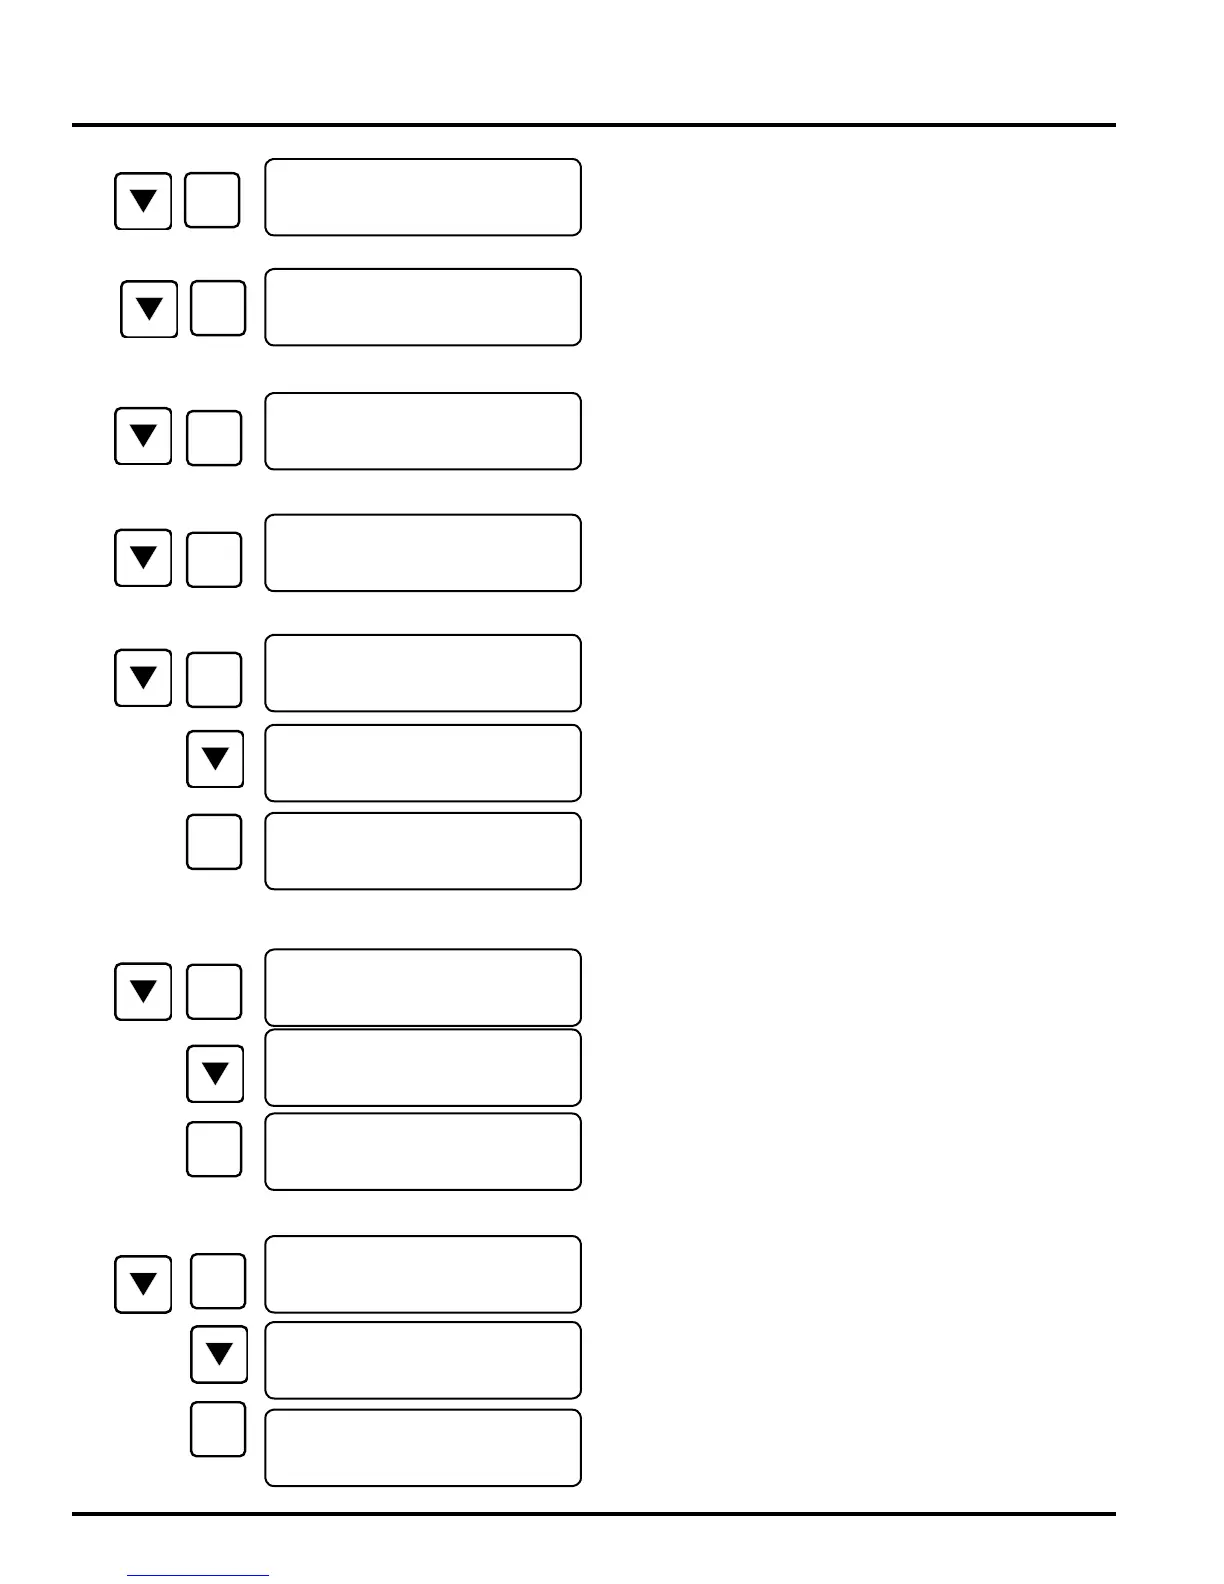
SYSTEM CONFIG MENU
<CFG>SETBACK SCH
ON TIME 12:00
<CFG>SETBACK SCH
OFF TIME 12:00
<CF>ZONE ALM RLY
ACTIVE BY: LVL 1&2
<CF>ZONE ALM RLY
ACTIVE BY: LVL 2
<CF>ZONE ALM RLY
ACTIVE BY: LVL 1&2
<CF>ZONE ALM RLY
SILENCEABLE: YES
<CF>ZONE ALM RLY
SILENCEABLE: YES
<CF>ZONE ALM RLY
SILENCEABLE: NO
<CF>SYS ALRM RLY
ACTIVE MODE N.O.
<CF>SYS ALRM RLY
ACTIVE MODE N.C.
<CF>SYS ALRM RLY
ACTIVE MODE N.O.
<CFG> ZONE ALARM
RELAY OPTION: NO
<CFG> ZONE ALARM
RELAY OPTION: YES