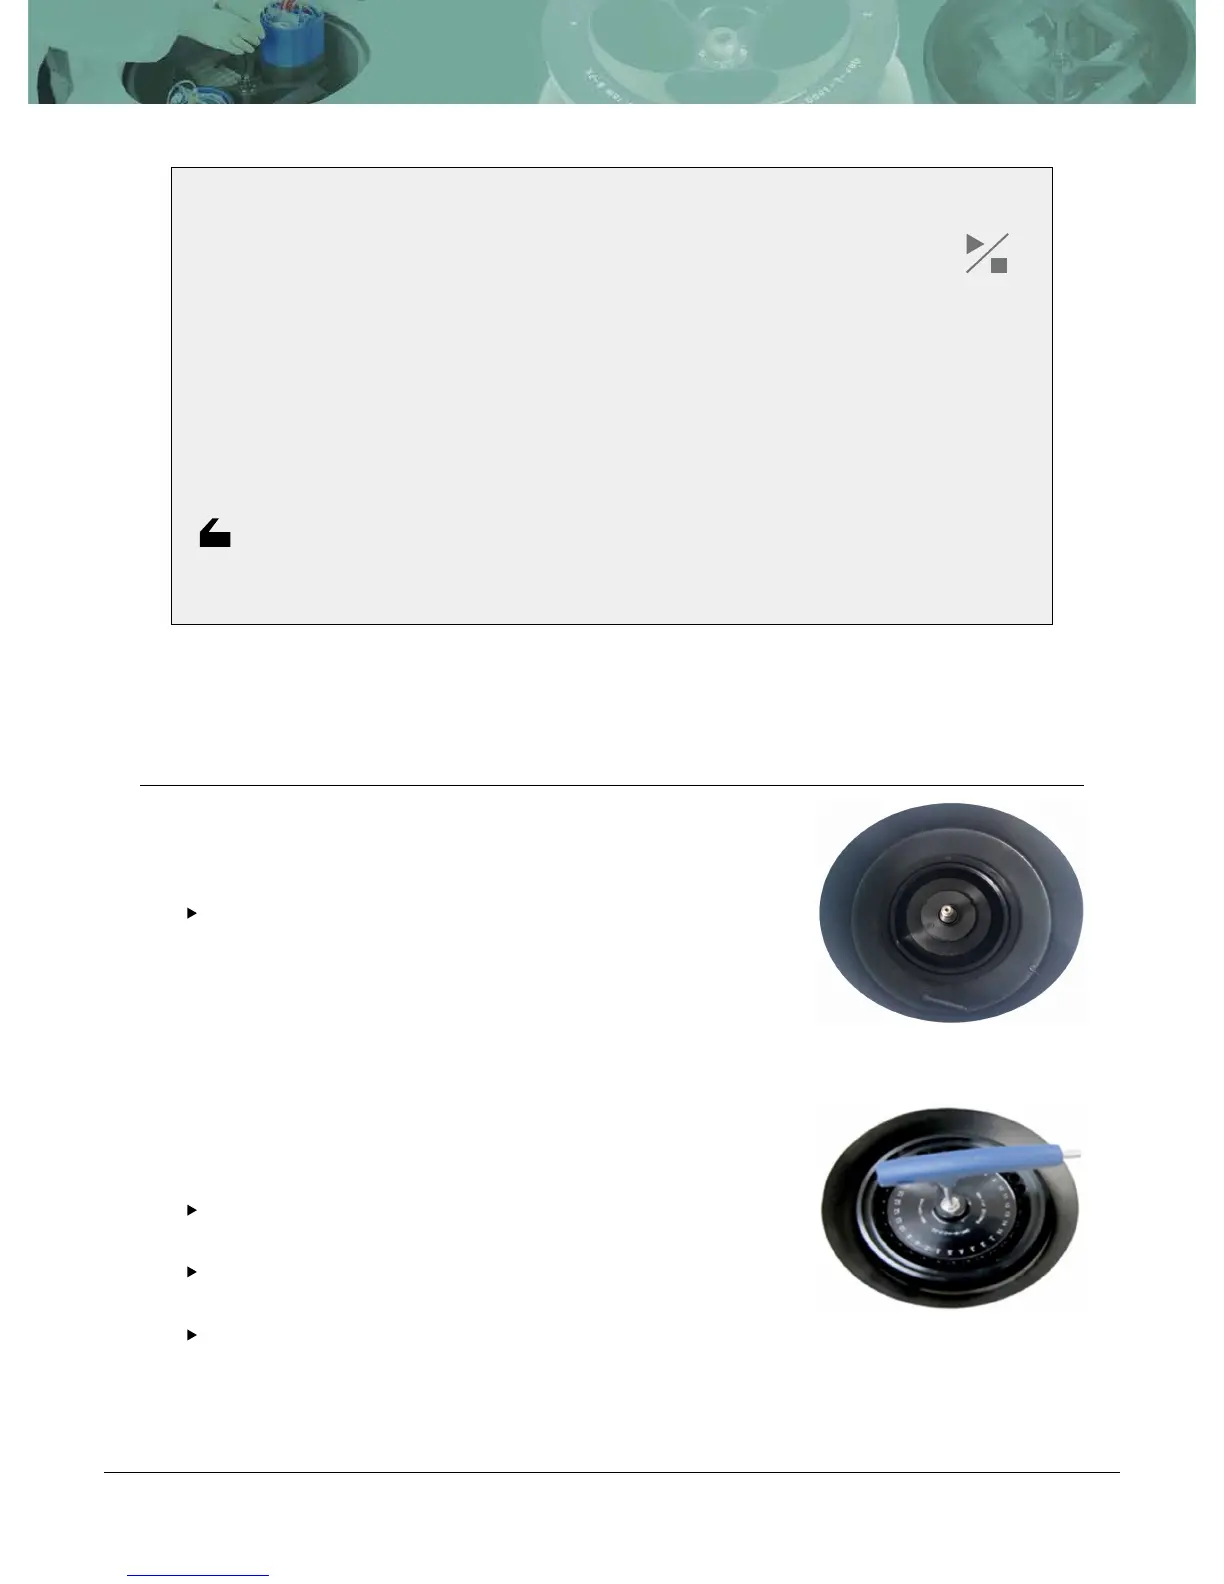
3.2 Rotor Coupling and Disassembling
3.2.1 Fixed Angle Rotor
Action
Before coupling a rotor, clean the motor shaft, rotor, and chamber
with soft dry towel.
If you ndany foreign substances, they must be removed from
the motor shaft, rotor and chamber.
Mount a proper rotor into the motor shaft and x it using Rotor
Locking Tool.
To assemble the rotor, rotate the Rotor LockingToolclockwise
until tightly assembled.
To disassemble the rotor, rotate th
e Rotor LockingTool
counterclockwise.
Grasp the rotor with one hand and assemble or disassemble the
rotor using the Rotor Locking Tool.
1
2
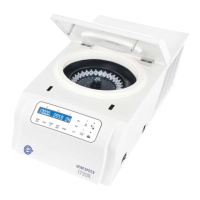
Note!
• The lid is not opened while the instrument is running.
• If the lid is opened, the instrument could not be operated even with pressing the [ ]
button.
• For operational safety, this instrument has the automatic rotor recognition function.
• When you supply the power, "Rotor Scan…” will be appeared. If the rotor is absent,
the “Error 9” will be appeared. This message will be cleared after ro
tor coupling and
running.
• The lid is not automatically opened after nishing operation to keep the sample at proper
temperature.
• Power Failure: If there is any power failure during the operation, lid is not opened with
[ ] button. The lid can be opened only when the operation is completely stopped and
the power is on again. If you want to open the lid at the power failure, please refer to
‘4.10
Emergency Lid Open’.