23
GB
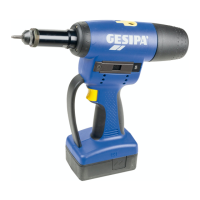
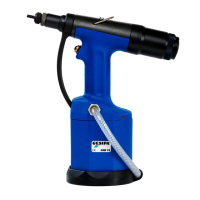
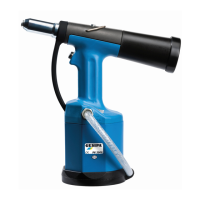
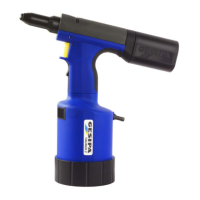
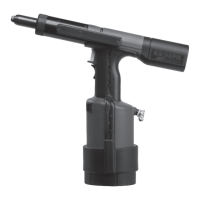
2.4 Technical data
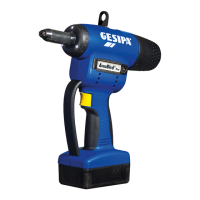
Weight: 2.2 kg
Max. setting stroke: 10 mm
Drive unit: Brushless direct current motor
Traction power: 15 kN for FB Pro
20 kN for FB Pro GE
Noise emission: L
pa
76,5 dB (A), Measurement uncertainty K = 3 dB
Vibrations: < 2,5 m/s², Measurement uncertainty K = 1,5 m/s²
2.5 Equipment / accessories
Nosepieces / threaded mandrels
for FB Pro M6 in working position
M4, M5 in the nosepiece holder
for FB Pro GE: M10 in working position
M6, M8 in the nosepiece holder
Tool: Hexagon screwdriver WAF 2.5 and WAF 4
2 double open-ended spanners, WAF 24/27
Suspension loop: Concealed in housing
Battery charger: 100-240 V ~ / 50-60 Hz
Battery (quick-change): 18,0 V; 2,1 Ah
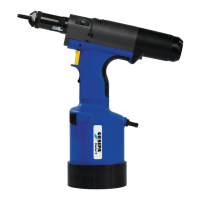
3. Start-up
Prior to operating the riveting tool, you must choose the correct nosepiece and threaded man-
drel that are suitable for the nut dimensions.
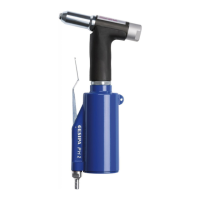
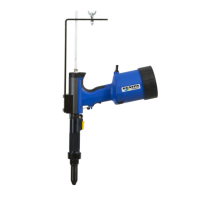
3.1 Changing the threaded mandrel (Fig. 3)
• Remove the battery from the tool
• Loosen lock nut 3 using double open-ended spanners (WAF 24/27)
• Unscrew nosepiece 2.
• Push back slide 10 as far as it will go.
• Unscrew threaded mandrel 1
• Screw in the suitable threaded mandrel. Align the surfaces of the hexagon on the
screwed-in threaded mandrel 1 with the surfaces of the hexagon of slide 10.
• Secure nosepiece 2 which is suitable for the thread dimensions with lock nut 3.