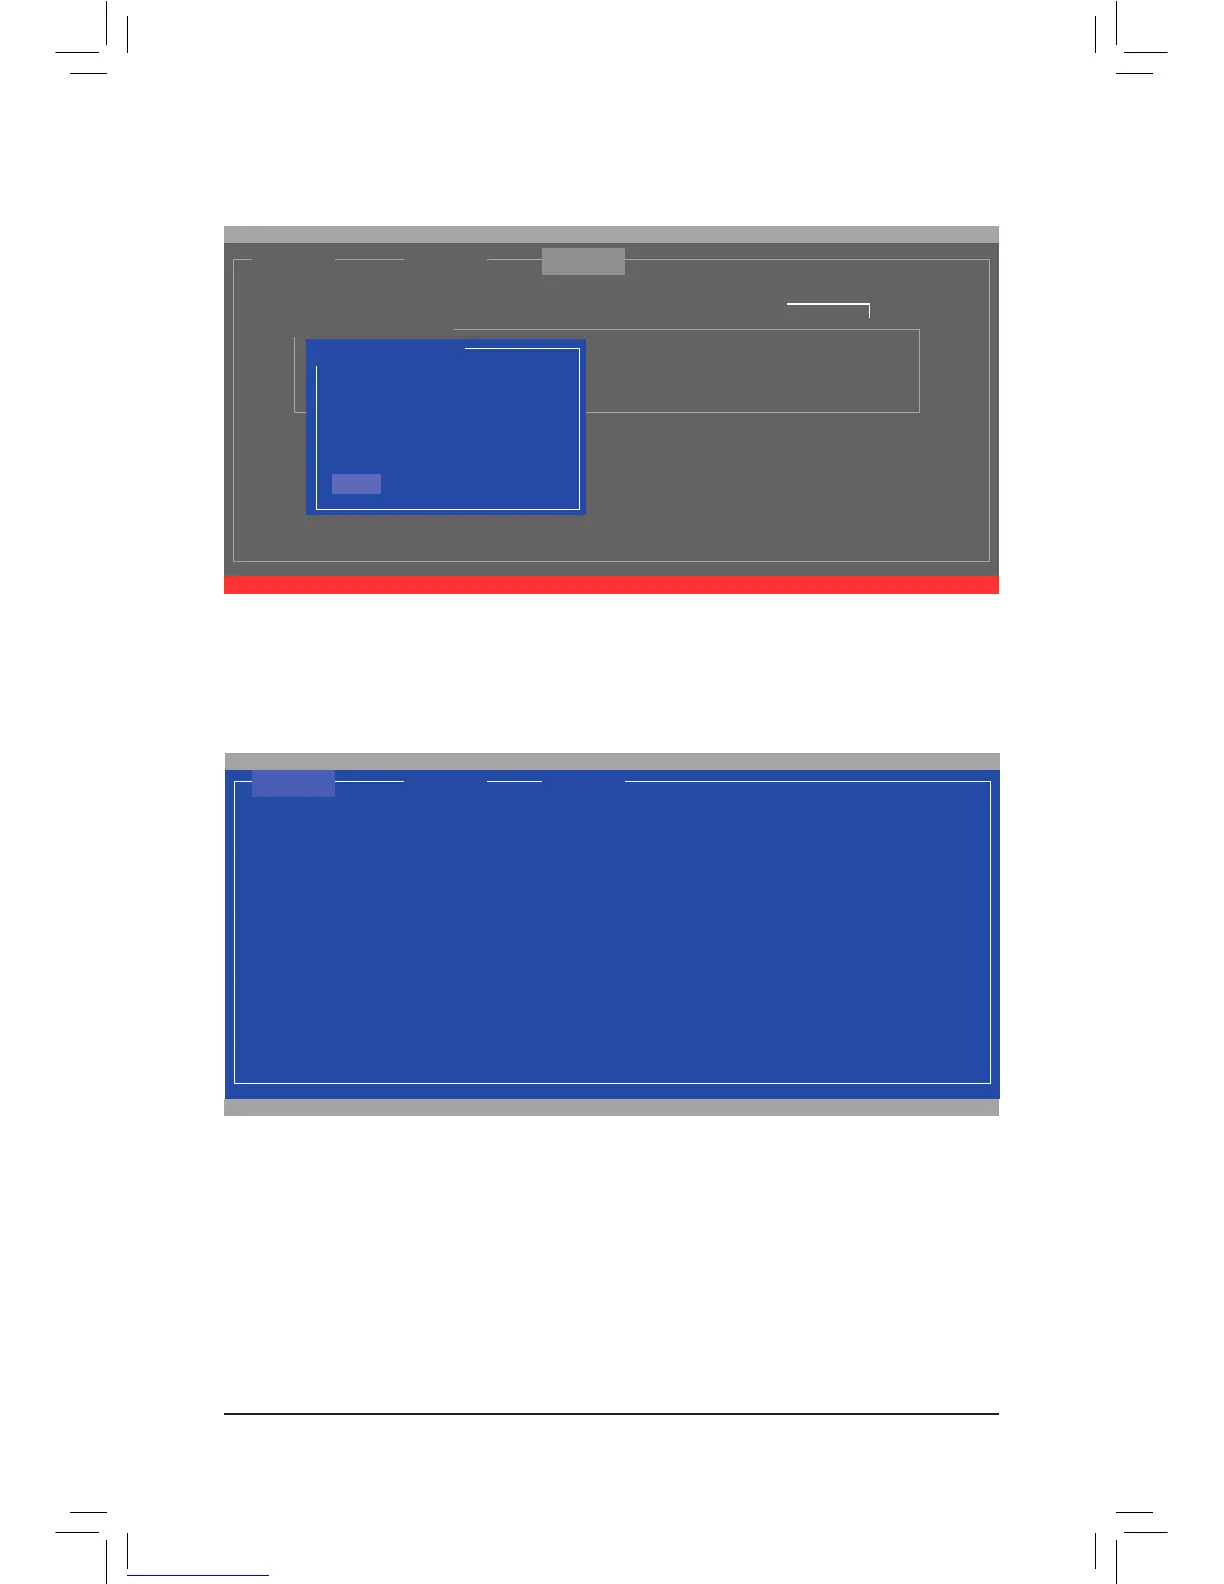
6. NEXT:After completing the settings above, move to NEXT and press <Enter> to begin creating the array.
When prompted to confirm, press <Y> to confirm or <N> to cancel (Figure 8).
Figure 8
To exit the RAID BIOS utility, press <Esc> on the main screen and press <Y> to confirm.
Now, you can proceed to install the operating system.
When completed, the RAID tab will display the new array. (Figure 9)
Figure 9
[ Adapter] [ Devices]
Marvell BIOS Setup (c) 2009 Marvell Technology Group Ltd.
[ RAID ]
Create the VD?[Y]
RAID Cong
Port Disk Name Size Max Speed Status
* S0 SATA: WDC WD800JD-22LSA0 76.3GB SATA 3Gb/s FREE
* S1 SATA: WDC WD800JD-22LSA0 76.3GB SATA 3Gb/s FREE
NEXT
Select free disks to create
RAID Level : RAID0
Max Size (MB): 152478
Stripe Size : 64KB
Quick Init : NO
Cache Mode : WriteBack
VD Name : GBT
Disk ID : 01
Create VD
NEXT
ENTER/SPACE: Select, ESC: Back/Exit
[ Adapter ] [ Devices ] [ RAID ]
Marvell BIOS Setup (c) 2009 Marvell Technology Group Ltd.
[Virtual Disks]
ID Name Size Level Status Stripe CacheMode
0 GBT 152.4GB RAID0 ONLINE 64KB WriteBack
[Physical Disks]
Port Disk Name Size Max Speed Status
S0 SATA: WDC WD800JD-22LSA0 76.3GB SATA 3Gb/s ASSIGNED
S1 SATA: WDC WD800JD-22LSA0 76.3GB SATA 3Gb/s ASSIGNED
 Loading...