- 20 -
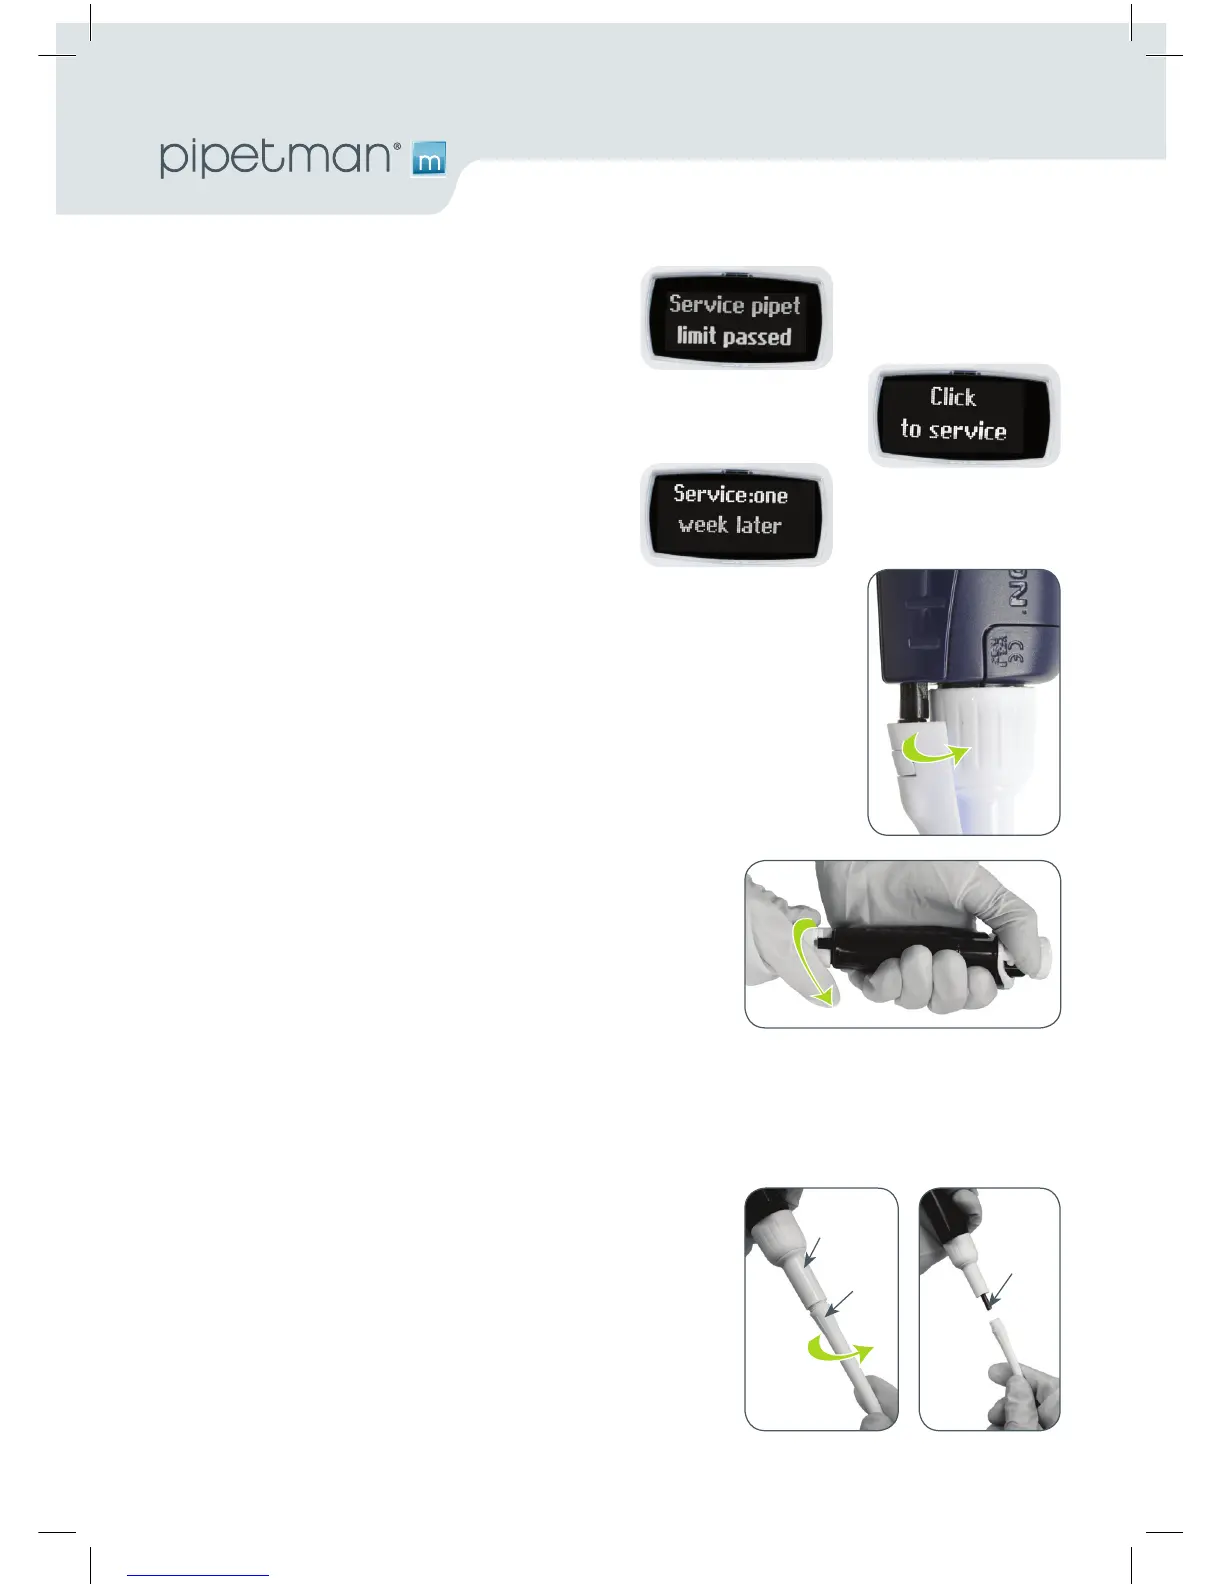
Maintenance Warning
PIPETMANMnoties you,whenmaintenanceis
due (service alert is set by default to“ON”).The
following message will appear:
after validation by a click, the following message
appears:
Ifyouclicktoconrmwithin10sec.thepipettewill
automatically switch to “disassembly” mode so you
can carry out your maintenance safely.
Waitlongerthan10secondsandtheoptiontohave
a reminder in one week will appear:
Clicktoconrm.Yourpipettewillbeoperationalagain.
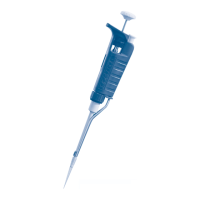
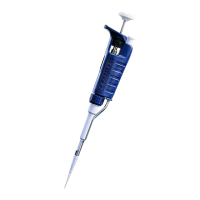
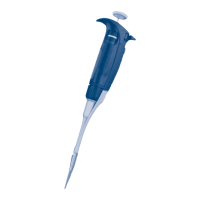
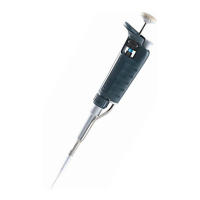
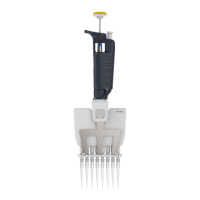
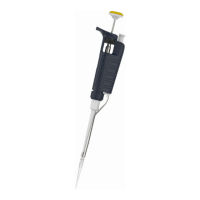
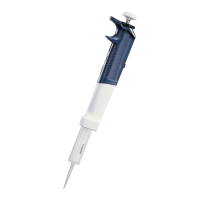
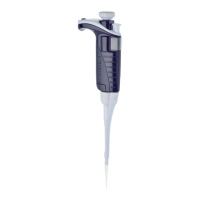
Maintenance operation for Single channel models
Tip-Holder and Tip-ejector
These parts must be changed if they are damaged. You may also
remove these parts for cleaning or decontamination purposes.
Changing the Tip-ejector
1) Keep the tip-ejector button depressed and grip the top of
the tip-ejector with the other hand.
2) Gentlyrotatethetip-ejectorcounterclockwiseandseparate
its connector from the operating rod.
3) Pullthetip-ejectorawayfromthebodyofthepipette.
4) Cleanorautoclavethetip-ejectorandretorreplaceitby
reversing the procedure.
Changing the Tip-holder (lower part)
After removing the tip-ejector, you may remove the lower part of the tip-holder, which is more likely
tobecomecontaminatedordamagedthantheupperpart.Removalofthelowerpartisshownbelow;
for the upper part see “Removing the Piston” (special precautions are necessary).
1) Gently rotate the lower part of the tip holder counterclockwise to unscrew it from the upper part.
2) SeparatethepartsandremovetheO-ring(see“Changing
O-ring”)
3) Cleanandifrequiredautoclavethelowerpartofthetip-
holder(autoclaving:20min.at121°Cand0.1MPa)
4) Ifrequired,lubricatethepiston(see“HowtoLubricatethe
Piston”)andtanewO-ring.
5) Screw the two parts together, making sure that the two
parts are fully tightened, by hand.
6) Retthetip-ejector.
After autoclaving the tip-holder and tip-ejector may change color, however this has no impact on the performance.
Piston
Tip-holder
(lower)
Tip-holder
(upper)
 Loading...