www.glp.de
26 impresssion X5 User Manual
See Figure 2. The top line of the default information screen consists of, from left to right:
● Main CPU firmware version
● DMX Mode
● LED PWM frequency
The center of the screen shows the following information:
● Fixture’s current DMX address in large characters. If the fixture’s self-diagnosis
system detects an error, the fixture will flash the error code alternately with the DMX
address. This lets you see the DMX address or error code at a distance from the
fixture.
● Below the current DMX address, the fixture displays in smaller characters the DMX
channels that it is currently using.
In the example shown in Figure 2Error! Reference source not found.:
● The fixture is running CPU software version 1.0.0
● The fixture is set to DMX Mode 1
● The LED PWM frequency is set to Optimal
● The fixture is set to receive data via DMX (standard DMX 512 link,)
● The fixture’s DMX start address is 001
● The fixture is using DMX channels 001 to 024
Note
See ‘Setting up the control protocol’ on page 29 for details of how to configure the
fixture
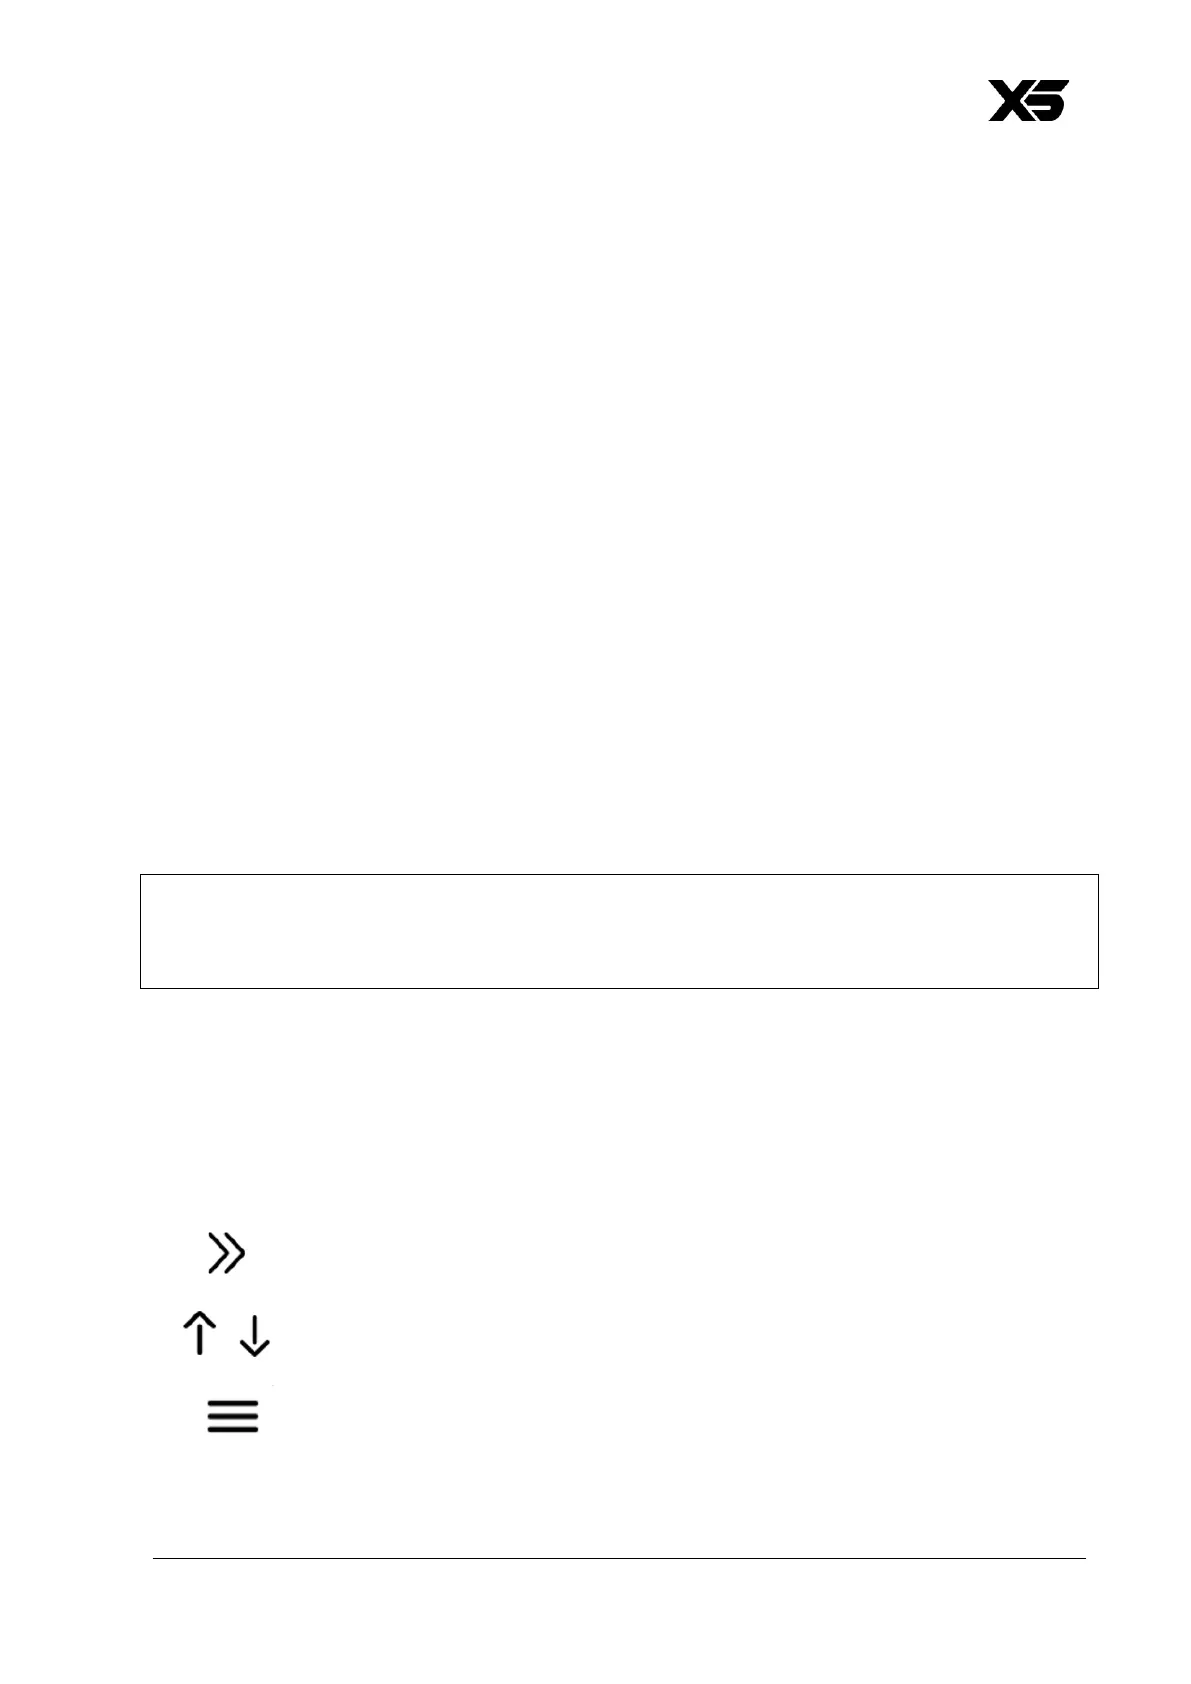
Using the control panel
The four control panel buttons under the display have the following functions.
In the main screen: