CTCSS/DCS tone selection
Enables and selects CTCSS or DCS tones. To switch
CTCSS or DCS tones OFF rotate the Channel knob fully
to the left until ‘CTCOF’ is displayed.
Voice Scrambler
Enables or disables the Voice Scrambler.
Beep tone level
Adjusts the volume level of the beep tones associated
with key presses.
Beep level 9
Frequency step selection
(only available on receive-only channels)
Sets the frequency spacing of receive-only channels to
12.5 kHz or 25 kHz (default).
12.5 kHz steps
Note: This option does not affect the standard 80 CB
channel spacing.
Filter bandwidth
(only available on CB channels)
Selects the receiver bandwidth filter on channels 1-40.
Narrowband Filter selected
Dynamic Volume Control (DVC)
When enabled, automatically compensates for
variations in received audio level to provide a constant
audio output level to the speaker.
DVC OFFDVC ON
Display mode options
The display can be configured to show several different
options in the lower left of the display when receiving.
• S-MET: Shows received signal strengths in standard
digital format from 0 (no signal) to 9+ (very strong
signal).
• S-LIN: Shows received signal strengths with
extended resolution from 0 (no signal) to
approximately 63 (very strong signal). A change of
1 digit in this mode corresponds to around a 10%
change in signal strength.
• BATT: Displays the battery voltage.
• ALPHA: (only available on receive-only channels): In
Numeric mode, displays the frequency of the selected
RX-Only channel. In Alpha mode displays the Alpha
label associated with the selected RX-Only channel.
High Resolution Linear
S Meter
Standard S Meter
Battery Voltage
RX-Only channel
frequency or Alpha name
Busy Lockout
Busy Lockout prevents your radio from transmitting
if the channel is busy. If the PTT is pressed while the
channel is busy, a beep tone will be heard and the radio
will not transmit.
Busy Lockout OnBusy Lockout Off
Channel banks
Selects the current receive-only channel bank. The
receive-only channel memory consists of 5 banks of 19
channels. Channel banks are labelled RX-A to RX-E.
CH Bank CCH Bank BCH Bank A
CH Bank ECH Bank D
INSTALLATION
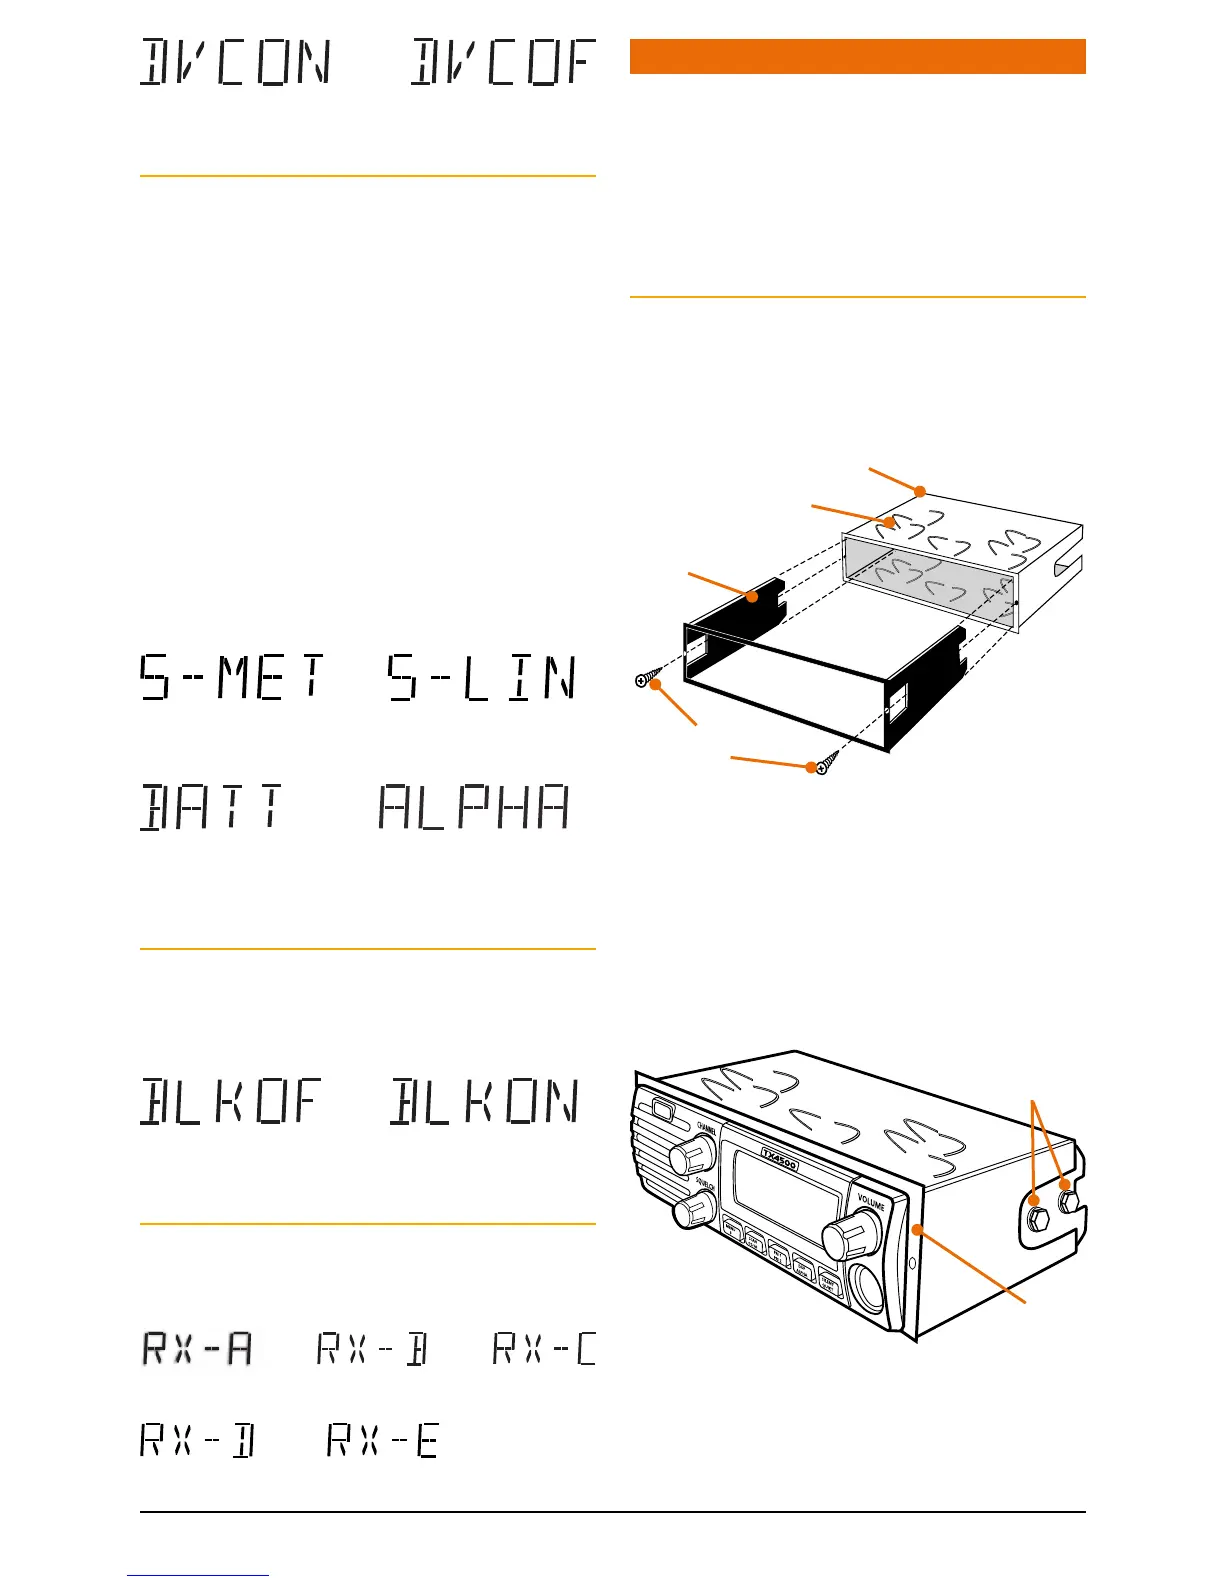
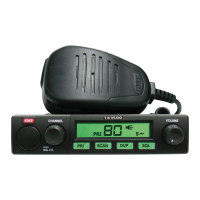
Your TX4500 is supplied with a DIN mounting bracket
for mounting into a standard DIN sized cavity in the
vehicle’s console or dashboard. Before installing the
radio, ensure the DC cable and antenna have been
installed correctly (as described further below) and the
connectors are accessible through the DIN cavity.
Installing the DIN bracket
To install the DIN mount you will need access to the
rear of the vehicle’s console.
1. Remove the two small front mounting bolts from the
front edges of the DIN mount and separate the front
frame from the DIN surround.
2. Slide the DIN surround into the DIN slot in the
vehicle’s console and secure it in the desired position
by bending the folding tabs.
3. Slide the front frame back into the DIN surround and
secure it using the two small front mounting bolts.
4. Slide the TX4500 radio into the secured frame
from
the rear of the console
so that the threaded holes in
the chassis line up with the holes in the DIN frame.
5. Secure the radio using the four 8 mm bolts and
washers provided. Bolts should not extend
more than 6 mm inside the radio otherwise
they may foul the internal components.
DIN Surround
Folding Tabs
Front Frame
Front Mounting Bolts
8 mm Bolts
and washers
Front Frame
TX4500


 To Next Page