63
CLOCK CONFIGURATION
Immediately following the GT Series screen display (Fig.
5.3) and while the instrument identification screen (Fig.
5.4) is displayed,
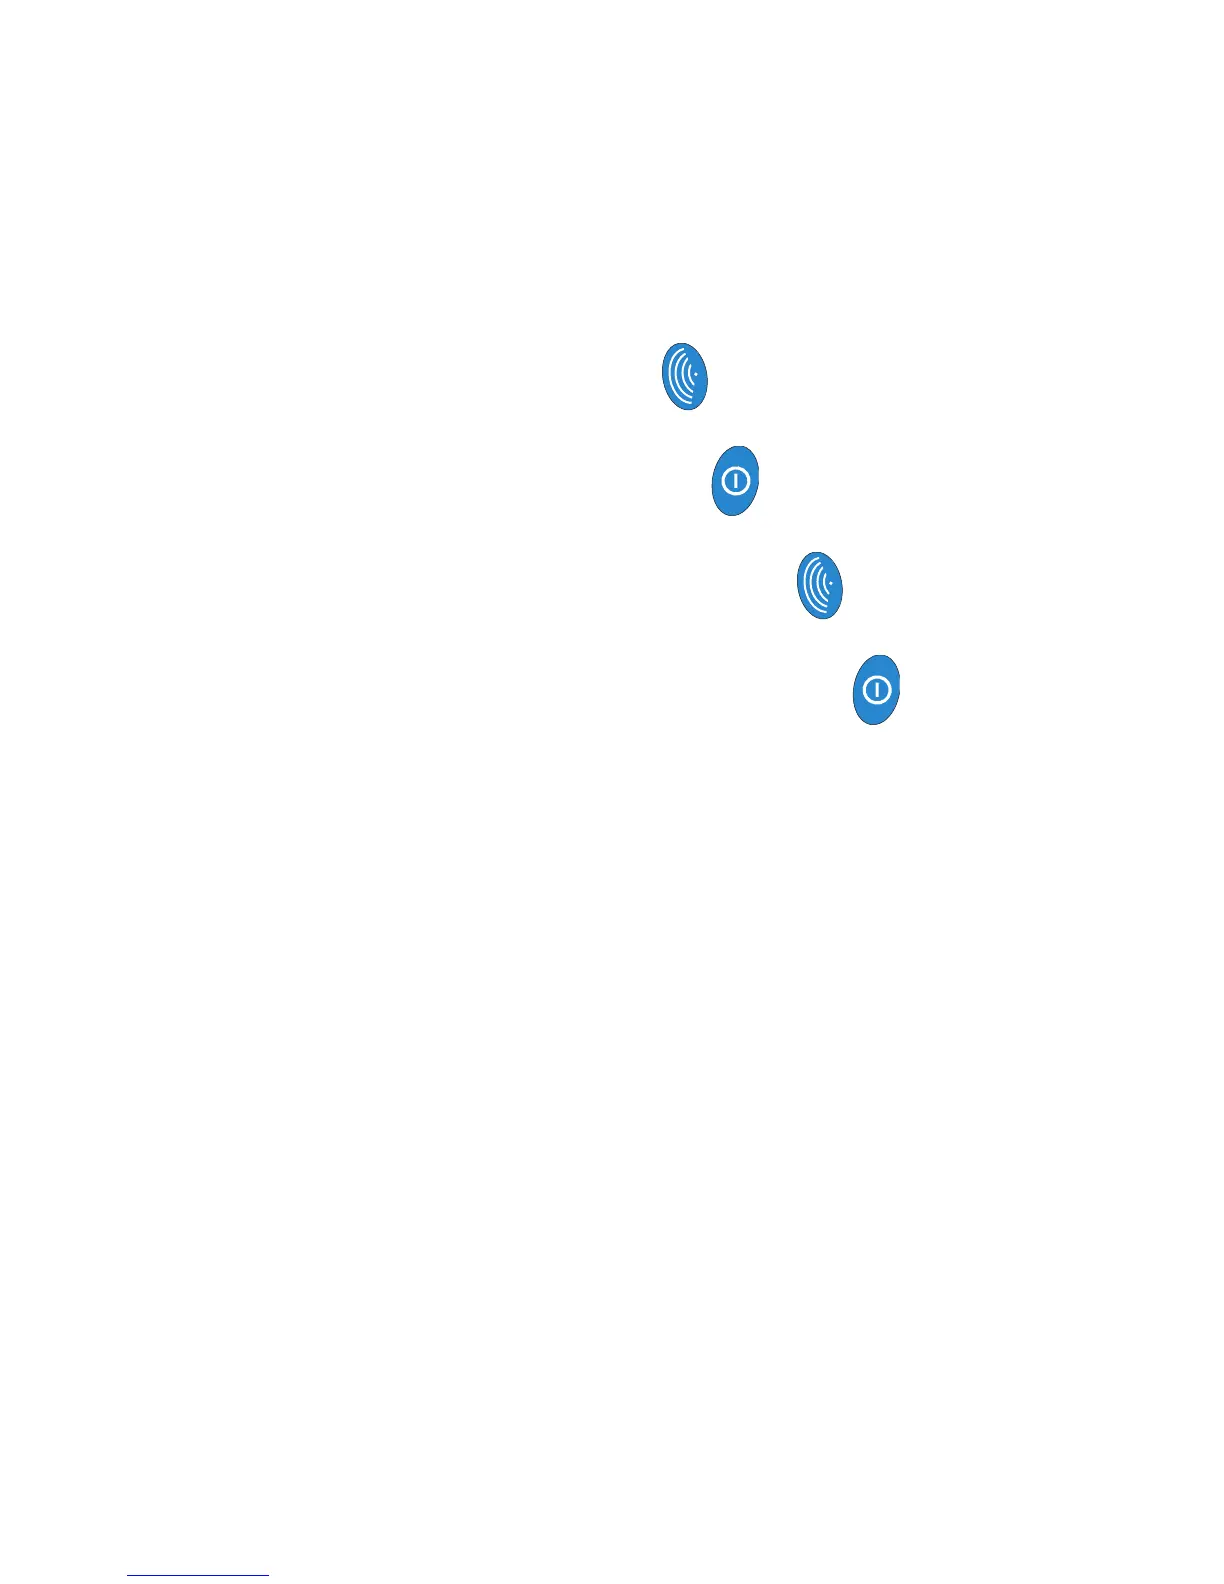
Press the following buttons in sequence:
LH (INVERT) button
RH (PUMP) button
LH (INVERT) button
RH (PUMP) button
The instrument then begins its warm-up routine, which
lasts approximately 30 seconds. During warm-up, a
countdown timer appears in the top (RH) corner of the
display.
(Refer to Chapter 1 for complete warm-up sequence).
If the correct button sequence is accepted, the countdown
timer alternates with M (menu) symbol.
The instrument now proceeds through the normal start
up sequence, ending with a check of all sensors (only
displayed if a sensor is faulty). If a sensor is faulty, the
orange LED will be active and an audible beep will be
heard.
The instrument displays the Selecting NO will return to
configuration & field calibration menu screen. The
alphanumeric screen now acts as a prompt to help you
through the calibration process.
An example of this display is shown in Fig. 5.5:
 Loading...