31
4
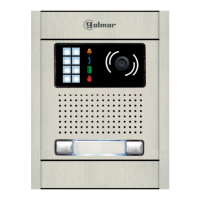
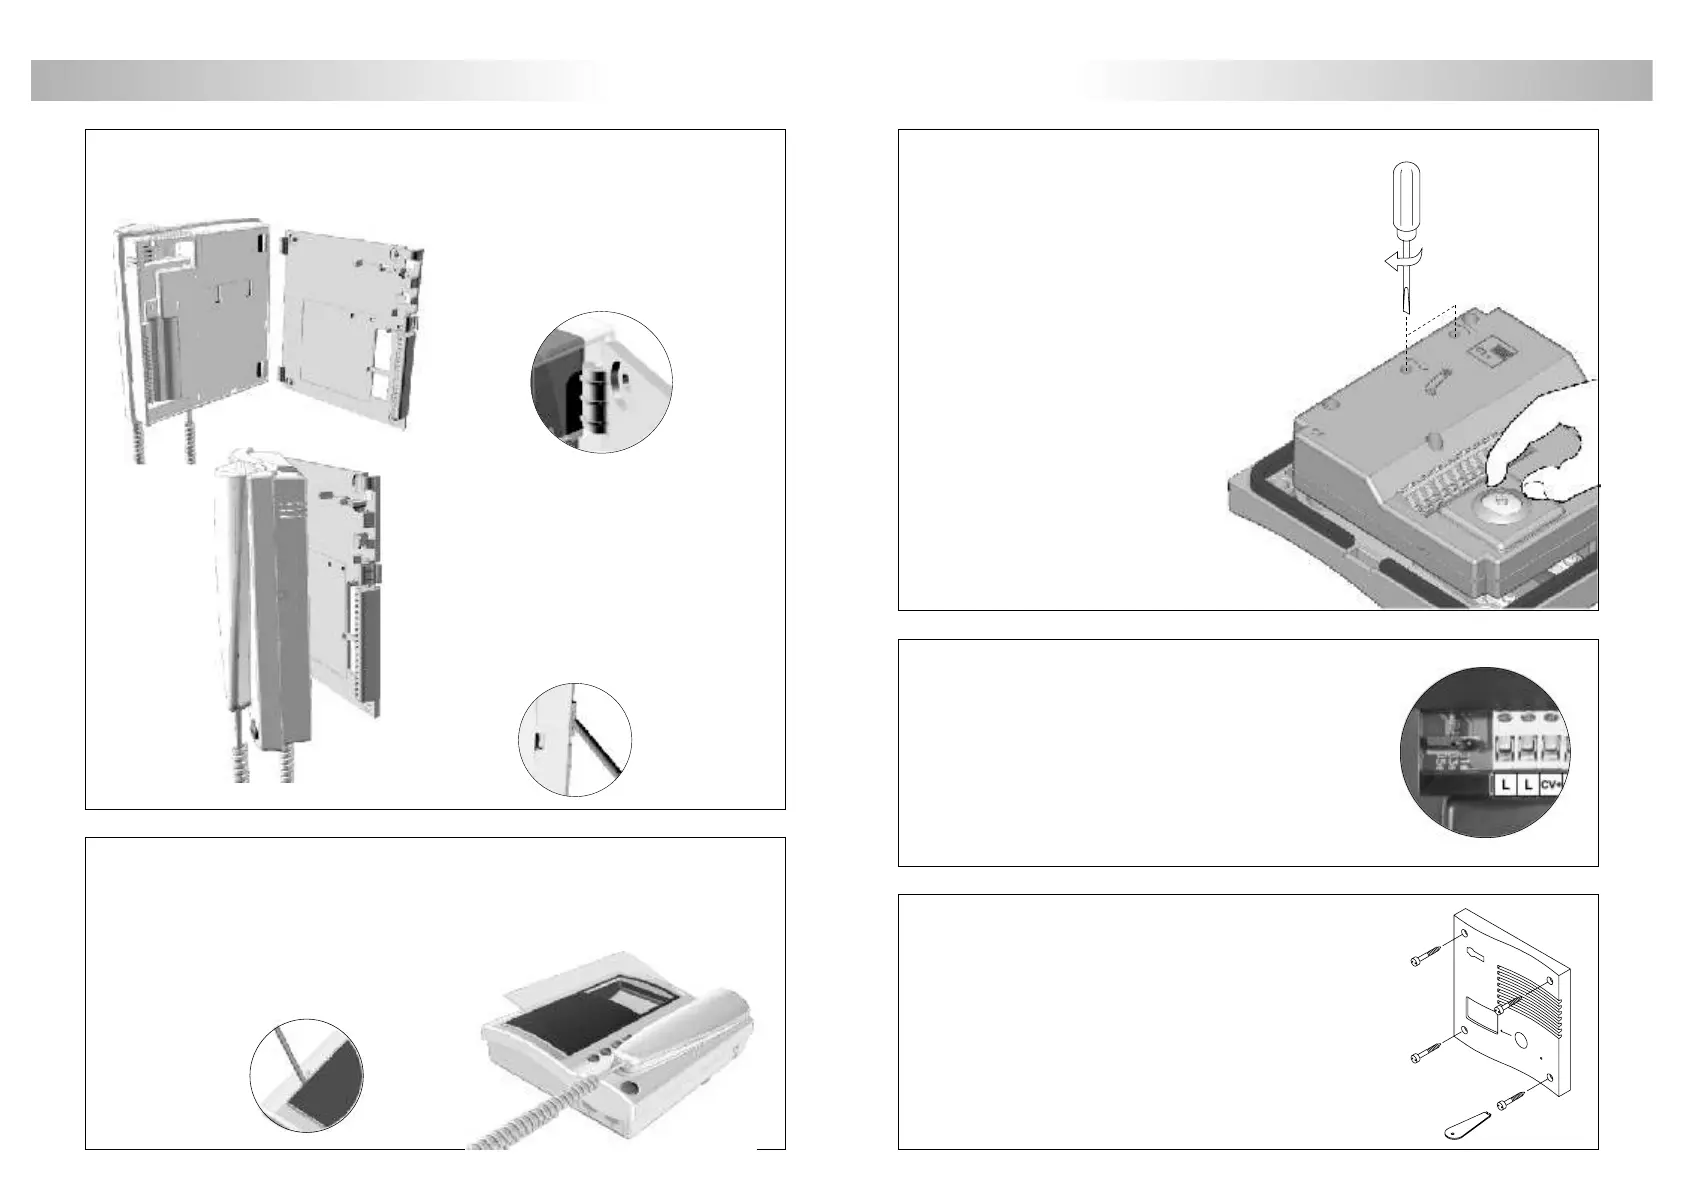
INSTALACIÓN DE LA PLACA
errar la placa.
C
iempo de apertura de puerta.
T
Fijar la placa a la caja de empotrar mediante
los tornillos suministrados.
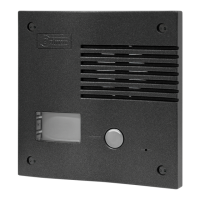
El jumper JP1, ubicado a la izquierda de la regleta de conexión,
permite seleccionar el tiempo de activación del abrepuertas
entre los valores de 1, 3 ó 5 segundos.
justes finales.
A
Si tras la puesta en marcha del equipo considera que
el volumen de audio no es adecuado, realice
los ajustes necesarios tal y como muestra el dibujo.
La telecámara dispone de un mecanismo de orientación
horizontal y vertical. Si la orientación no fuese
la correcta, corrija su posición.
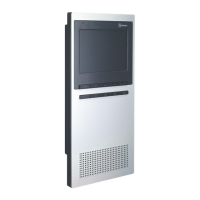
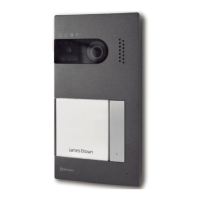
Place the monitor at right angles to the connector
and align the attaching holes of the monitor
with the attachment hooks of the connector,
as it is shown on the drawing.
Lock out the monitor. Press the right side
till the attachment clip locks the monitor
firmly.
To disassemble the monitor from the connector,
use a plain screwdriver to release the
attachment clip. Remove the monitor from
the connector, with special attention do not
falls.
ix the monitor.
F
MONITOR INSTALLATION
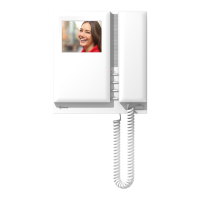
hanging the front film.
C
The monitor is supplied with a reversible front film,
that allow the owner to choose between two colors.
To change the front film, remove the front plate
by inserting a plain screwdriver in the triangle marks,
as it is shown on the drawing.
 Loading...