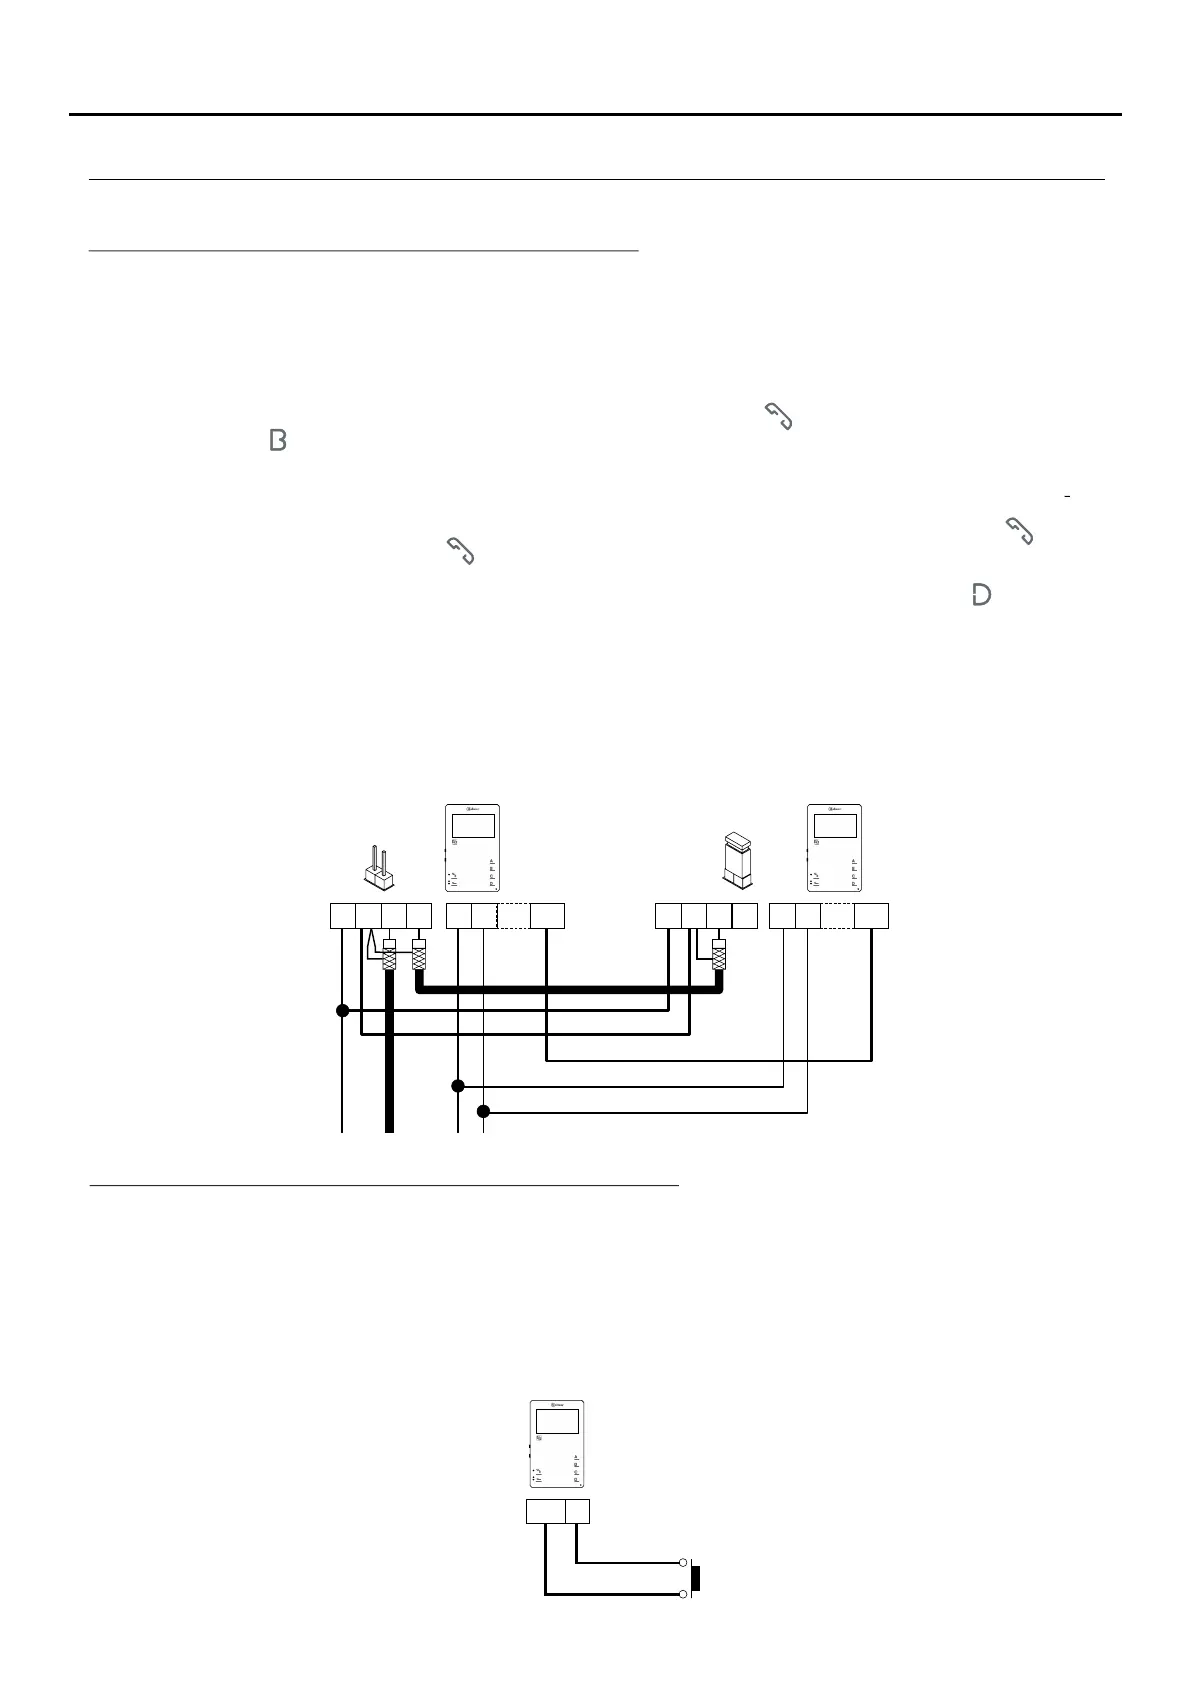
OPTIONAL CONNECTIONS
16
Intercom between two points in the same apartment:
A
_
+
D INT
V
in
V
out
CN4
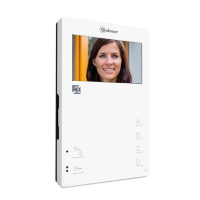
The Tekna HF Plus monitor features as standard an intercom function between two points in the same apartment.
To enable this function, the following is necessary:
- One of the monitors needs to be configured as master and the other as slave with intercom, as described
on p. 9. In the case of intercom between a monitor and a telephone, it is recommended to configure the monitor
as the master.
- The INT terminal of the intercom devices needs to be connected (see diagram attached).
To use the intercom, activate the function mode on the monitor (press button for 1 second, see p. 5), then press
and hold button until you hear a confirmation tone call all of the monitors in the apartment. To call individual
devices, press the button once to call the 'master' monitor, twice to call 'slave 1', 3 times to call 'slave 2', 4 times to
call 'slave 3' and 5 times to call 'slave 4'. This selective intercom call mode is only available with Tekna HF Plus /
Tekna Plus SE monitors. This only functions if no call or communication is in progress. A number of long audible
tones on the monitor will confirm that the call is being made. To establish communication, press button on the
Tekna HF Plus monitor, indicator LED will blink (green) and status LED will illuminate green. If a call is received
from the door panel during an intercom process, the handset of the master unit will emit a number of audible
tones and an image will appear; to establish communication with the door panel, press button on the unit
configured as master or press the door release button to simply open the door.
The ringtones vary depending on where the call is being made from, enabling the user to identify its origin.
Remember: If the apartment also has Tekna Plus monitors, the Tekna HF Plus and Tekna Plus SE monitors must be
configured as 'Intercom with Tekna Plus monitors' (see p. 12). This configuration mode does not allow selective
intercom calls to different monitors in the apartment; when the intercom button is pressed, all of the monitors in
the apartment will receive the call.
Tekna HF Plus
A
_
+
D INT
V
in
V
out
CN4
Tekna HF Plus
Continued overleaf
Continued from previous page.
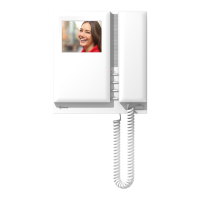
Button for receiving calls from the apartment front door:
HZ-
-
The Tekna HF Plus monitor features as standard the ability to receive calls from the apartment front door. This
feature precludes the need to use the bell by positioning a button between terminals 'HZ—' and '—' of the monitor.
The ringtones vary depending on where the call is being made from, enabling the user to identify its origin. If a call is
made from the apartment front door during a conversation with the door panel, the handset will emit a number of
tones to indicate so.
Note: Regardless of the volume set for the monitor's ringtones (see p. 11) and the 'night mode' function, the
'apartment front door call' ringtone will always sound at the highest level.
Tekna HF Plus
CN3
CN2
CN3
CN2
CN2
TEKNA PLUS MONITORHF