5
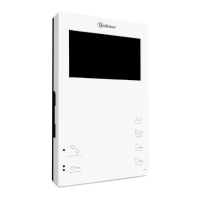
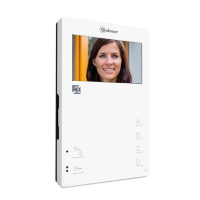
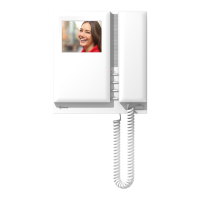
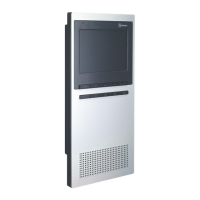
DESCRIPTION OF THE MONITOR
Function buttons:
In advanced programming mode, the default functions of function buttons and can be changed with one of the
following functions at the same time and per button: 'intercom,' 'auxiliary device activation,' 'second camera
activation' or 'call to secondary guard unit' (see p. 12).
( )
*
( )
*
*
Factory setting
DIP 3 to DIP 10: To set the monitor address (addresses 1 to 255). The switches set to OFF
have a zero value.
The values of the switches set to ON are shown in the table below.
The monitor code is the sum of the values of the switches set to ON.
DIP 1 and DIP 2: Sets the monitor as master/slave. DIP1 and DIP2 to OFF, master, DIP1 to
ON and DIP2 to OFF, slave 1, DIP1 to OFF and DIP2 to ON, slave 2, DIP1 and DIP2 to ON
slave 3.
Example: 64+0+16+0+4+2+1=870+
Switch no.:
Value when ON:
4
64
5
32
6
16
7
8
8
4
9
2
10
1
3
128
Description of the SW1 DIP switch:
The SW1 DIP switch is located on the left-hand side of the back of the monitor. It
enables the monitor to be configured as master/slave and an address to be
assigned.
Important: This type of programming cannot be performed on a general entrance
door panel.
Start/stop communication button.
With the terminal in standby:
One short 1-second press activates the monitor in function mode (for 5 seconds).
During a communication process: it activates the talk/listen function.
With the monitor in standby: One long 2-second press activates 'ringtone volume' mode, with a tone indicating
the current volume selected. Then each long 2-second press (before 5 seconds elapse) selects a volume
level: maximum, medium, minimum and no volume 'night mode' and so on (carousel mode). Note: The 'night
mode' status LED blinks red.
With the monitor in standby, function mode, call or communication: One long 3-second press turns off the
monitor. Then one short 1-second press turns on the monitor.
With the monitor in standby:Apanic call to the guard units configured to receive such calls is made.
With the monitor in function mode: It enables a normal call to the main unit to be made. During call reception
and communication processes, it enables the lock release to be activated.
Auxiliary device 'A1' is activated (with the terminal in standby or function, call, communication or intercom
mode).
With the monitor in function mode: It activates the intercom (in the same apartment); one long press until a
confirmation tone can be heard will call all of the monitors in the apartment. To call individual devices, press
the button once to call the 'master' monitor, twice to call 'slave 1,' 3 times to call 'slave 2,' 4 times to call 'slave
3' and 5 times to call 'slave 4.' This selective intercom call mode is only available with Tekna HF Plus /
Tekna Plus SE monitors and the T540 Plus SE telephone. This only functions if no call or communication is in
progress.
With the monitor in standby: It enables the image from the door panel configured as main to be viewed (if the
bus is busy, the status LED of the monitor will indicate so with a few quick blinks).
With the monitor in function mode: It enables audio and video communication with the door panel to be
established if it has its auto switch-on function activated. This only functions if no communication is in progress.
In call:Aslave monitor enables the image of the door panel to be captured.
( )
*
SW1
1 2 3 4
5 6 7 8 9 10
CN2
CN3
TEKNA PLUS MONITORHF