Repair
Repairing Repairing
Repairing
the the
the
Diaphragm Diaphragm
Diaphragm
Valve Valve
Valve
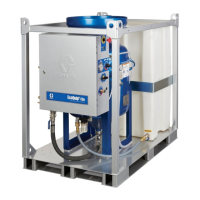
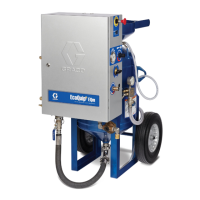
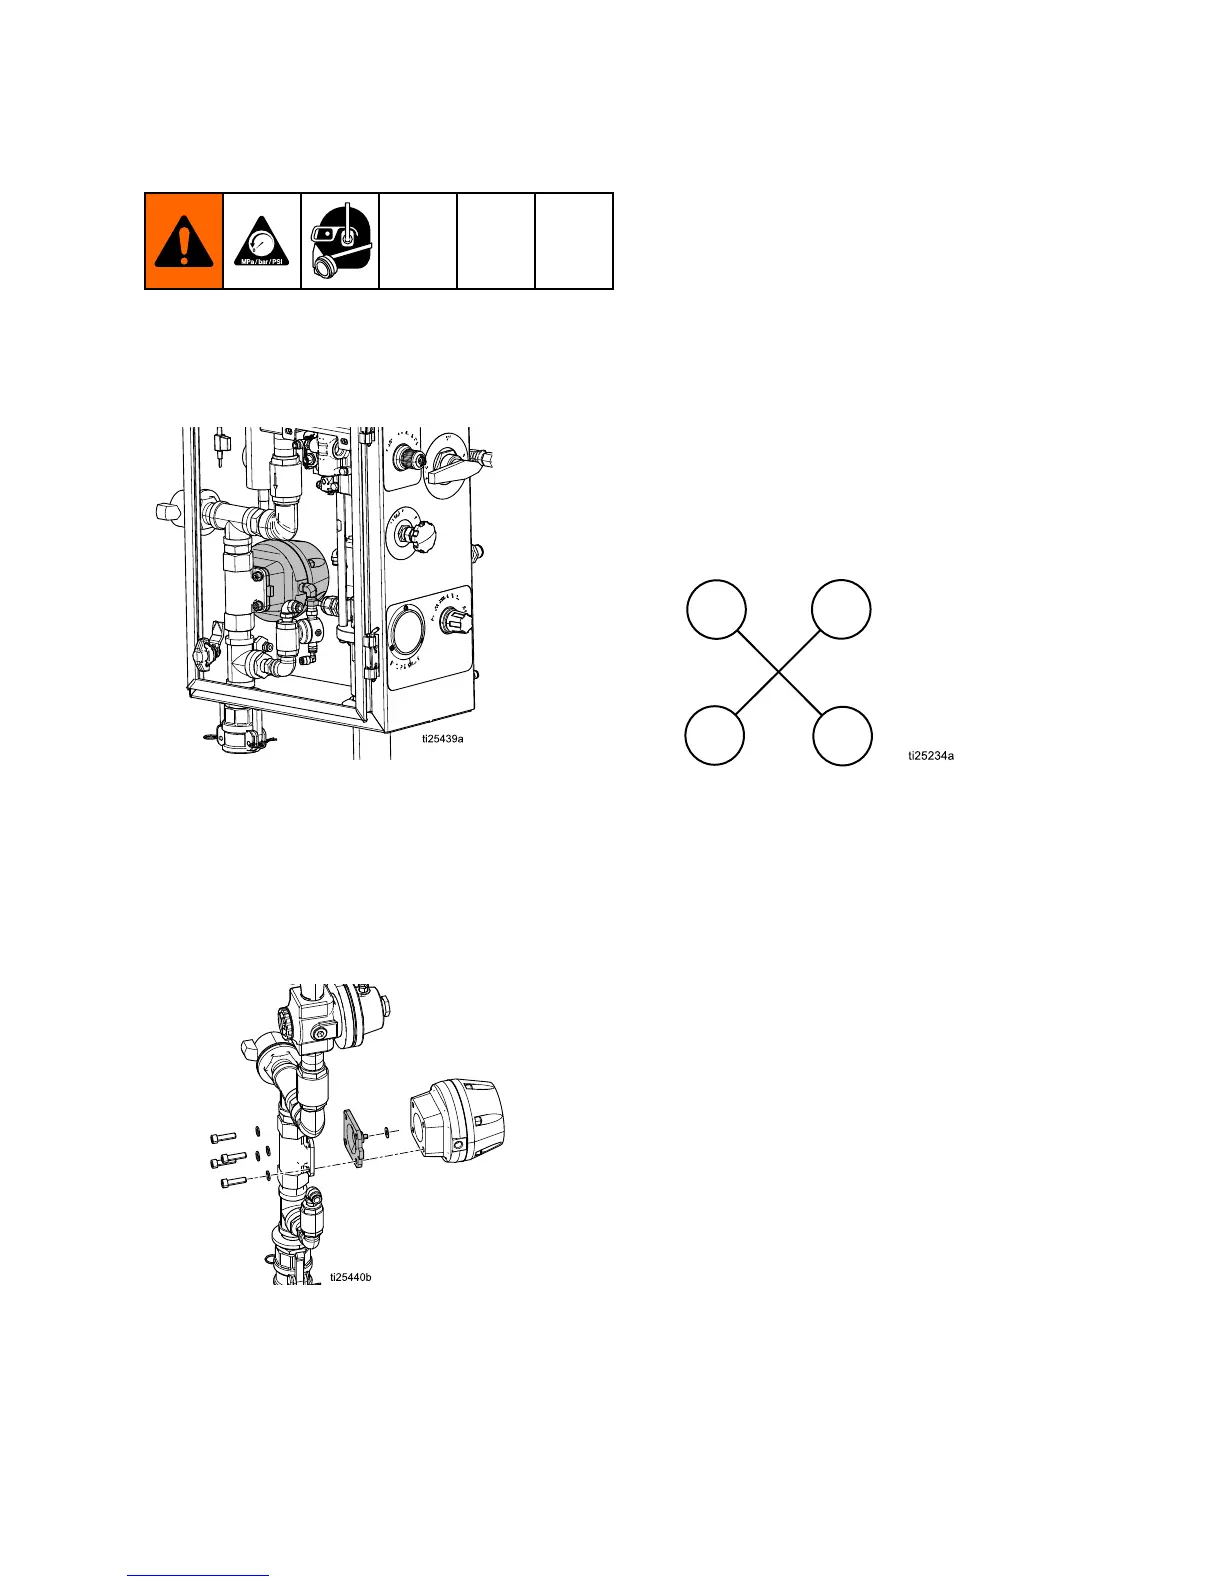
SeeEnclosurePartsList,page39forrepairkits.
NOTE: NOTE:
NOTE:
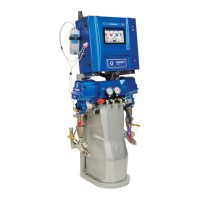
Thediaphragmcanbereplacedwithout
removingtheassemblyfromthepanel.Youwillneed
a6mmAllenwrench.
1.PerformthePressureReliefProcedure,page10.
2.Applymorethan80psi(5.5Bar,MPa)air
pressuretotheregulatorinlettocausethepiston
toretract.
3.Loosenall4Allen-headcap-boltsevenlyand
thenremovethemcompletelywhilesupporting
thecanisterofthediaphragmvalve.
NOTE: NOTE:
NOTE:
Donotdisassemblethecanister.
4.Replacethediaphragm(naturalrubber
compound)andhand-tighten(onlyasfaras
necessary)toestablishthealignmentwiththe
canister.
NOTE: NOTE:
NOTE:
Thereisoneshimbetweenthediaphragm
andtheactuator.Keeptheshimandreuseit(it
doesnotcomewiththereplacementdiaphragm).
Donotcauseanypre-loadortorqueonthe
diaphragmbyover-tighteningitinamisaligned
position.
5.Insertall4Allen-headcapboltsandhand-tighten.
6.Tightenthecap-boltsinanalternatingpattern
(seeimagebelow)to80+/-8in-lb(9+/-0.9N•m).
Thiswillcauseaslightbulgeinthediaphragm
betweenthecanisterandthestainlesssteel
casting.
7.Relievethepressureappliedinstep2.
8.Testandconrmthattheunitisworkingproperly.
NOTE: NOTE:
NOTE:
Thiscanbedoneusingonlywaterto
chargetheequipment–thereisnoneedtouse
abrasiveforthistest.
334142F31