Setup
313997ZAA 43
14. Prime IsoGuard Select fluid cylinder
The IsoGuard Select fluid cylinder must be primed when
replacing IsoGuard Select fluid. See IsoGuard Select
®
System on page 57 for instructions.
15. Install dispense valve
a. Navigate to System Screen 2 and select the
appropriate dispense valve from the “Dispense
Valve” dropdown menu. See System Screen 2
on page 73.
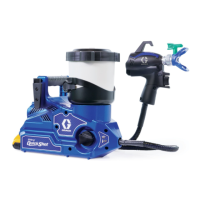
b. Set pressure relief valves (SA, SB) to RELIEF.
c. If dispense valve has a trigger safety lock,
engage the trigger safety lock.
d. Connect gun to machine. Verify gun is ready for
operation. See appropriate gun manual listed in
Related Manuals on page 3 for detailed
instructions.
e. If gun has pneumatics, verify air line is con
nected then open bleed-type master air line
valve.
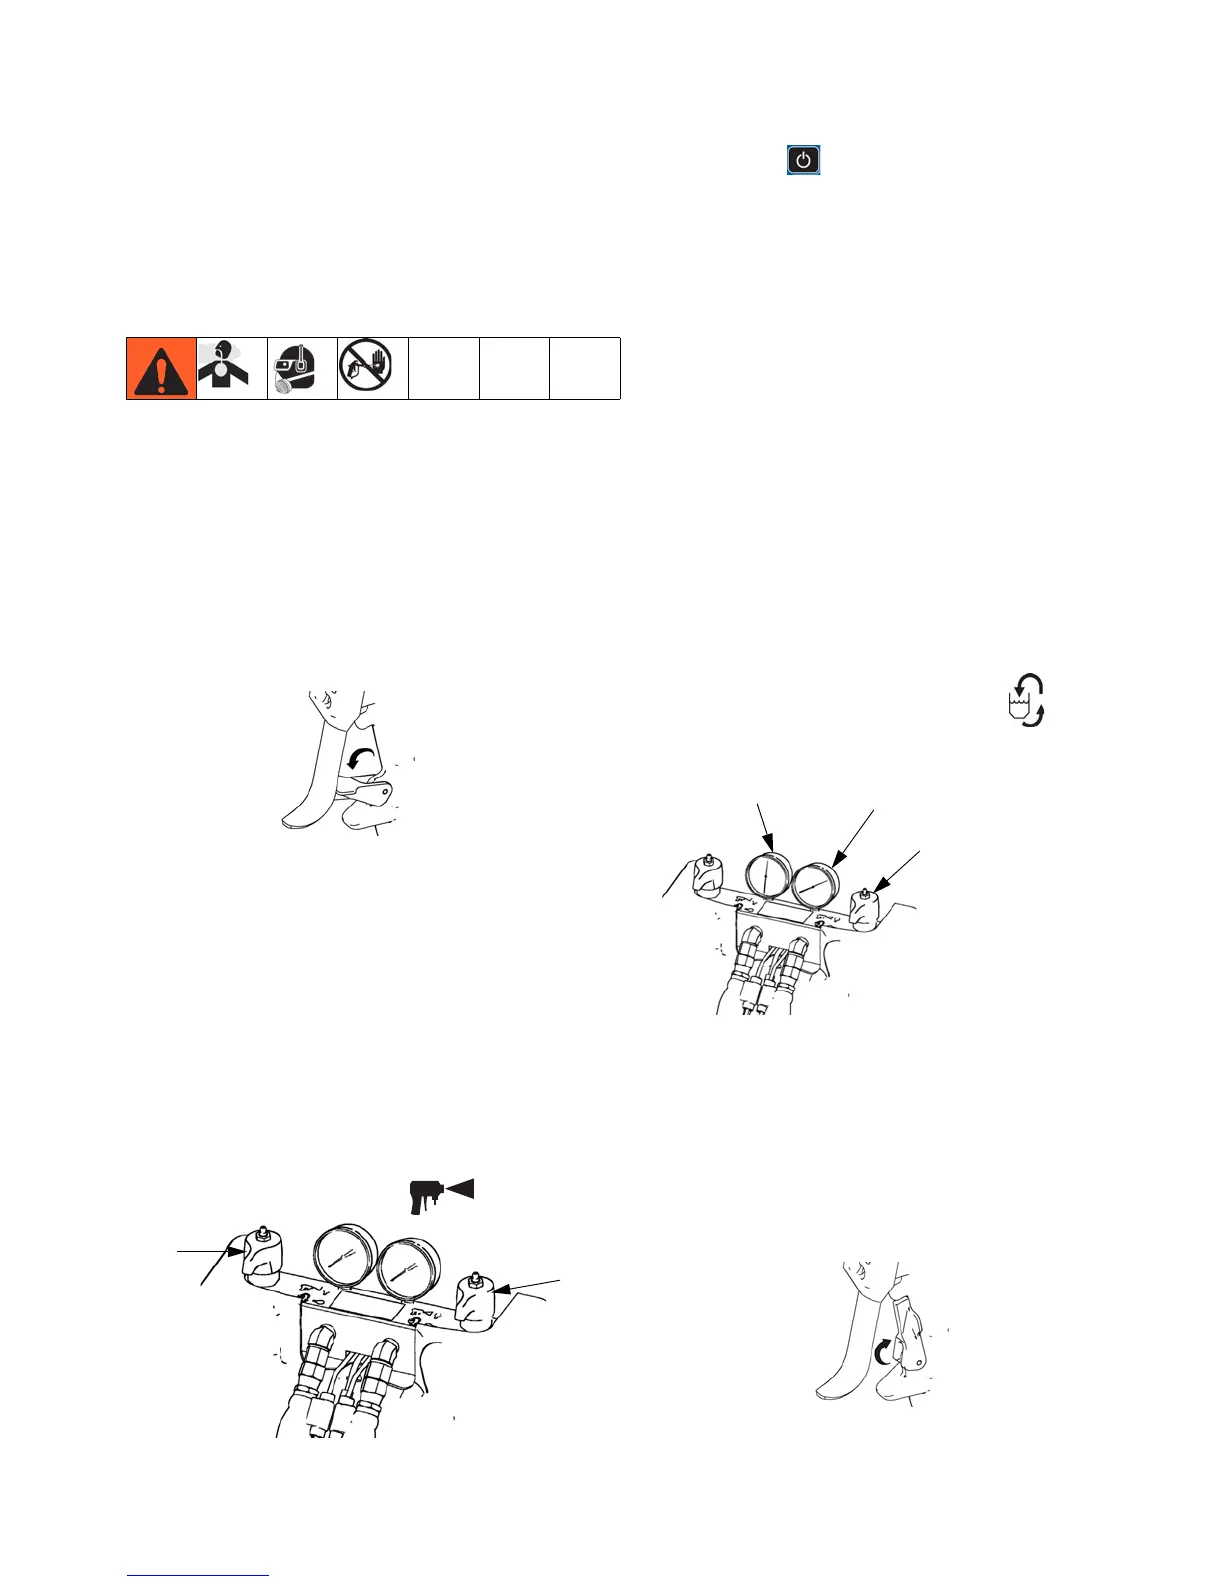
f. Set PRESSURE RELIEF/DISPENSE valves
(SA, SB) to DISPENSE .
g. Press to enable system. LED should be
solid green.
h. Check that heat zones are on and temperatures
are on target, see Status Screen on page 85.
i. Check fluid pressure display and adjust as nec
essary.
j. For MD2 and Auto-Fusion dispense valves, per
form Connect Solenoid Kit procedure. See
Heated Hoses and Applicator Kits manual for
procedure.
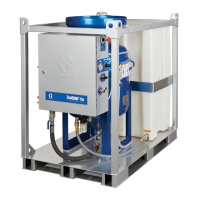
k. Check fluid pressure gauges (GA, GB) to
ensure proper pressure balance. If imbalanced,
reduce pressure of higher component by
slightly turning PRESSURE RELIEF/DIS
PENSE valve for that component toward PRES
SURE RELIEF/CIRCULATION , until
gauges show balanced pressures.
l. For MD2 and Auto-Fusion dispense valves, per
form Connect Solenoid Kit procedure. See
Heated Hoses and Applicator Kits manual for
procedure.
m. If dispense valve has a trigger safety lock, dis
engage the trigger safety lock.
In this example, B (Blue)
side pressure is higher,
so use the B (Blue) side
valve to balance pres
sures.
ti9877a1
GA
GB