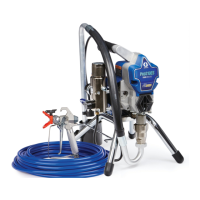
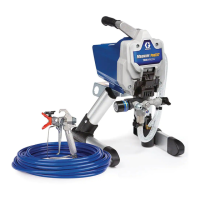
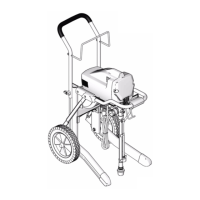
Maintenance
26 3A4702E
Maintenance
Routine maintenance is important to ensure proper operation of your sprayer.
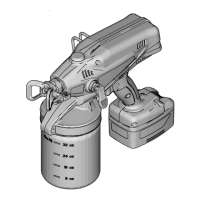
Cleaning Outlet Valves
Dirt and debris in the outlet valve assemblies
may affect sprayer performance and require
cleaning. Perform these steps ONLY if the
sprayer is not working and other
troubleshooting measures have not
resolved the issue.
1. Perform Pressure Relief Procedure,
page 11.
2. Unplug the Power Cord.
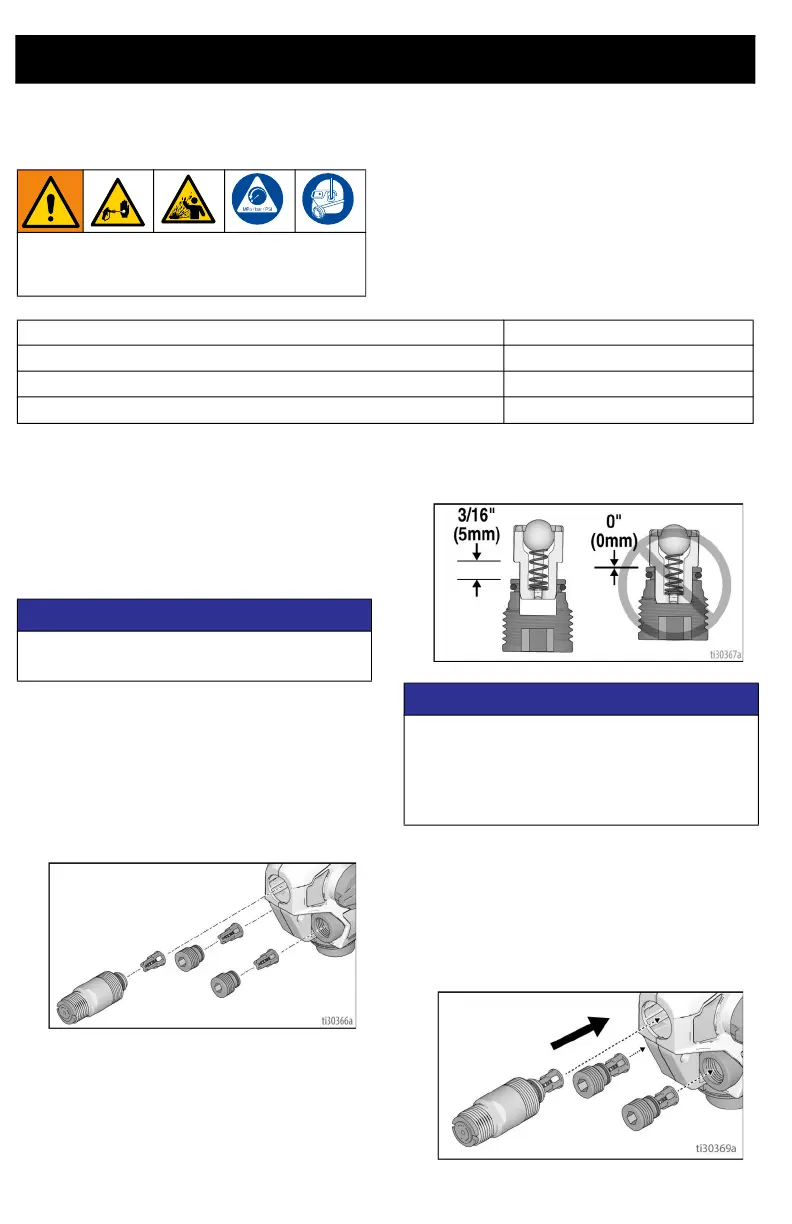
3. To clean the three outlet valves, remove
two pump plugs and front valve.
Remove pump plugs with 8mm or 5/16”
Allen wrench.
4. Clean outlet valve assemblies with
warm water or mineral spirits.
5. Check ball should move freely against
the spring in the retainer.
6. If outlet valve assembly was removed
from the valve plug, assemble as shown.
Leave a space between the end of the
plug or front valve and shoulder on the
outlet valve assembly.
a. Make certain o-rings are on the
valve plugs and front valve.
b. Install two pump plugs and front
valve. Install pump plugs with 8mm
or 5/16” Allen wrench. Torque
outlet valve and pump plugs, see
page 33 for torques.
Move sprayer to a well-ventilated area and
away from flammable or combustible
materials, including paints and solvents.
Activity Interval
Inspect Pump Filter. Daily or each time you spray
Inspect enclosure vents for blockage.
Daily or each time you spray
Inspect pump inlet holes located under Pump Filter for blockage.
Each time the sprayer is cleaned
NOTICE
Proper tools must be used to keep the
plugs/fittings from being stripped.
NOTICE
Do not push outlet valves all the way into
the valve plugs or front valve. If outlet
valves are pushed all the way into the valve
plugs or front valve the sprayer will spray
with reduced performance.