24
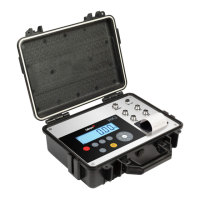
3. Once the zero value has been adjusted, place the adjustment weight (a
known mass weight) on the load receptor.
4. Enter the weight value in the indicator, including the decimal positions.
Use the cursor movement keys to move through the different positions
on the display.
5. Once you enter the weight value, double click on the key to validate
and move to next step. The display will show the blinking message “-
CAL-“while acquiring the adjustment value.
6. Lastly, it will show the message “GEO“ for a few seconds, asking for the
code of the geographical location where you did the adjustment. The
geographical location code is a value from 0 to 31, which you have to
choose from the attached table. Use the and keys to change the
value and validate by clicking on the key.
7. Lastly, the message “SAVE” will briefly appear, indicating that the
adjustment has been saved in the non-volatile memory. The indicator
returns to normal use mode, displaying the weight on the load receptor.
If the automatic correction of the weight according to the geographical
latitude and height (“G-COR option”) is set to ON, the next time you switch
on the indicator after an adjustment, once the display test and initial
welcome message is completed, the user will be asked to enter the value
corresponding to the geographical area where the scale will be used.
Once the value has been entered for the geographical area where the scale is
used, it is recorded in the non-volatile memory of the indicator and the user
will not be asked for it again.
The geographical area where the scale is used can be modified later
whenever you wish by entering the menu with NEnU SCALE CAL
G-SET GEO G nn (for nn {0-31}).
The automatic correction of the setting according to geographical area can be
disabled by entering the menu with NEnU SCALE CAL G-SET
G-Cor OFF.
 Loading...