16
Boiler Installation
Information
14. Locate clean-out door onto the two
studs, re-fit nuts and tighten to
secure door in place.
15. If side outlet flue system is to be
used, remove flue ‘knockout’ from
either the left or right side casing
panel, as required.
16. Re-fit left hand casing panel locating
tabs on rear edge of panel into slots
i
n back panel. Firmly push side
panel downwards to fully engage
tabs.
17. Repeat process to re-fit right hand
casing panel.
18. Re-fit bottom casing panel and
secure in place with screws (with
washers).
19. If top outlet flue system is to be
used, remove the flue ‘knockout’ in
both the top casing panel and the
top flange of the back panel. Fit the
boiler connector (supplied in the flue
kit) to the top of the boiler shell,
ensuring it is firmly connected and
making a seal on the neoprene
gasket. Refer to flue installation
instructions for further details.
20. Re-fit top casing panel and secure
in place with screws (with washers).
Ensure that the ends of the front
flange fit into the slots in the top
front of side panels.
21. System model only - Re-fit
expansion vessel onto bracket
inside right hand side panel and re-
connect expansion vessel hose to
connection on front right hand side
of boiler shell. Ensure rubber sealing
washer is fitted.
22. Re-fit control panel – locating fixing
screws into slots in front flange of
bottom panel. Tighten screws to
secure.
23. Re-locate thermostat bulbs in
pocket at rear right hand side of
boiler shell.
24. System model only - Re-connect
pressure gauge to PRV and tighten.
25. Re-connect burner plug.
26. System model only - Re-connect
pump plug.
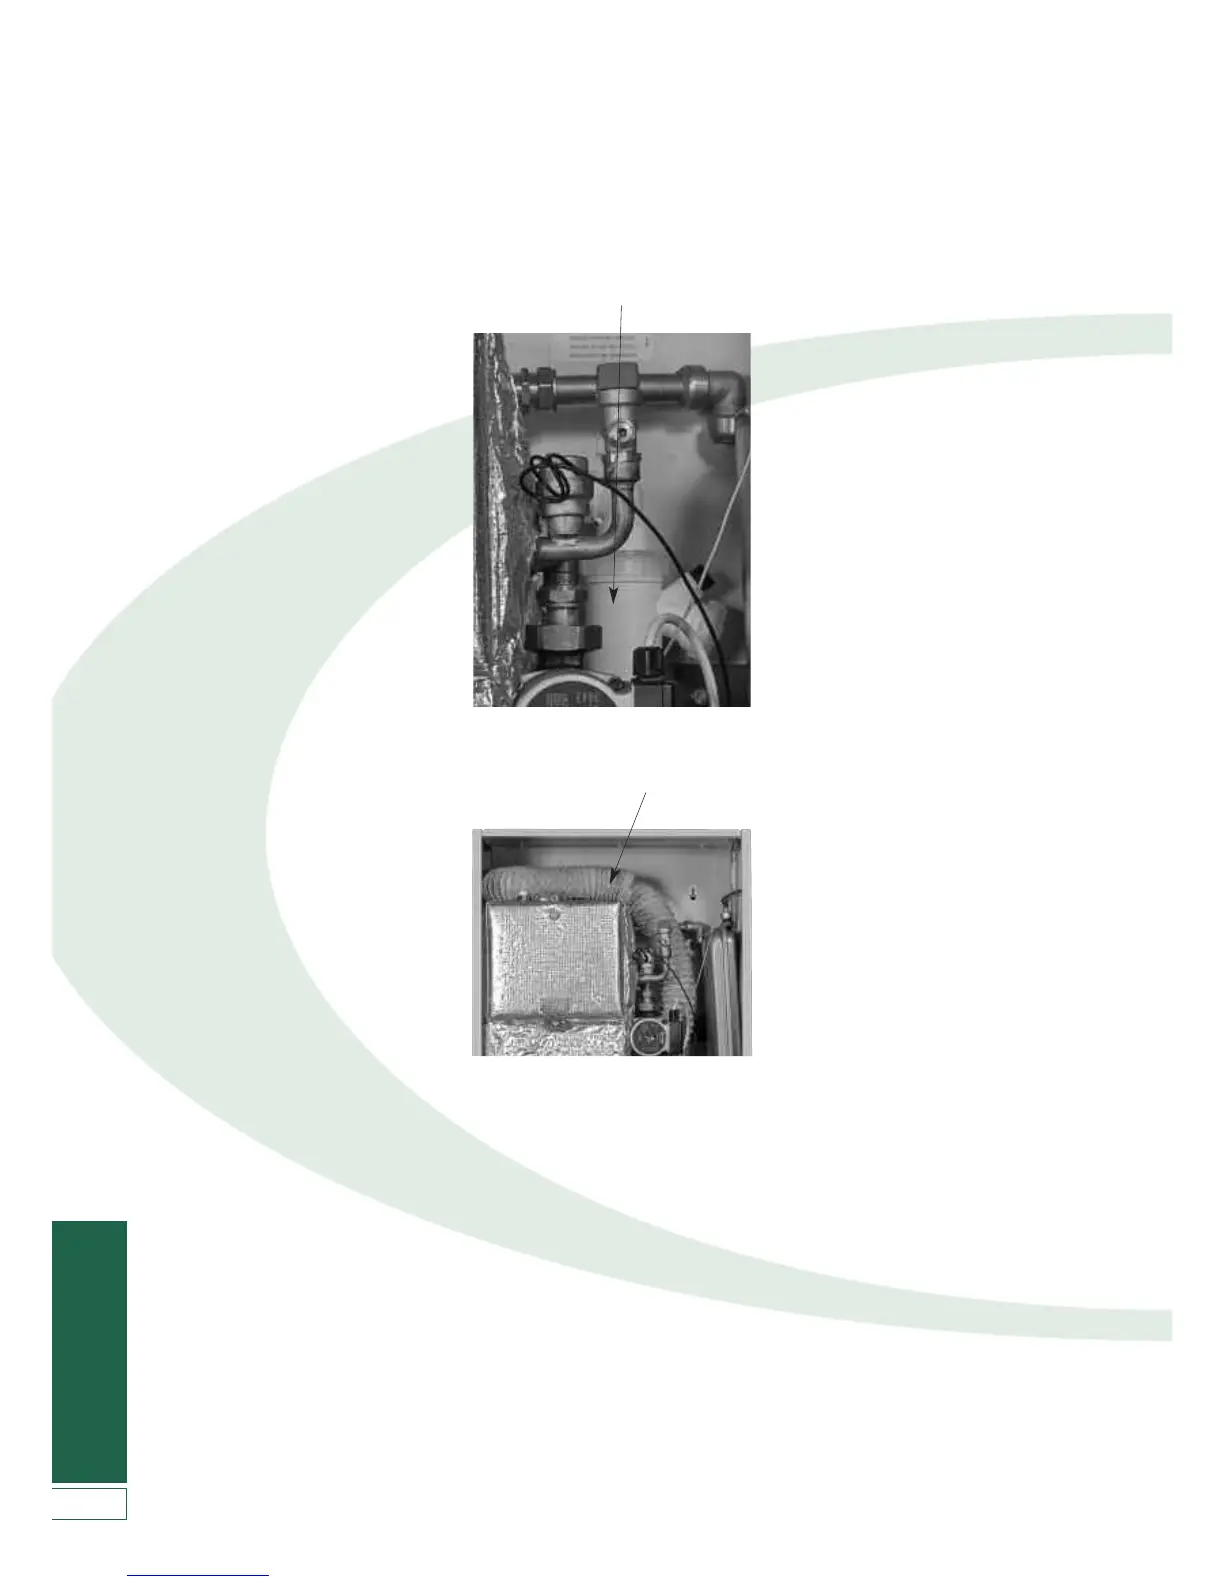
28. Re-fit snorkel tube to air inlet
connection on burner. Tighten hose
clip to secure.
4
.6 Regulations Compliance
Installation of a Grant VORTEX Eco Wall
Hung boiler must be in accordance with
the following recommendations:-
• Building Regulations for England
and Wales, and the Building
S
tandards for Scotland issued by
the Department of the Environment
and any local Byelaws which you
must check with the local authority
for the area.
• Model and local Water Undertaking
Byelaws.
• Applicable Control of Pollution
Regulations.
• The following OFTEC requirements:
- OFS T100 Polythene oil storage
tanks for distillate fuels.
- OFS T200 Fuel oil storage tanks
and tank bunds for use with
distillate fuels, lubrication oils and
waste oils.
Further information may be obtained
from the OFTEC Technical Information
Book 3 (Installation requirements for oil
fired boilers and oil storage tanks).
The installation should also be in
accordance with the latest edition of the
following British Standard Codes of
Practice:
• BS 715 Metal flue pipes, fittings,
terminals and accessories.
• BS 799:5 Oil storage tanks.
• BS 1181 Clay flue linings and flue
terminals.
• BS 4543:3 Factory made insulated
chimneys for oil fired appliances.
• BS 4876 Performance requirements
for oil burning appliances.
• BS 5410:1 Code of Practice for oil
firing appliances.
• BS 5449 Forced circulation hot
water systems.
•
BS 7593 Code of Practice for
treatment of water in heating
systems.
• BS 7671 Requirements for electrical
installations, IEE Wiring Regulations.
29. If balanced flue system is fitted,
connect other end of snorkel tube to
air inlet spigot of flue system.
30. If a conventional flue system is
used, locate other end of snorkel in
top of boiler, ensuring that inlet to
tube is not restricted.
31. Fit flue system to boiler – refer to
flue system installation instructions.
32. Re-fit upper front casing panel –
hook top edge over front edge of
top panel, locate pins into spring
retaining clip on each side panel and
push firmly home to secure.
33. Re-fit lower front panel – with the
panel at 45° to vertical, locate the
tabs into the horizontal slots in front
of bottom panel. Slide to either left
or right and lift into closed position
against magnetic catches.
Figure 4-12: Re-fitting condensate trap
Figure 4-13: Re-fitting snorkel tube
27. Re-fit condensate trap. Connect
condensate discharge pipe to outlet
of trap.