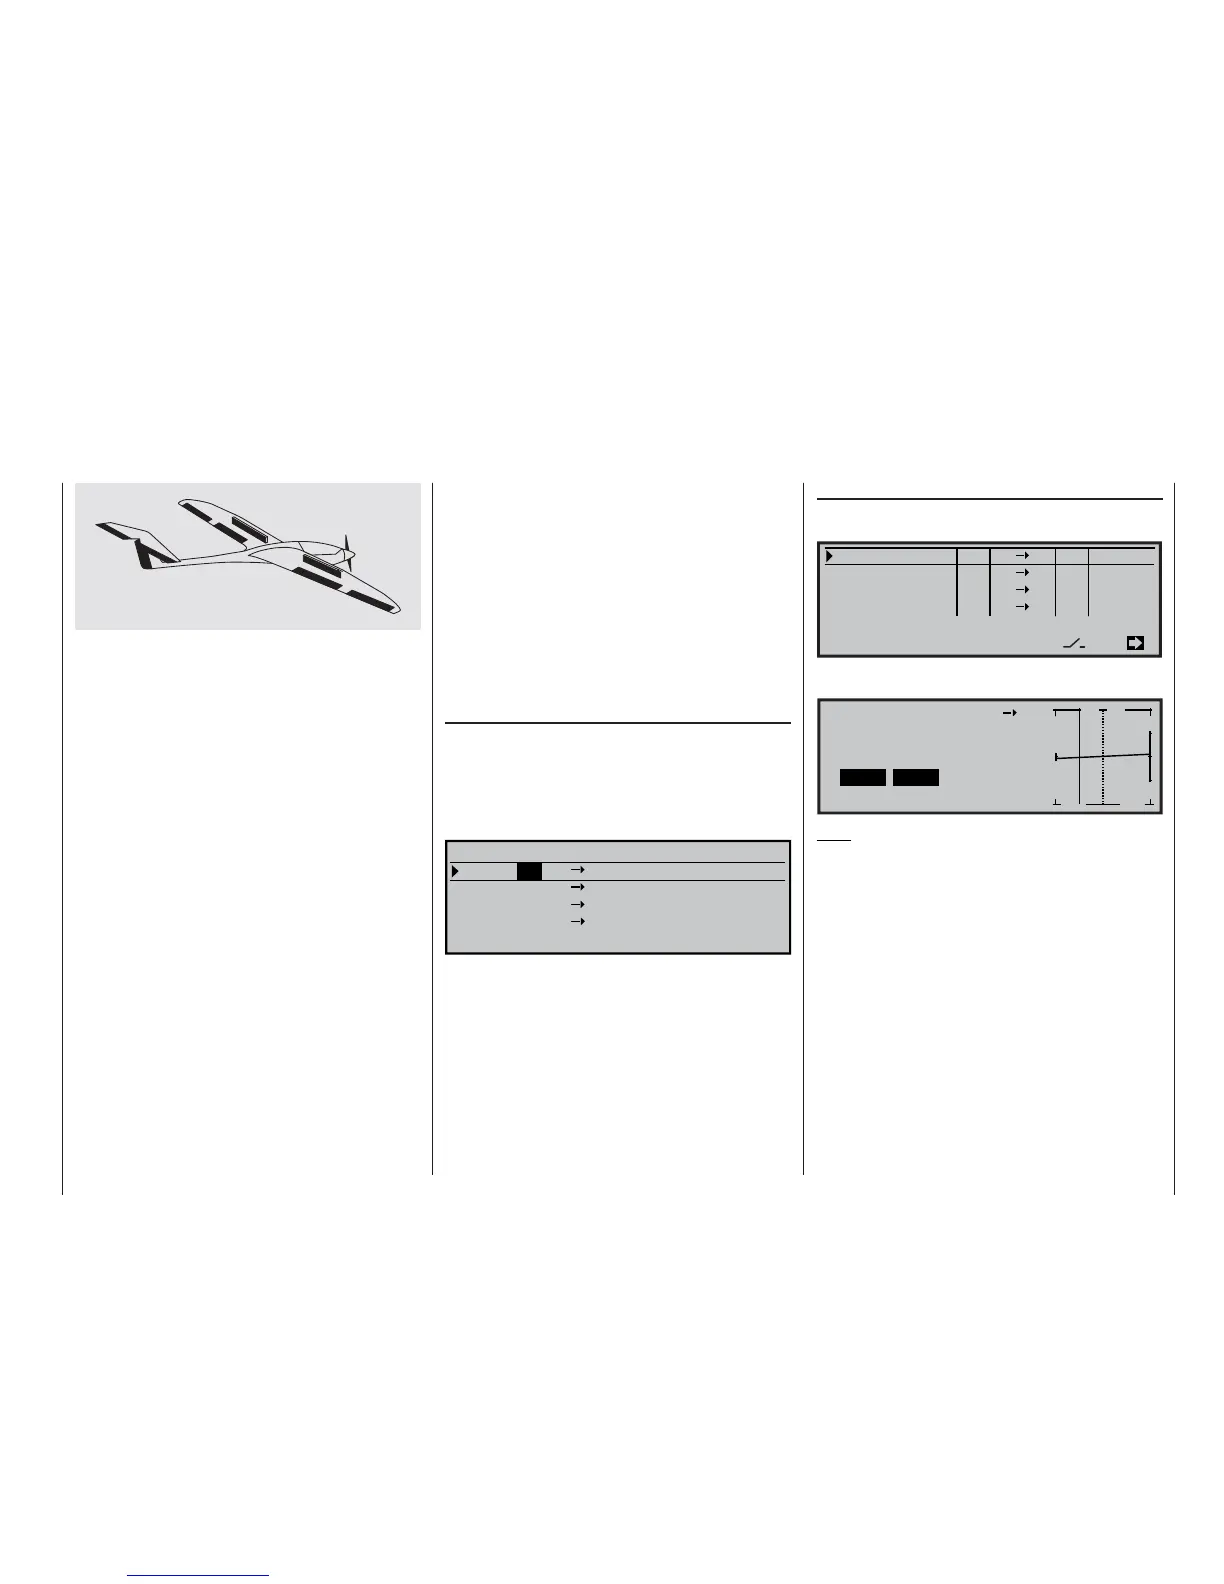
165
Including an electric power system in model programming
There are various ways of switching electric power
systems on and off. The simplest method of inclu-
ding an electric motor in a model set-up is to use the
throttle / brake stick. However, since we have alrea-
dy reserved the C1 transmitter control for the airbra-
kes in the preceding programming example, the ob-
vious solutions are either to control the motor using a
switch, as described in the section starting on page
167, or simply to use an alternative transmitter cont-
rol.
One of the three-position switches (CONTROL 7 or
8) could be used for this, alternatively the left or right
proportional control. Note that the two INC / DEC but-
tons CONTROL 5 + 6 are not so suitable, as they do
not allow the pilot to alter motor speed quickly enough
in an emergency.
However, yet another alternative is one of the two-
position switches. In theory this should be the switch
which is easiest for you to reach when hand-laun-
ching the model; see the note in the right-hand co-
lumn of page 159.
However, before we move on to the individual examp-
les, it is important to point out that inputs 5 to 8 are
programmable separately for each fl ight phase in the
»Transmitter control adjust« menu. The other way
of looking at this is that these inputs have to be pro-
grammed separately for each fl ight phase!
Since control of the power system must be availab-
le regardless of the currently active fl ight phase, you
would therefore need to repeat your settings separa-
tely in each fl ight phase if you were to use one of the-
se inputs 5 to 8, and then perhaps adjust all of them
separately if the settings proved to be incorrect.
This procedure is susceptible to errors as well as
being extremely long-winded, and for this reason we
urge you from the outset to use one of the inputs 9
to 12, which are fl ight phase independent, and there-
fore only have to be programmed once for each mo-
del memory.
However, this method does call for one additional pro-
gramming step. If the receiver you wish to use has fe-
wer than nine outputs, kindly move on to the menu …
»Receiver output swap« (page 153)
… and swap over two receiver outputs. This procedu-
re only has to be carried out once, and there is nor-
mally nothing else that has to be altered in the model
memory concerned.
So: connect your speed controller to a vacant output,
e. g. “1” and assign, say, servo 9 to this output:
SEL
9
Servo
Servo
Servo
Servo
2
3
4
1
2
3
4
RECEIVER OUTPUT
Output
Output
Output
Output
A further option which is common to the following ex-
amples 1 … 5, namely automatic elevator trim adjust-
ment under power, is therefore mentioned at the start
of this section:
After the fi rst few powered fl ights you may have disco-
vered that the model requires constant elevator trim
when the motor is switched on; this can be corrected
by setting up a free mixer, and adjusting it to suit your
model.
This is done by moving to the menu …
»Free mixers« (page 135)
… and programming a “LinearMIX” or perhaps a “Cur-
veMIX”, in our example from “9” to “EL”:
=>
?? ??
----
?? ??
----
SEL
SELSEL
9 EL
?? ??
----
LinearMIX
type
1
LinearMIX
LinearMIX
LinearMIX
2
3
4
from to Adjust
On the second page of this screen the corrective va-
lue – usually a small one – is then entered as follows:
9 EL
+4%
0%
m
OUTPUT
--
+
100
Offset
+4%
SYM
ASY STO CLR
Linear MIX
1
Mix input
Note:
The method of setting up a curve mixer is described
in detail in the Chapter entitled »Channel 1 curve« in
the section starting on page 90.
165
Programming examples: Fixed-wing model