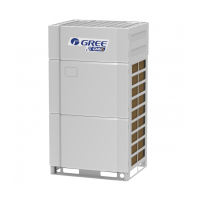
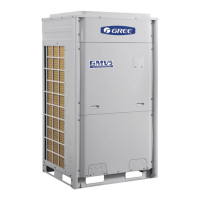
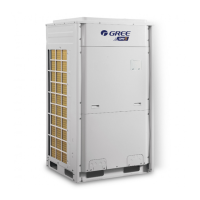
GREE Photovoltaic Direct-driven Inverter Multi VRF Units
280
Step 16: Charge refrigerant
Before charging refrigerant, check its manufacturer, package, and print information. Besides, check
refrigerant pressure and quality against the saturation pressure/ temperature list.
Check method: Measure the pressure of the entire tank of refrigerant. Check it by referring to the
saturation pressure/ temperature list. Check the ambient temperature. If the difference between the
actual temperature and the parameter value is 3°or more, the refrigerant quality is unsatisfactory.
If refrigerant is proved satisfactory, charge refrigerant of the rated amount specified on the
nameplate plus the additional amount of refrigerant calculated for pipeline.
For a system with multiple modules, if refrigerant of that outdoor unit only is drawn out before
maintenance, first add 80% of the rated charging amount of refrigerant as specified on the nameplate of
that outdoor unit and then start it up and adjust through debugging parameters.
Step 17: Connect electric parts
Install the electric box. Connect wires by referring to the marks made beforehand and the wiring
diagram on the back of the box. Connect compressor wires and electric heating belt.
※Note: Please check the wiring diagram carefully and wire accordingly. Wires must be connected
correctly.
Step 18: Start for debugging
Start the units and set them in 4 types of running condition respectively, i.e. all in cooling, individually
in cooling, all in heating, and individually in heating. Duration for each running condition should be 30
minutes at least. Analyze the data and adjust the unit system to ensure that parameters are all normal.
For details about the parameters, please consult professional after-sales staff or technicians.
 Loading...