Greenlee Textron / Subsidiary of Textron Inc.
18
4455 Boeing Dr., Rockford, IL 61109-2988 815/397-7070
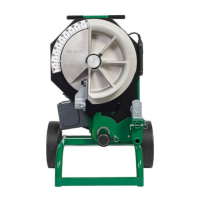
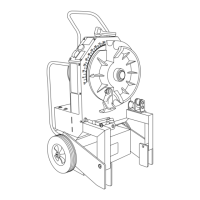
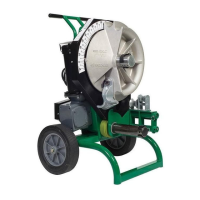
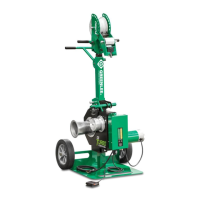
555 Electric Bender
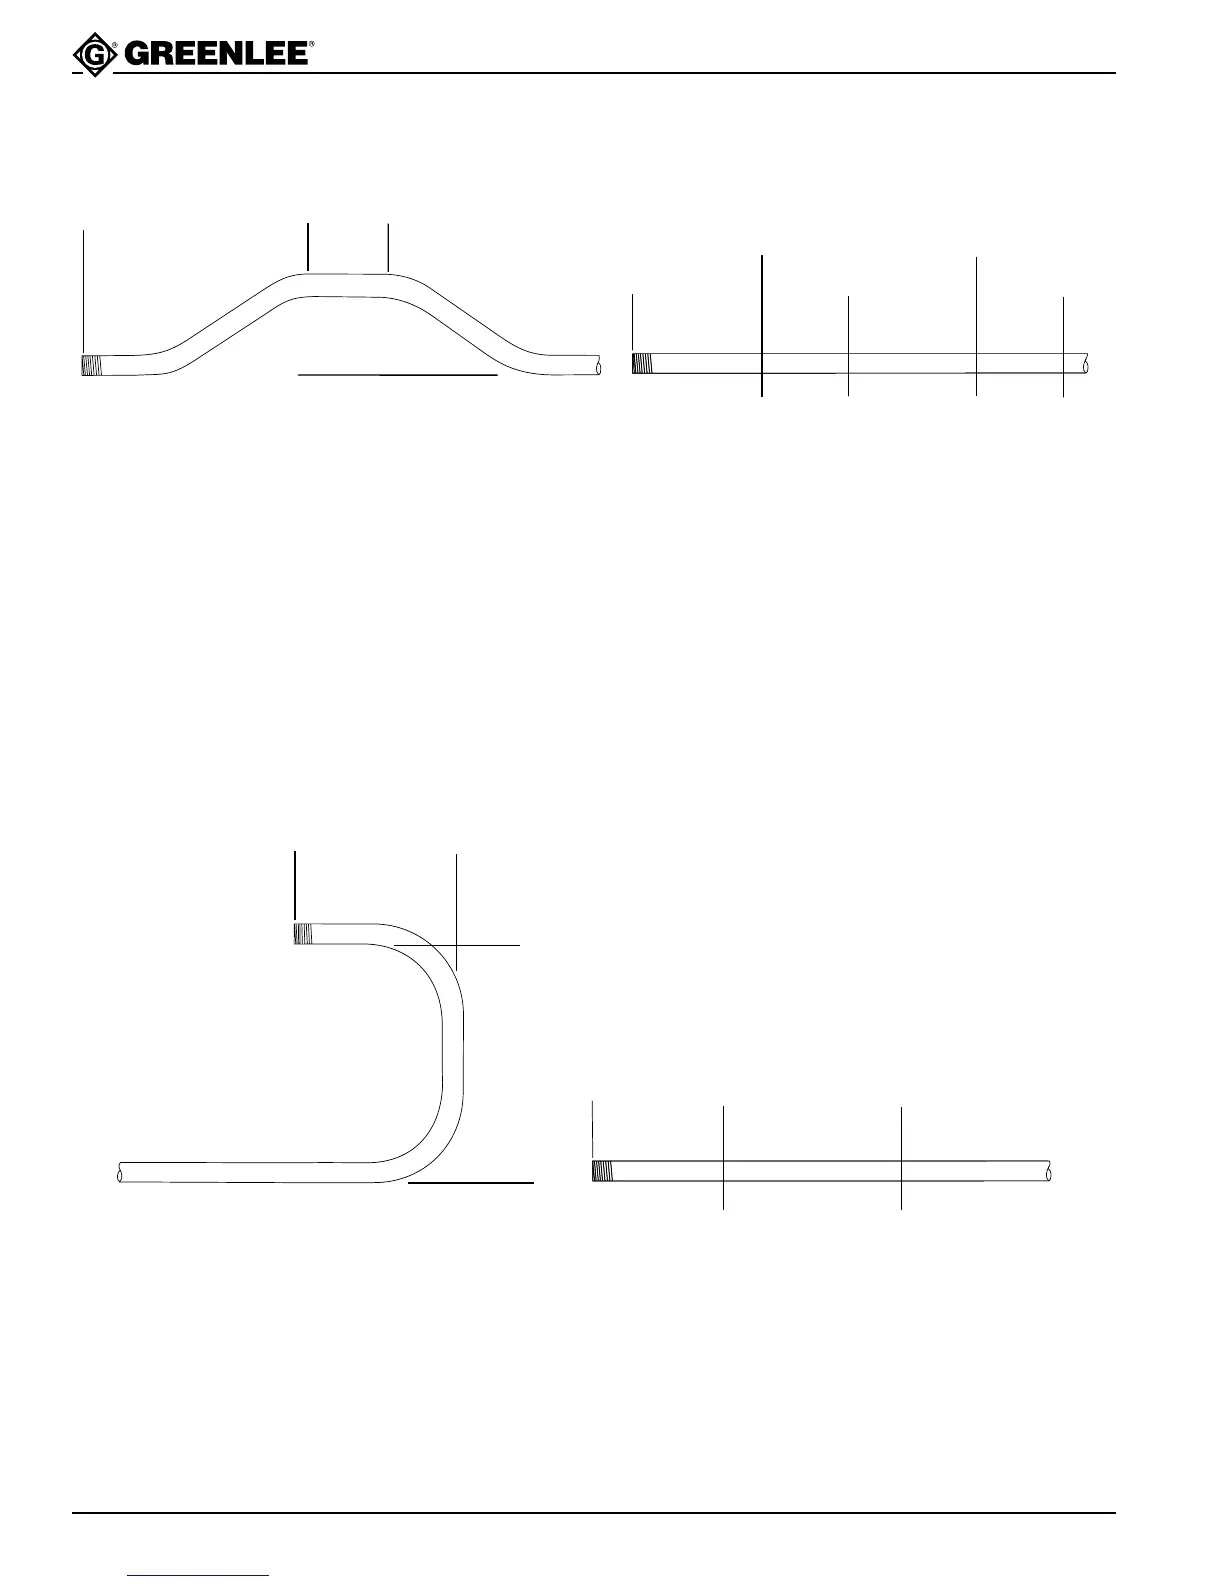
1. Go to the following Bending Information Chart which is for the size and type of conduit you are to bend.
2. Look down the ANGLE column until you come to the angle you want to bend.
3. Look at the numbers in the row preceded by Z and pick the one that is directly under the height (H) you want.
4. Subtract this Z dimension from the desired length.
5. Place your first mark this distance from the end of the conduit.
6. Look at the numbers in the row preceded by L1 and pick the one that is directly under the height (H) you want.
7. Place a second mark this distance from your first mark.
8. Look at the numbers in the row preceded by L2 and pick the one that is directly under the height (H) you want.
9. Add this L2 value to the desired length of your straight section.
10. Place a third mark this distance from your first mark.
11. Look up the L1 dimension used above again.
12. Place a fourth mark this distance from your third mark.
13. Make your four bends by placing the front edge of the shoe hook on the respective marks for each bend.
U-Bends
←
L1
→
←
Y
→
←
HEIGHT
→
BENDING
MARK 1
BENDING
MARK 2
←
LENGTH
→
← L1 →
← LENGTH – Z →
← →
← LENGTH →
BENDING
MARK 1
BENDING
MARK 2
BENDING
MARK 3
←L2 + STRAIGHT SECTION→
HEIGHT
ANGLE
→
→
STRAIGHT
SECTION
←
←
L1 →
BENDING
MARK 4
Special Bending Information (cont’d)
1. Select the tables for the bender you are using. Go to the Bending Information Chart for the size and type of
conduit you are to bend.
2. Look down the ANGLE column until you come to 90 degrees.
3. Look at the numbers in the row preceded by Y and pick the one that is directly under the height (H) you want
the length to be.
4. Place your first mark at this distance from the end of the conduit.
5. Look at the numbers in the row preceded by L1 and pick the one that is directly under the height (H) you want.
6. Place a second mark this distance from your first mark.
7. Make your first bend after placing the front edge of the shoe hook on the first mark and your second bend after
placing the front edge of the shoe hook on the second mark.
4 Bend Saddles with Straight