CM220 Chipper 6. MAINTENANCE 6-6
©GreenMechLtd 6-6 08/17
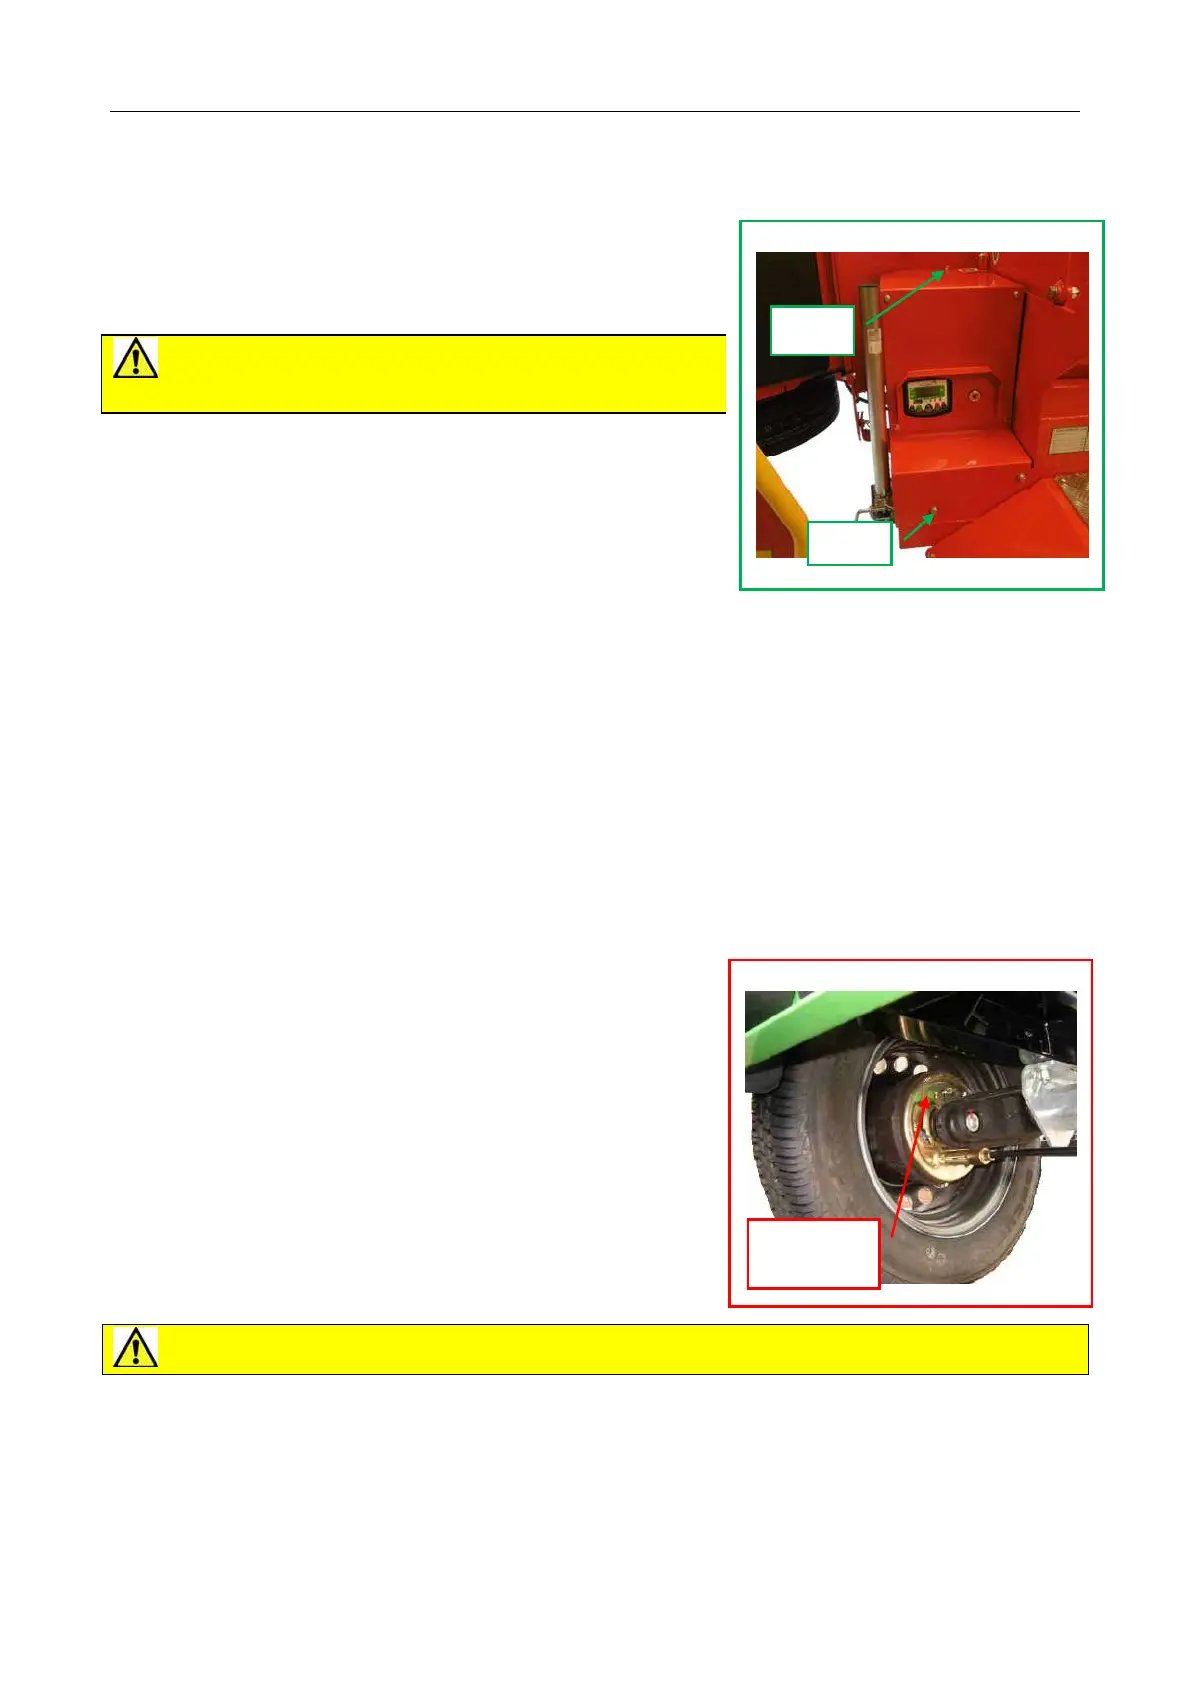
6.13 Battery
First 50 hours and weekly
Carefully remove metal cover (3 bolts) and unplug
controller connector to lift cover and controller clear.
Check electrolyte level and top up if required (fig 6.13).
Replace cover.
CAUTION! Gases are explosive. Electrolyte is
corrosive. Avoid sparks and spillage.
Removal
1 First disconnect negative (-) cable.
2 Disconnect positive (+) cable.
3 Remove clamp and carefully lift out battery.
4 Replace by connecting positive cable before negative.
5 Secure battery
6.14 Tyres and Wheels
First 50 hours then weekly
Check condition of tyres.
Check pressures and inflate to 4.4bar (64lb/in
2
) pressure as required.
Check wheel nuts are tight to 110Nm (80lbft) torque.
6.14.1 Tyre sealant (Optional)
Tyres installed with Air-Seal Products water based sealant have either green valve cap or green
ring around valve. Tyres will operate in same fashion as normal pneumatic tyre.
Note If valve core is depressed to deflate tyre, valve recess may become blocked with plug of
sealant. To unblock either remove valve core to allow air to blow plug out or alternatively blow plug
back into tyre with airline.
For replacement supply, consult GreenMech or distributor.
6.15 Brakes
50 hours or weekly,
Check operation and effectiveness of overrun and
handbrake.
100 hours
Adjust brakes as follows:
1 Chock machine, release handbrake fully off and check
drawbar is fully extended.
2 Jack up both wheels and support on axle stands.
3 Remove inner bung (fig 6.15.1) to expose adjuster
‘starwheel’.
4 Adjust starwheel with screwdriver until tight whilst rotating
each wheel forwards until tight.
5 Slacken until wheel rotates freely in forward direction.
CAUTION! Reverse rotation of wheel may prevent correct adjustment.
6 Check brake linkage has 4 to 6mm movement at cable.
7 Repeat for opposite wheel.
8 Check balance bar is straight and pulls both cables evenly.
9 Adjust ball nut to remove any slack from brake rod.
Note: Servicing of brakes may be required more often if above average mileage is covered.
Refer to AL-KO brake manual or GreenMech for details for brake shoe replacement and other servicing
Fig 6.13 Battery (under cover)
Bolt
Bolts
Fig 6.15.1 Brake adjustment
Adjuster
starwheel