1
Page
Contents 1
Foreword 2
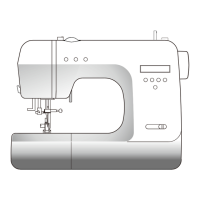
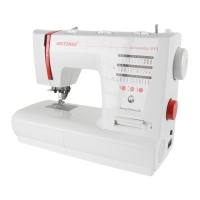
Notes on the sewing machine 3
Adjusting instructions
Automatic mechanism
1. Adjustment of the lifting clearance between the feeler finger and the cams (class 1004) 4
2. Adjustment of the needle zero point for the straight stitch 6
3. Adjustment of the sideways movement 8
4. Adjustment of the needle entry points in the needle slot 10
55
Stitch forming mechanism
5. Adjustment of the needle clearance in relation to the needle slot 12
6. Adjustment of the hook-to-needle clearance 14
7. Adjustment of the toothed segment to the bevel gear 16
8. Adjustment of the sewing hook timing 18
9. Adjustment of the needle bar height 20
Feed mechanism
10. Adjustment of the feed dog in crosswise direction 22
11. Adjustment of the feed dog in the feed slot in sewing direction 24
12. Adjustment of the feed dog driving eccentric 25
13. Adjustment of the feed dog lifting eccentric 26
14. Adjustment of the feed dog height 28
15. Adjustment of the presser bar height 29
16. Adjustment of the zero point of the stitch length control 30
Stitching off the machine
17. Adjustment of the bobbin thread tension 31
18. Adjustment of the needle thread tension 32
19. Adjustment of the feed dog standstill point in a buttonhole bartack 34
20. Adjustment of equal stitch length for left and right buttonhole seams 35
21. Adjustment of equal stitch length for forward/reverse-controlled utility stitches 36
22. Making up a sewing sample 38
Repair Instructions
23. Changing the baseplate 39
24. Changing the free-arm cover 40
25. Changing the arm cover 41
26. Changing the face cover 42
27. Changing the stand cover 43
28. Changing the motor 44
29. Changing the stitch length control 46
30. Changing the hook race assembly 48
31. Changing the automatic mechanism 50
32. Electrical safety test 52
33. Electrical safety test with ABB Metrawatt M 5013 52
34. Simulated leakage current tests on motor assemblies 55
35. Measures required in case of incorrect readings 55