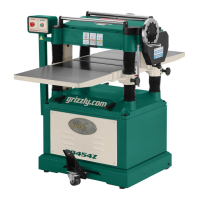
G0890/G0891 (Mfd. Since 06/19)
-19 -
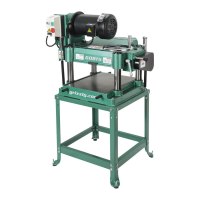
Assembly
To assemble planer:
1.
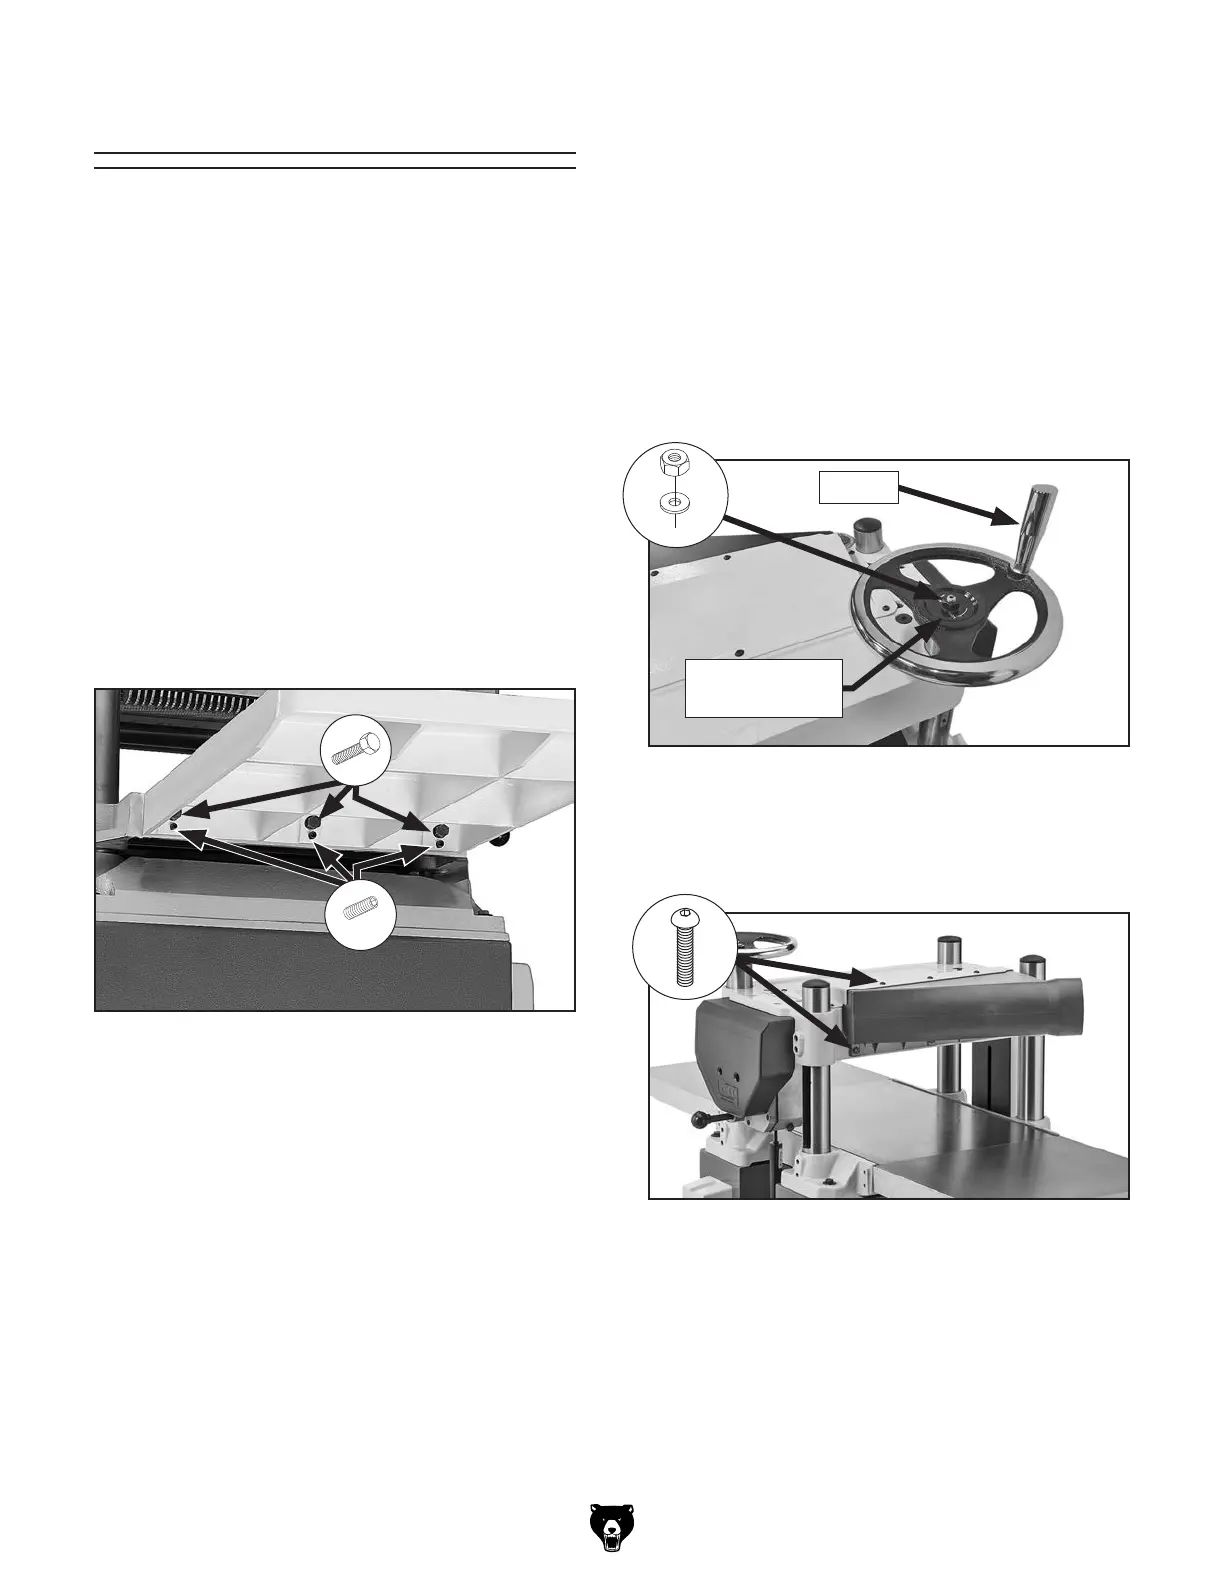
Attach each cast-iron extension table (see
Figure 10) to planer table with (3) M8-1.25 x
25 hex bolts. Do not fully tighten hex bolts at
this time.
2.
Thread (3) M8-1.25 x 20 set screws into
each extension table at locations shown in
Figure 10.
Figure 10. Extension table mounting locations.
x 3
x 3
The machine must be fully assembled before it
can be operated. Before beginning the assembly
process, refer to
Needed for Setup
listed items.
To ensure the assembly process
goes smoothly, first clean any
parts that are
cov-
ered or coated in heavy-duty rust preventative (if
applicable).
8. Attach dust port to planer with (6) M6-1 x 12
button head cap screws (see Figure 12).
Figure 12. Dust port installed.
x 6
3.
Using a straightedge as a guide, rotate set
screws until extension tables are in plane
with main table, then fully tighten hex bolts
installed during Step 1.
4.
Insert key into keyway on handwheel shaft on
top of planer.
5.
Line up notch in handwheel bore with key,
then slide handwheel onto shaft.
6
. Slide LOW/HIGH direction label onto
handwheel shaft, and secure handwheel with
10mm flat washer and M10-1.25 hex nut (see
Figure 11).
7.
Thread handwheel handle into handwheel
(see Figure 11) and tighten with wrench.
Figure 11. Headstock elevation handwheel
installed.
Handle
LOW/HIGH
Direction Label
x 1
 Loading...