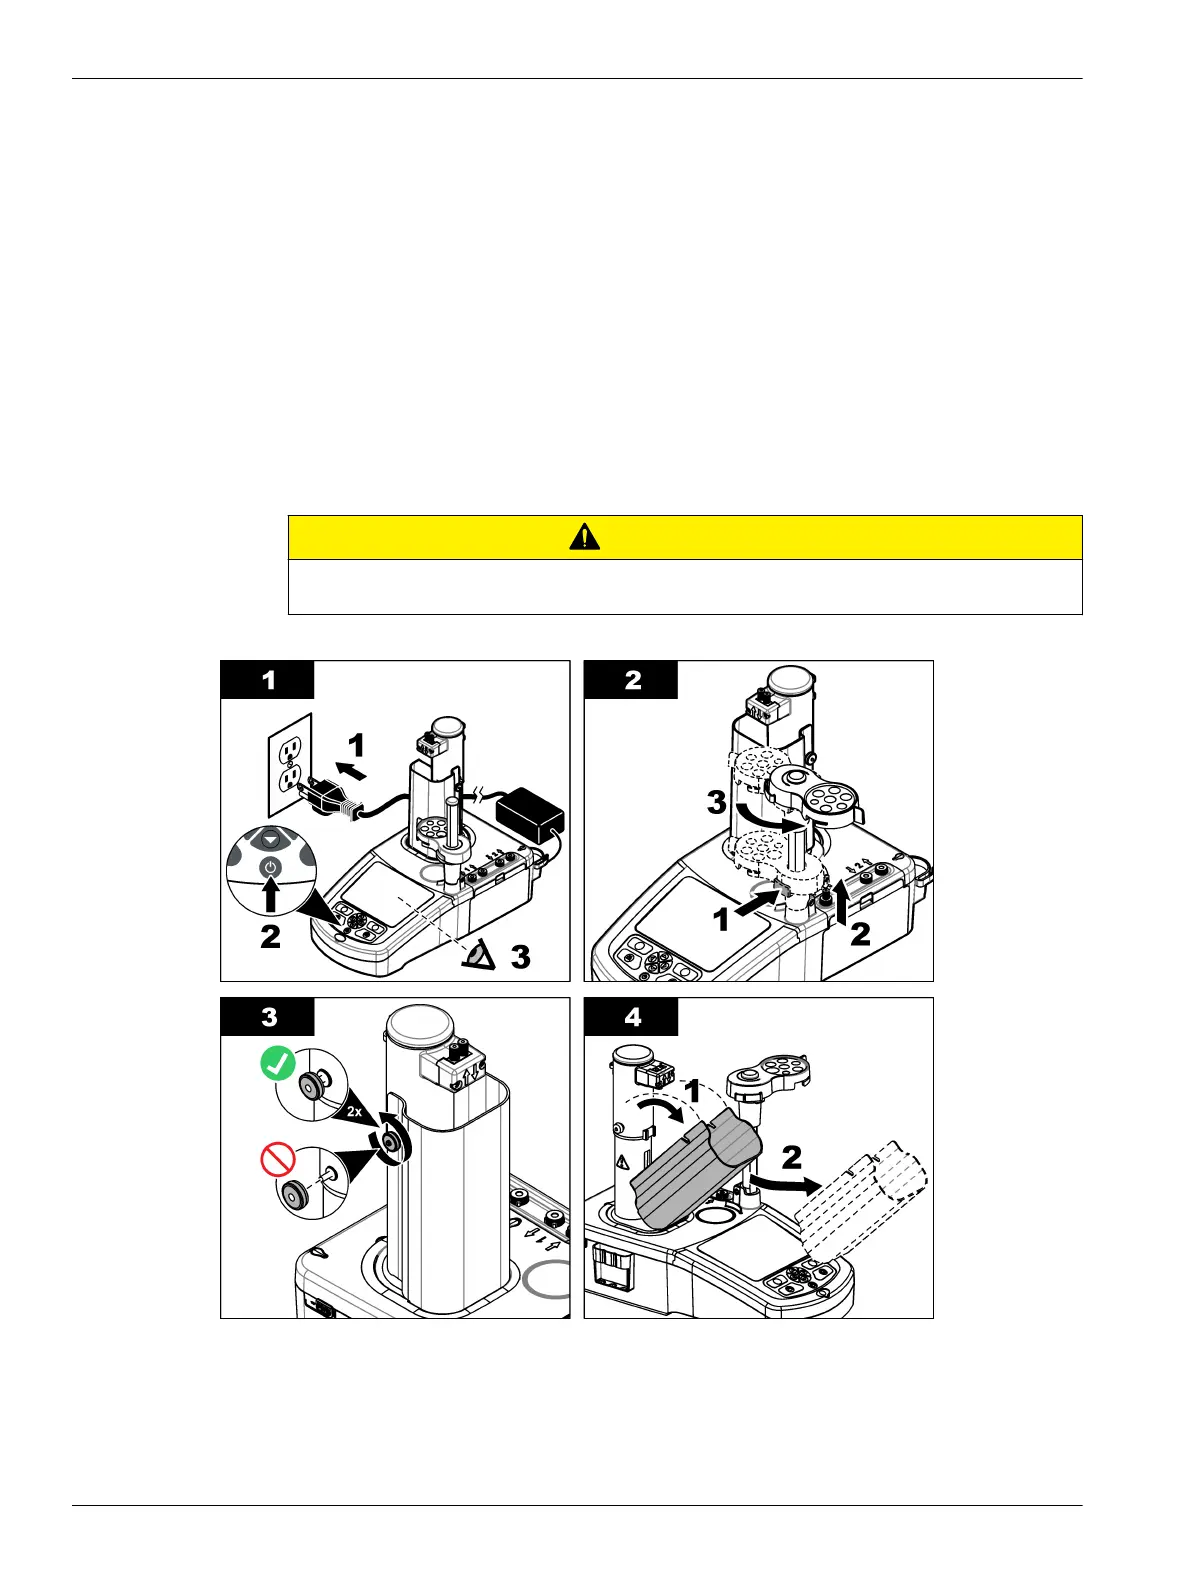
1. Connect the power cord to the power supply.
2. Connect the power supply to the instrument (refer to Instrument connections
on page 9).
3. Connect the power cord to an electrical outlet.
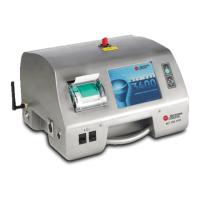
3.3 Install the syringe
Before syringe installation, set the instrument power to on. Push the power button on the
front of the instrument. Make sure that the startup sequence shows on the display. The
syringe holder lowers to its operating position.
Note: Ignore any warning messages related to missing applications that show on the display.
The sensor holder has two positions: one over the magnetic stirrer and the second at
180° to the right. Move the sensor holder away from the instrument to the second
position.
Refer to the illustrated steps that follow.
C A U T I O N
In step 6, tighten the syringe using the metallic part at the top. Do not hold the glass section of the
syringe. Do not tighten too much.
To install a second syringe, do steps 5 through 7 again.
Installation
12

 Loading...