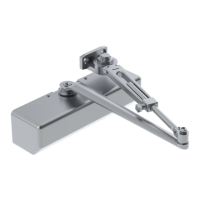
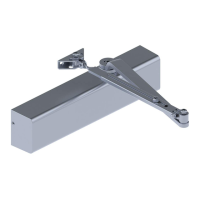
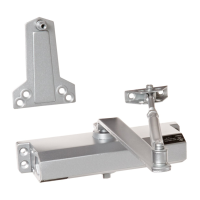
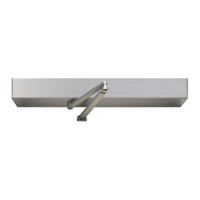
8300 Low Energy Auto-Operator
Installation Instructions
I-EA00257 / 26790910
Rev 2, Rev Date: 1/30/19
Always visit www.hagerco.com for the latest Installation Instructions
HAGER COMPANIES 139 Victor Street, St. Louis, MO 63104 • (800) 325-9995
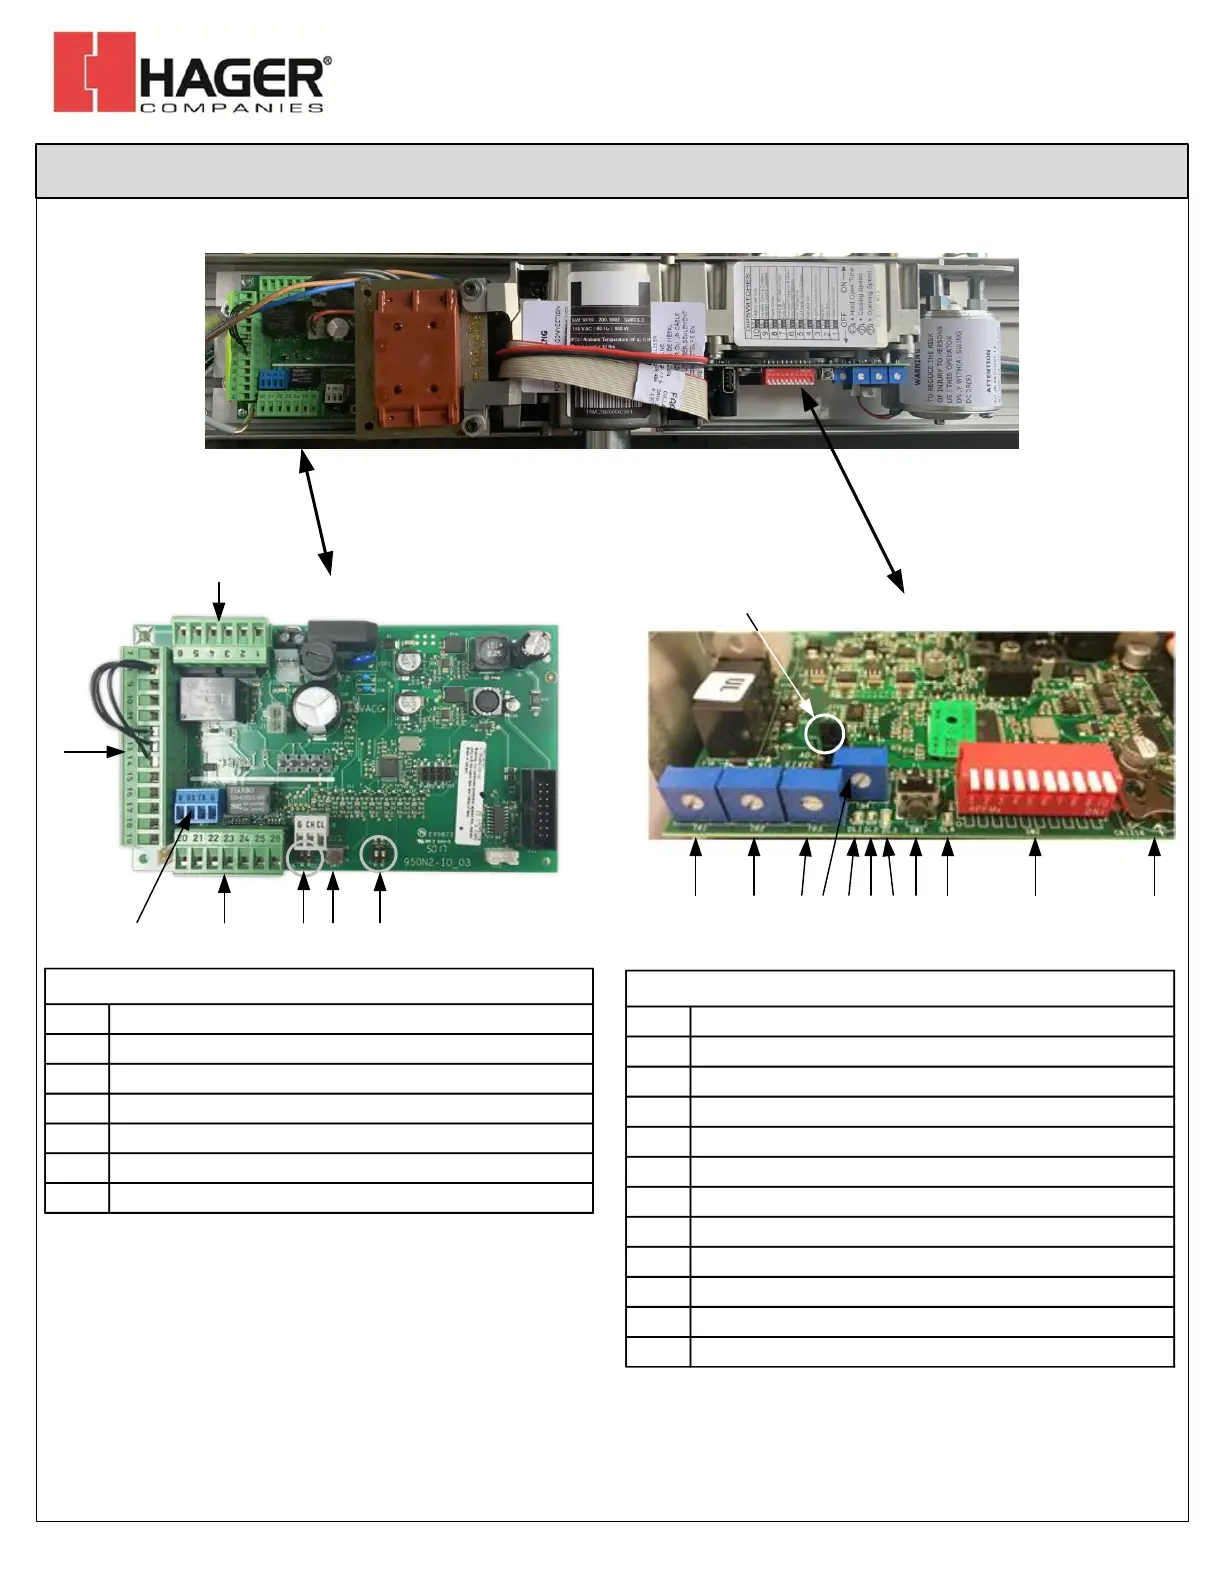
I/O Control Board
Adjustment Board
DS2
DS1
J4
J5
J6
Before proceeding, familiarize yourself with the operator control boards below.
J3
SW2
B1
Control Boards
TR1
TR1 TR2
TR3
TR4
DL1
DL2
DL3
SW1
DL4
TR2
TR3
TR4
J5 Relay Terminal Strip *
J4 Activation Terminal Strip *
J3 Programmer Terminal Strip **
J6 Auxiliary Terminal Strip *
J6 Unpowered Closing Speed Jumper ***
TR1 Opening Speed Adjustment
TR2 Closing Speed Adjustment
TR3 Hold Open Time Adjustment
TR4 Unpowered Closing Speed Adjustment ***
SW1 Parameter Change Switch
SW2 10 Function Dip Switch ****
B1 Programmer Setting Battery *****
* See Page 15 for terminal strip input usages.
** Only used with Optional Hager programmer.
*** Enabled when jumper J6 ‘ON’ (Default Enabled).
**** See Page 14 for SW2 dip switch settings.
***** Required to maintain programmed settings.
J6
SW1
Page 11 of 18
 Loading...