●
Replacing the tip
Removing and inserting the tip:
Removing the tip: Hold the sleeve assembly
to remove the connector.
Remove the tip from the sleeve assembly.
(If the tip is hot, hold it with the heat-resis-
tant pad.)
Inserting the tip: Hold the head part and in-
sert the tip into the sleeve assembly. Push
until the sleeve assembly touches the ring
round the tip; at this point the tip should not
be forced further into the sleeve assembly.
Put the tip into the connector.
Insert the new tip firmly into the connector.
There are no orientation requirements.
CAUTION:
The tip can be very HOT. Use the heat-resistant pad for
handling hot tips, but do not hold the hot portion of the
tip, even with the pad, for a long time.
6
●
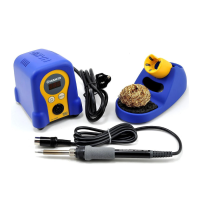
Using the iron holder
Remove any excess solder from the tip
by thrusting the tip into the cleaning wire.
(Do not wipe the tip against the wire. This
may cause molten solder to spatter.)
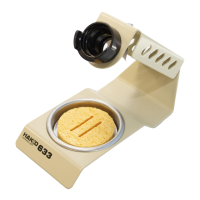
When the wire become dirty or loaded with
solder, turn the wire until a clean surface is
presented.
When changing the cleaning wire, lift the
case top vertically to prevent solder debris
from falling out.
7. PARAMETER SETTINGS
Auto power shutoff
This is an optional setting. When it is activated
and the soldering iron is not used for 30 min-
utes, the power to the heating element is shut
off automatically, the alarm will sound three
times and the selected heat range lamp will
light slowly. When the temperature decreases
to 100°C/212°F, the heat range indicator lamps
light in a slow clockwise sequence. If the sta-
tion is left in this mode, the 'alarm' will continue
to sound every thirty minutes. To resume sol
-
dering, cycle the power switch OFF, then ON.
The power will be turned on automatically if the
heat range selector button is pressed before
the temperature decreases to 100°C/212°F.
The auto power shutoff switch is on the bottom
front of the case. To turn this function ON ,set
the switch to the ' I ' position. (OFF is reverse.)
Hold the sleeve assembly at the front to remove tip.
Hold these parts to insert tip into sleeve assembly.
Hold and squeeze this part to insert into the connector.
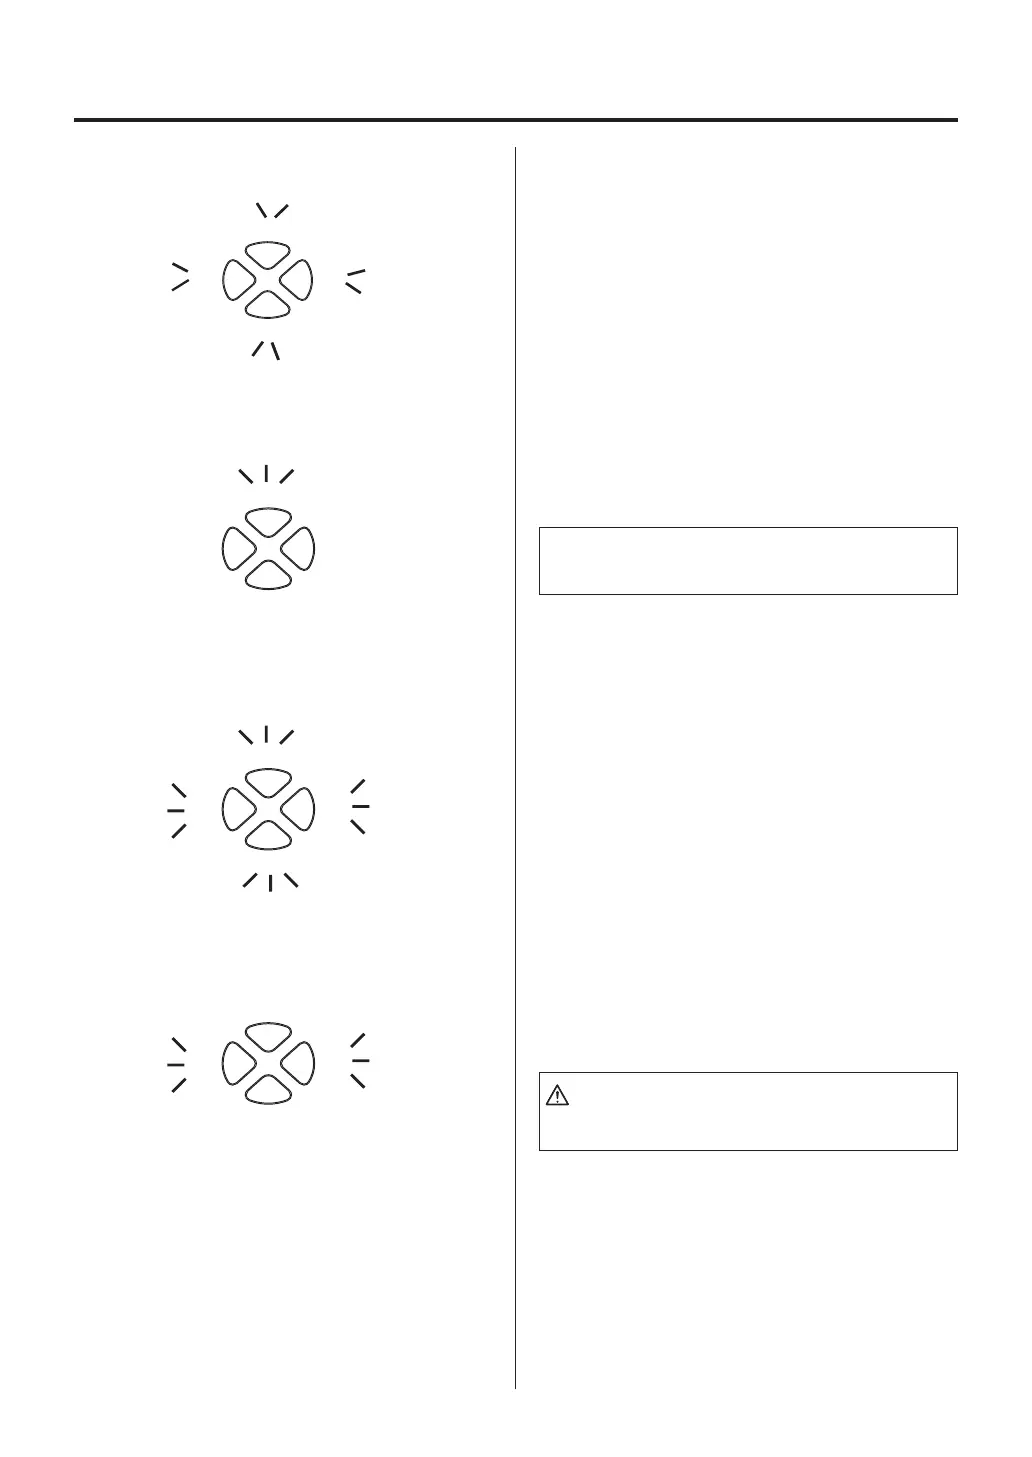
9. ERROR MESSAGES
●
System Error
When the power is turned on, the system au-
tomatically checks its memory and the stored
program. If a problem is found, all the heat
range indicator lamps will light and the tip will
not heat.
NOTE:
“Sensor error” also occurs if the tip is not inserted prop
-
erly.
●
Sensor Error
When there is the possibility that a failure has
occurred in the sensor or heater (including the
sensor circuit), the heat range indicator lamp
will blink rapidly and the heater is shut down.
●
Heater terminal short circuit
error
●
Soldering iron error
All
the heat range indicator lamps will blink,
and the alarm will sound continuously. Possible
causes are: the tip is inserted the wrong way,
an incompatible tip is inserted, or a foreign ob-
ject is in the connector.
The
yellow
and
red
heat range indicator lamps
will blink if the connector cord is not attached to
the station OR the wrong soldering iron is con-
nected.
9
CAUTION:
Do not connect the FM-2022 or FM-2023 with the
FP-102.