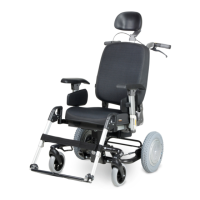
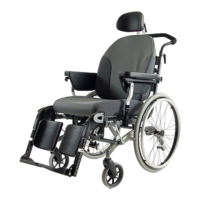
16 Adjustments (to be carried out by a professional) Sedeo Pro+
1
A
B
C
C
A
B
D
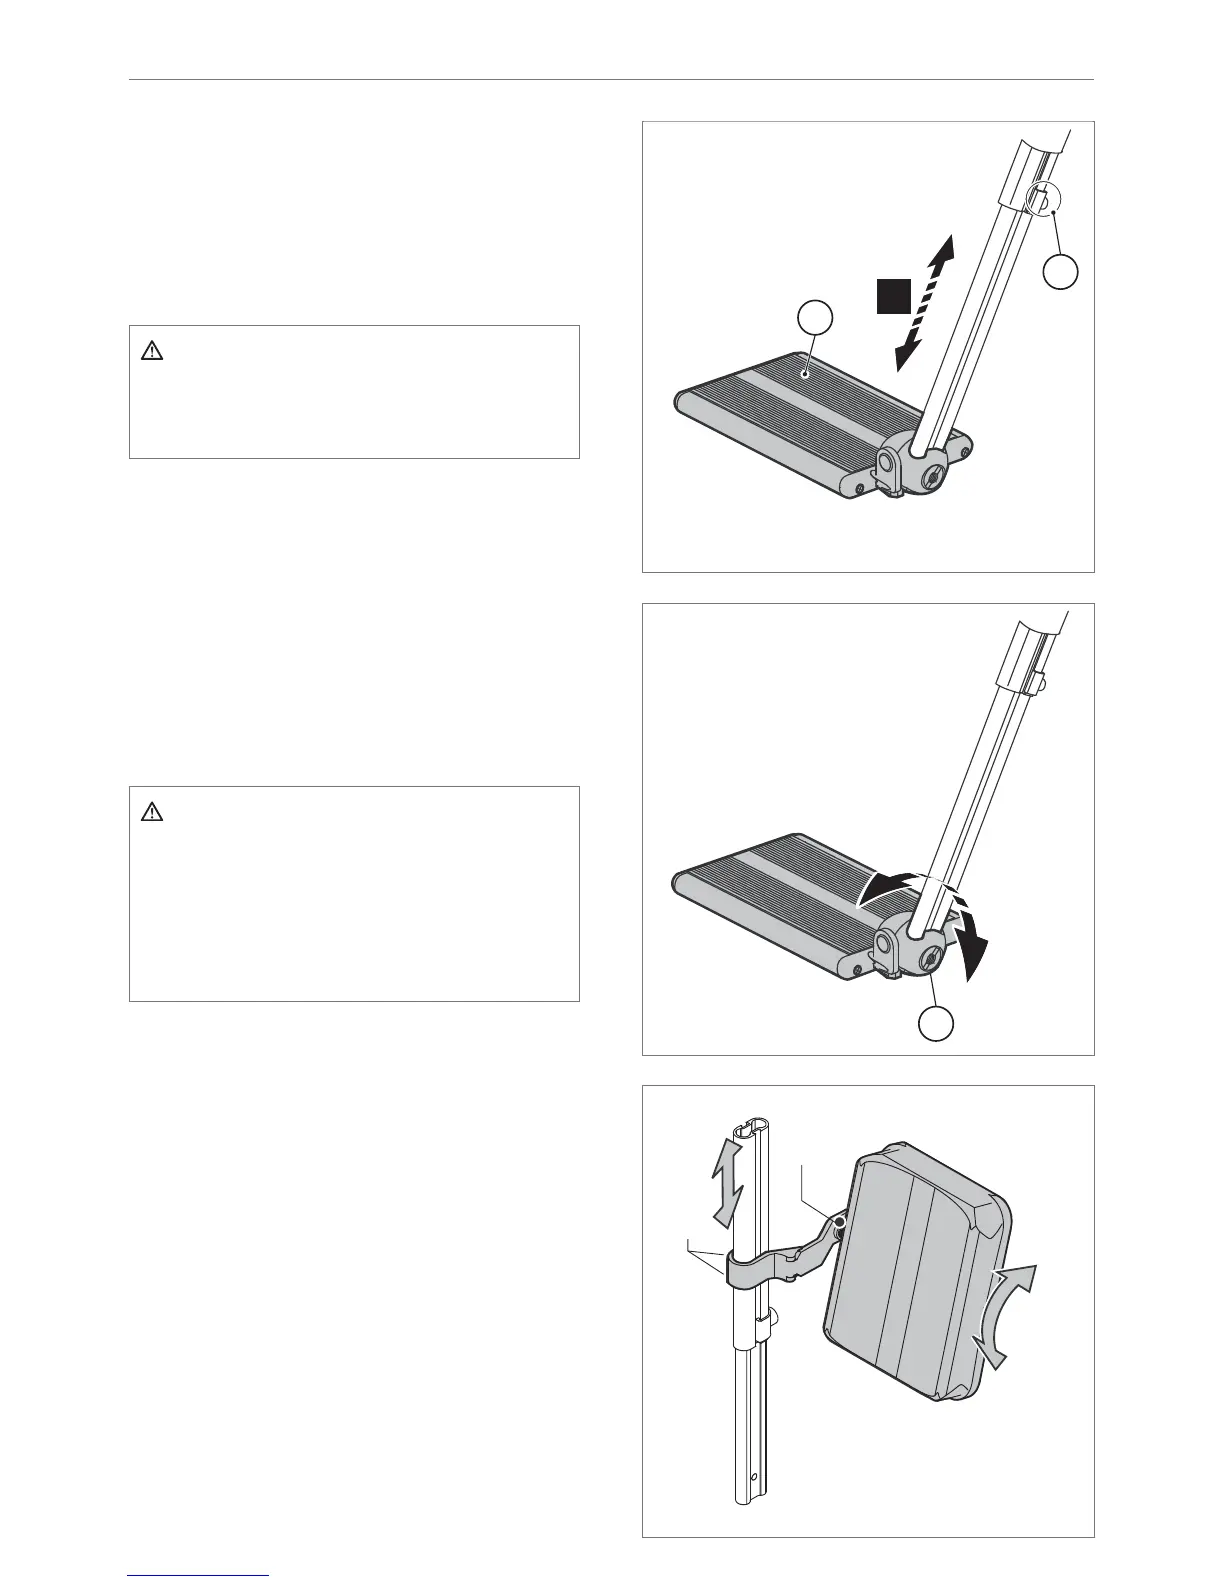
Lower leg length
1. Loosen the setscrew (A) a few turns with a 4
mm Allen key.
2. Slide the footplate (B) in the desired
position.
3. Tighten the setscrew (A) securely.
Caution!
Ensure that there is suffi cient free space
under (B) for the wheelchair to drive over
obstacles.
Footplate depth
The footplate is secured asymmetrically. The
left and right footplate can be exchanged.
1. Loosen the setscrew (A) with a 4 mm Allen
key.
2. Remove the footplate together with the
profi le.
3. Slide the footplate in the top tube of the
other legrest.
4. Tighten the setscrew (A) securely.
Caution!
Make sure that the castor wheels do not
touch the footplates when manoeuvring.
If this is the case, the legrests must be
brought forward. There must be at least
1 cm between the castor wheels and the
footplates.
Footplate angle
1. Loosen the Allen bolt (C) a few turns with a 6
mm Allen key, so that the teeth of the hinge
come completely free.
2. Adjust the desired footplate angle (D) and
push the hinge manually together again.
3. Tighten the Allen bolt (C) securely.
Calf pad height
1. Loosen the Allen bolt (A) a few turns with a 4
mm Allen key.
2. Slide the calf pad (B) in the desired position.
3. Tighten the Allen bolt (A) securely.